Benchy in a Bottle
thingiverse
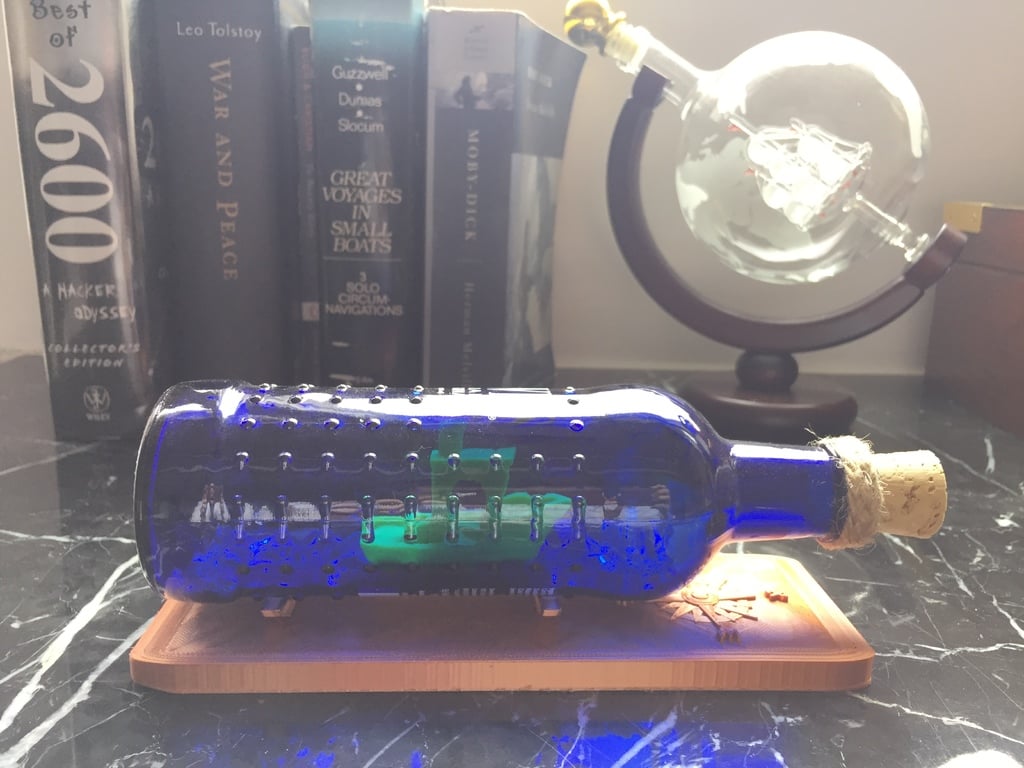
3dBenchy in a Bottle! A Showstopping Conversation Piece for 3D Print Enthusiasts and Boat Fanatics Alike! Bottle Benchy prints into 5 pieces, each small enough to fit snugly into a BAWLS or standard glass bottle neck. Each piece has a magnetic connection that snaps them together seamlessly. To build this incredible model, follow these easy steps: 1. Prepare the Hull: Glue one magnet into the side of one half of the lower hull piece. Allow it to dry completely. 2. Add More Magnets: Place another magnet on top of the first one and allow it to attract without gluing. Mark the exposed side with a permanent marker, then remove the magnet. 3. Repeat the Process: Glue the colored magnet into the opposite half of the lower hull piece, ensuring it's in the correct orientation to attract the other magnet. 4. Dry Fit the Hull: Verify that both halves of the lower hull naturally attract by snapping them together. 5. Assemble the Ship: Begin building the ship inside the bottle by sliding one of the lower hull pieces into the model. Apply a touch of E6000 adhesive to the inside of the piece and use tweezers if necessary. 6. Add Mid-Ship Halves: Insert the mid-ship halves into the neck of the bottle, allowing them to snap into place via the magnets. 7. Attach the Final Piece: Insert the final piece into the bottle by gluing it to a corner of the existing ship. 8. Allow the Model to Dry Completely: Once assembled, slide the ship to the back of the bottle and smear a dab of glue onto the bottom. Slide the ship forward onto the glue. Your 3dBenchy is now complete! Finish it off with decorative twine or small line around the neck, a cork, some decorative rocks inside the bottle, or whatever you please! I'll be sharing a video tutorial soon to demonstrate these techniques in action. Share your questions, suggestions, and tips for making this process even easier!
With this file you will be able to print Benchy in a Bottle with your 3D printer. Click on the button and save the file on your computer to work, edit or customize your design. You can also find more 3D designs for printers on Benchy in a Bottle.