BeoSound 3D Create
thingiverse
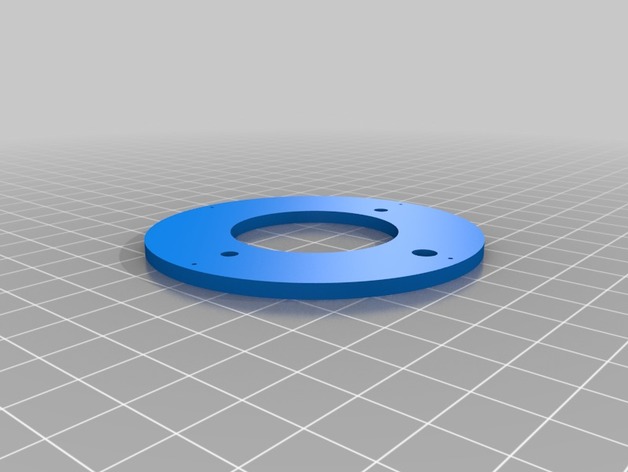
This 3D printed speaker is designed at Mechatronics Design (41030) course, Technical University of Denmark, in collaboration with Bang & Olufsen Create. The design aims to unlock the full potential of 3D printing technology. This speaker is intended for use in kitchen areas. All parts were printed on a Ultimaker 2 printer, supported by 3D Printhuset in Copenhagen, Denmark. Visit our wordpress blog for information on assembling the speaker and the project: https://fancysocietyblog.wordpress.com/. Alternatively, follow our guide below to learn more about the "Bill Of Materials" list. BOM List: 6 x M2 10 mm 6 x M2 Bolts 1 x M7 Bolt 1 x Middle Speaker 1 x Tweeter 1 x Raspberry Pi 1 x HiFiBerry 1 x Brass Top 1 x Encoder Plate 1 x Encoder 1 x Skeleton 1 x Voronoi-Pattern 1 x Acoustic Black Fabric 1 x Bottom Part (Five Pieces) 1 x Upper Shelf (For Tweeter) 1 x Middle Shelf (For Middle Speaker) 4 x Sound Cables 4 x Cable Clips (Optional) 3 x Encoder Cables 1 x Power Supply 12 x Brass Screws 1 x Cable Sleeve Guide: • Begin by 3D printing the parts: skeleton and voronoi-pattern. • Laser cut parts: encoder plate, middle shelf, upper shelf, bottom part (five pieces). • Turn the brass top. • Glue the laser-cutted middle part into the brass top. • Assemble the bottom: glue the five laser-cutted pieces together. The solid part at the bottom, three circles in the middle, and the top part with screw holes on top. • Paint the bottom part. • Sew the audio fabric into a cone. • Solder the encoder to wires on its legs (ensure that the wires are female-socketed at the other end) and attach speaker clips to speaker wire. • Sew the fabric onto the voronoi-pattern and make a hole in the middle. • Place the encoder in the voronoi-pattern by inserting it through the top hole of the pattern and textile. Secure the encoder with an M7-bolt. • Attach the voronoi-pattern part to the skeleton. • Glue the textile to the bottom of the voronoi-pattern's inner side. • Assemble the tweeter to the upper shelf using two M3-screws and bolts, ensuring that wires from the encoder pass through the hole in the upper shelf. • Screw the tweeter assembly to the skeleton with four brass screws. • Attach speaker cables to the tweeter. • Assemble the middle speaker to the middle shelf with four M3-screws and bolts. Ensure that wires from the encoder and tweeter pass through the hole in the middle shelf. • Attach speaker cables to the middle speaker and guide them through the hole in the middle shelf (remember which set of cables goes to which speaker). • Screw the middle speaker assembly to the skeleton with four brass screws. • Connect the Wi-Fi module to the Raspberry Pi's left top USB port. • Secure the Raspberry Pi at the bottom with two brass-screws, ensuring there is enough space for the Wi-Fi module and power supply. • Plug wires from the tweeter into the left speaker gate and wires from the middle speaker into the right speaker gate. The encoder should be connected to pins 14, 16, and 18, starting from the left of the counter. • Place a cable sleeve on the power supply cable. • Insert the power supply into the HiFiBerry. • Attach the HiFiBerry to the Raspberry Pi (use screws provided with the HiFiBerry). • Secure the bottom to the skeleton-pattern with four brass screws. • Place the brass top on the encoder. • Connect your device to the speaker and enjoy some dope music!
With this file you will be able to print BeoSound 3D Create with your 3D printer. Click on the button and save the file on your computer to work, edit or customize your design. You can also find more 3D designs for printers on BeoSound 3D Create.