Better Blower for Anycubic Kossel
thingiverse
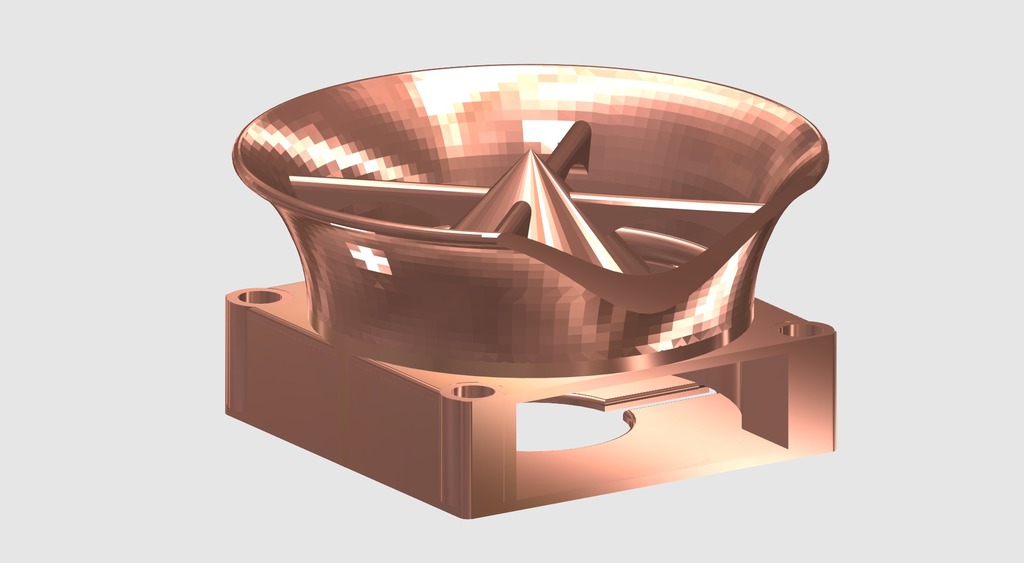
Better Blower for Anycubic Kossel Update: 10.11.18 Oops... Cut_Blower_Duct.stl didn't actually fit! Replaced with a new, and hopefully better, version. Update: 7.11.18 I have included CM_Blower_Housing_v2 and Cut_Blower_Duct as an improvement to the design, and to go along with my Venturi Project thing -CM_Blower_Housing_v2 is a cleaned up version of the original, the primary difference is I've removed the Coander lip to make attachment of Cut_Blower_Duct easier. If already printed the original CM_Blower can be easily adapted to suit -Cut_Blower_Duct is intended to mouth to the intake for further improved air flow. It may also fit the factory blower housing if you wish to try. There is another version of this available in my Venturi Project thing for other printers I'm very pleased with my Anycubic Kossel Linear Plus. Having said that the supplied filament cooling blower is a bit weak. I designed this upgrade to be reasonably easy to do while keeping the clutter at the hot-end assembly to a minimum. The assembled blower is a direct drop-in replacement. Materials: -An Anycubic Kossel Printer -A 12v DC donor blower (see photos for recommended dimensions) -Super Glue -Basic soldering equipment -Care! Build: 1) Print out the CM_Blower.gcode file, or spin your own from the CM_Blower.stl file using the advised printer settings - important! 2) Take the donor blower (as per photo) and disassemble it. You require the fan, PCB, wires, and motor assembly, as a complete unit. The rest is for the bin. Be careful not to damage the bits you want and be sure to keep a small ring of the original black plastic housing where it attaches between the motor spindle and PCB to prevent the required parts from falling apart. 3) Push the wires through the central hole in in the printed blower housing and carefully press-fit the round fan assembly PCB in to the hole. Warning! It's a tight fit and not intended to go all the way in! 4) You want to line things up so the fan fits near-perfectly centrally in the new housing, being sure no part of the fan is touching the housing. If you pushed the PCB in too far (and didn't break it) the base of the fan will touch the base of the housing - not good! 5) When you are happy the fan is properly lined up turn the assembly over and secure the edges of the PCB to the printed housing with a few dabs of Super Glue. You may also need to use the glue to properly attach the remaining ring of plastic round the spindle to the PCB that was left over from the original housing. Warning! If you get Super Glue in the bearing the fan won't turn. 6) Optional: Print out the CM_Cone.gcode file and attach to the top of the fan (see pictures). It is very important, if used, that the cone is fixed dead-center. If not the fan will be unbalanced and be both noisy and not last long. The cone should (in theory) help improve air-flow, along with the coanda lip on the housing itself. This is at best a marginal improvement - feel free not to use. 7) Sensible: If printed in PLA I would suggest covering the back of the assembled blower with a single layer of paper tape. (masking tape) Heat transfer from the hot-end doesn't seem to be an issue but it can't hurt to be careful. This is also added insulation for the otherwise exposed PCB. 8) Unscrew the old blower and reusing the old screws mount the new one in it's place. 9) Wiring is up to you - I cut the wires to the old blower at the hot-end and fitted connectors at that point so the new / old blowers could be easily swapped. 10) Switch on the printer and go in to the control menu. Set fan speed to 255 (non-zero) and check all is working properly. Done! :-) Optional: If you're feeling brave, or simply want more control over the motor and fan you use in this project, I have also included a printable fan to go in the blower housing that you can fit your own motor assembly to... ...you can find more powerful motors, with quieter bearings, than the advised donor blower should you wish. Results: I think this makes a good upgrade to the filament cooling provided on this printer. The packaging is nice 'n neat, and no need to trial more complex solutions that add weight and make getting at your hot-end more difficult.
With this file you will be able to print Better Blower for Anycubic Kossel with your 3D printer. Click on the button and save the file on your computer to work, edit or customize your design. You can also find more 3D designs for printers on Better Blower for Anycubic Kossel.