Big DIY 3D printer 2
myminifactory
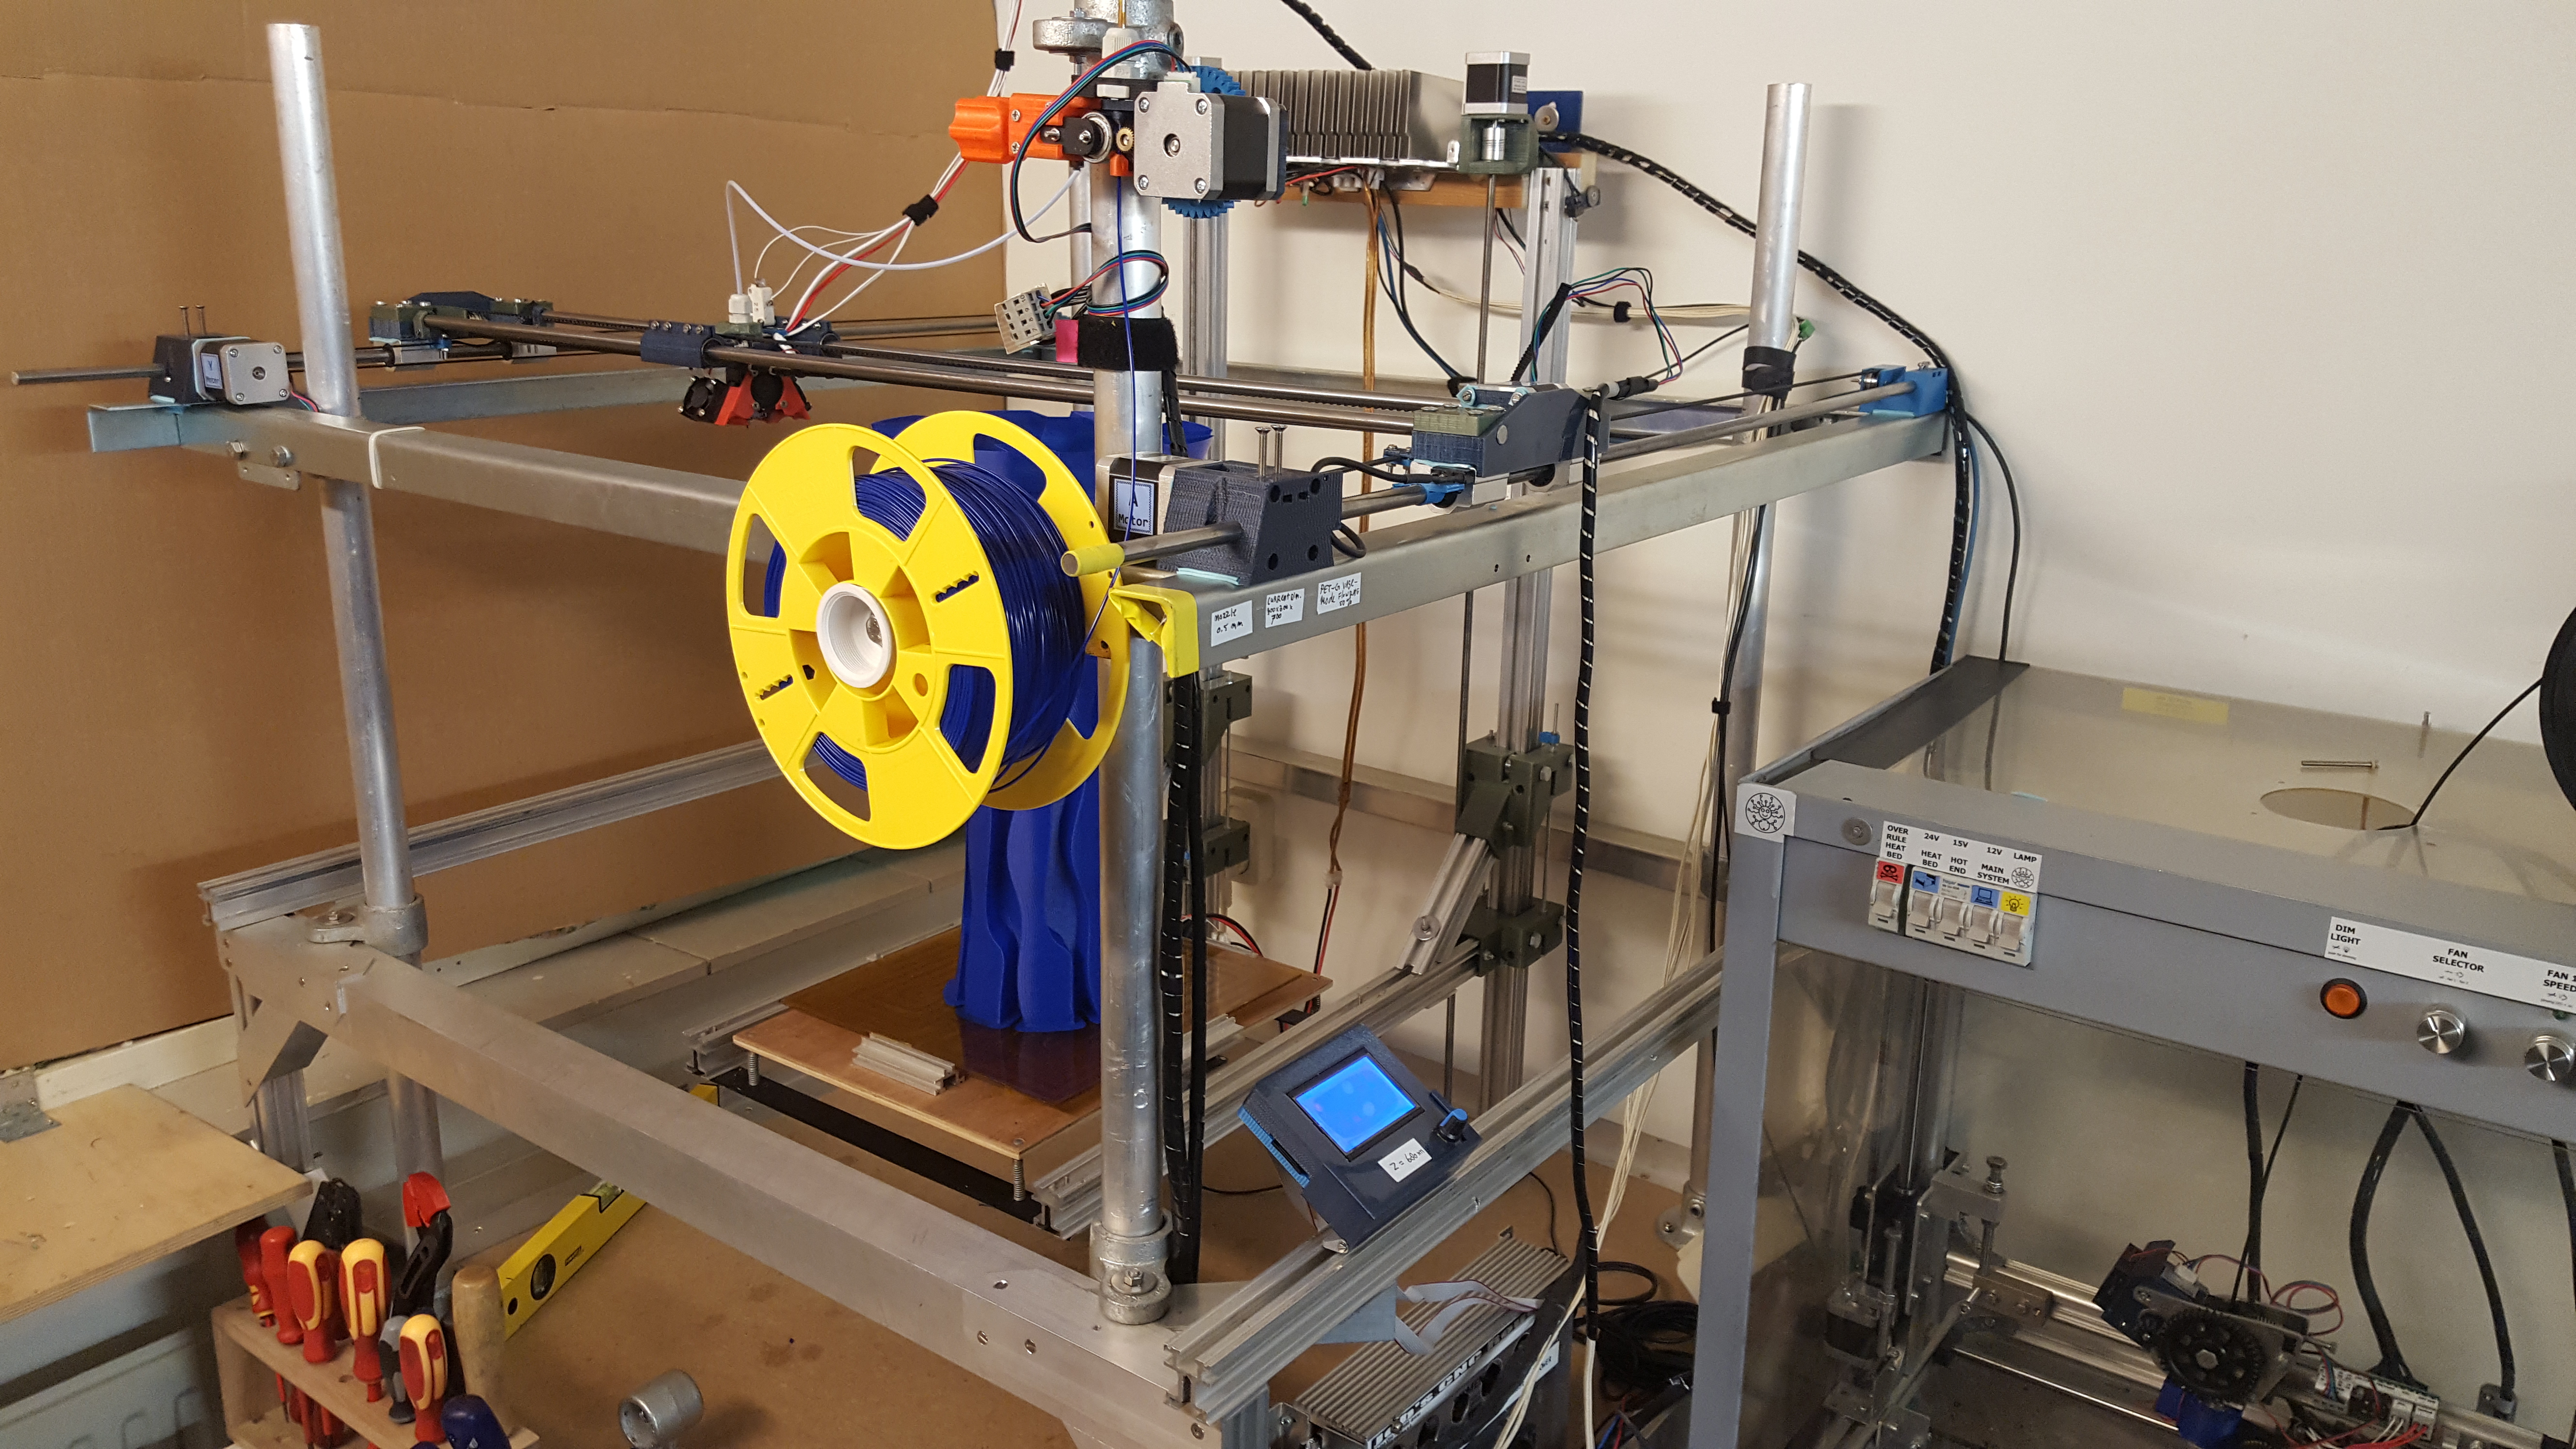
Big DIY 3D printer 2 This 3D printer is a modification of the Big DIY 3D Printer. I decided to make a new thing of it because I changed so much.The idea of this printer is to make it with materials you already have to keep it cheap.Basically a 3D printer is an X, Y and Z axis. This model is an X and Y axis that can be brought up as high as you want, and so making it bigger on the Z axis. In my example I made an Z axis from extruded aluminum lengths (30x33mm) and 608Z bearings I had. I included the files for the Z axis also if you want to make the Z axis this way. The X and Y axis can also be made as long as you want. The length is determent by the length of 10mm rods you use. My rods are 1000mm long. In my case that means the maximum length of X and Y are 835mm by 710mm. My Z hight is 680mm at the moment because the aluminum lengths I have are not any longer. But If they where I would make the Z axis 2 meter :-) . But the reason for the upgrade is that a big printer has it's issues. Printing big objects means that it will take a lot of time. So you want to speed it up. But then vibrations and sound will be much stronger. Also the longer your rods are the more vibrations you will get. (I'm thinking of using these carbon fiber ones because they are much stiffer, they say). So to make these effects less, I made this much lighter X axis and X car setup. Now the X car can move much faster with less vibrations. With PLA and PET-G this setup works much better than the old one. I removed the geared extruder from the X car to the side using a DIY “Bowden setup”.On the X car I only have a hot end and fans now. The fan brackets in red ABS are not of my own design but from RoPa here on Thingiverse : http://www.thingiverse.com/thing:1264477. I like this design and it fit's this minimalistic setup :-) . To reduce vibrations and noise I experimented with a DIY vibration “dampeners” made out of silicon.I cut these silicon “dampeners” out of a baking mat bought in a cheap Chinese products store.The Yellow plastic peace is my template for cutting the once for the motors.I know there are still direct contact areas from the motors to the rest of the printer frame. I didn’t fully isolate the mounting bolts.But for now the results are good. There is much less noise and vibrations and the print is good. :-) ******************************************************************************************* Update Jan-06-2018 : The point where the timing belt was connected broke :-( So I made this alternative repair part :-) Also the original part is slightly modified. But If you got your one broken also this repair part may come in handy. I called the part “timing belt mounting point broken repair part1A & B.STL. Also the additional picture may explain more :-). ********************************************************************************************* Feb-06-2018 :Geared Extruder Updateincluded file: geard extruder STLs.ZIP I made a new Extruder for this super DIY “bowden setup” :-).My aim was to make it simple, strong and that the filament could be pressed super hard against the driver gear. Filament can be guided with a adjustable guide. For now I kept the gland nut, but included parts that can be adjusted for regular Teflon tube holders. On the printer on the pictures the gland nut works really well. This extruder en tube setup has made the print test of 20 hours. But on another printer of mine the gland nut works not so good. It's because that one prints with much higher speeds (60mm/s and higher) and than the gland nut does not hold so good anymore. I found that it does help to put Katon tape one the tube :-) I am still experimenting with other tube holder methods :-)The little filament driver (11mm diameter) is mounted on an M8x50mm bolt I had lying around. On the lathe I turned the end of this M8 bolt down to 5mm so the driver can be mounted on it. See pictures ************************************************************************************************ Teflon tube holder upgrade 20-Feb-2018 This upgrade is about replacing the gland nut for tube holder clips. See pictures Experimenting with these clips I can to the understanding that the diameter of the hole where the clip is placed in is very important. Because not all Teflon tubes are the same size the diameter of this hole can be different. The Teflon tubing I have is between 3 – 4 mm. So for me it works best that to bore out the hole with a 6.5mm. But I recommend to begin with 6mm. If that is too tight, bore 6.5mm and so on. ************************************************************************************************ If you have any questions feel free to ask :-) The controller and firmware are still the same as with Big DIY 3D printer. If you are interested in that please visit :https://www.thingiverse.com/thing:2603668 Parts list for the X Y & Hot End setup: 6X F625ZZ bearing wheel6X 623Z bearing4X LM10UU/SP linear bearing4X SCS10UU linear bearing4X xxx length x10mm gliding rod3X Nema 17 Stepper Motor3X Timing belt pulley and matching timing belts2X End SwitchBowden Extruder SetupHot End & wires 19X M5x30mm bolt3X M5 nut3X M4x40mm bolt4X M4x20mm bolt4X M4x10mm bolt15X M4 nut30X M3x10mm bolt4X M3x20mm bolt2X M3x40mm bolt27X M3 nut For the Z axis setup you need:16X 608ZZ bearing1X end switch16X M8 bolt or threaded rod 8mm and nuts2X spindle 8mm and spindle nut or M8 threaded rod and nut2X stepper Nema 172X motor to spindle connector 5mm to 8mm6X M4x40mm bolt6X M4 nut8X M3x10mm bolt8x M3x20mm bolt and nuts are optional if you use the M8 converter part. 1X heat bed and power supply that can deliver the current (I have a 12V /360W) For the Controller You need: 1X Arduino Mega1X Ramps 1.4 board and Full graphic smart controller6X stepper driver A4988 or DRV8825 (you will have to hack your ramps to install all of them :-) )1X 12V/240W power supply (I have a 360W)1X opto coupler and FET for switching the heat bed (you can buy them as a board)1X fan to cool the drivers (I have an 80 x 80 mm)
With this file you will be able to print Big DIY 3D printer 2 with your 3D printer. Click on the button and save the file on your computer to work, edit or customize your design. You can also find more 3D designs for printers on Big DIY 3D printer 2.