Bigger Bertha Rocket (with camera)
prusaprinters
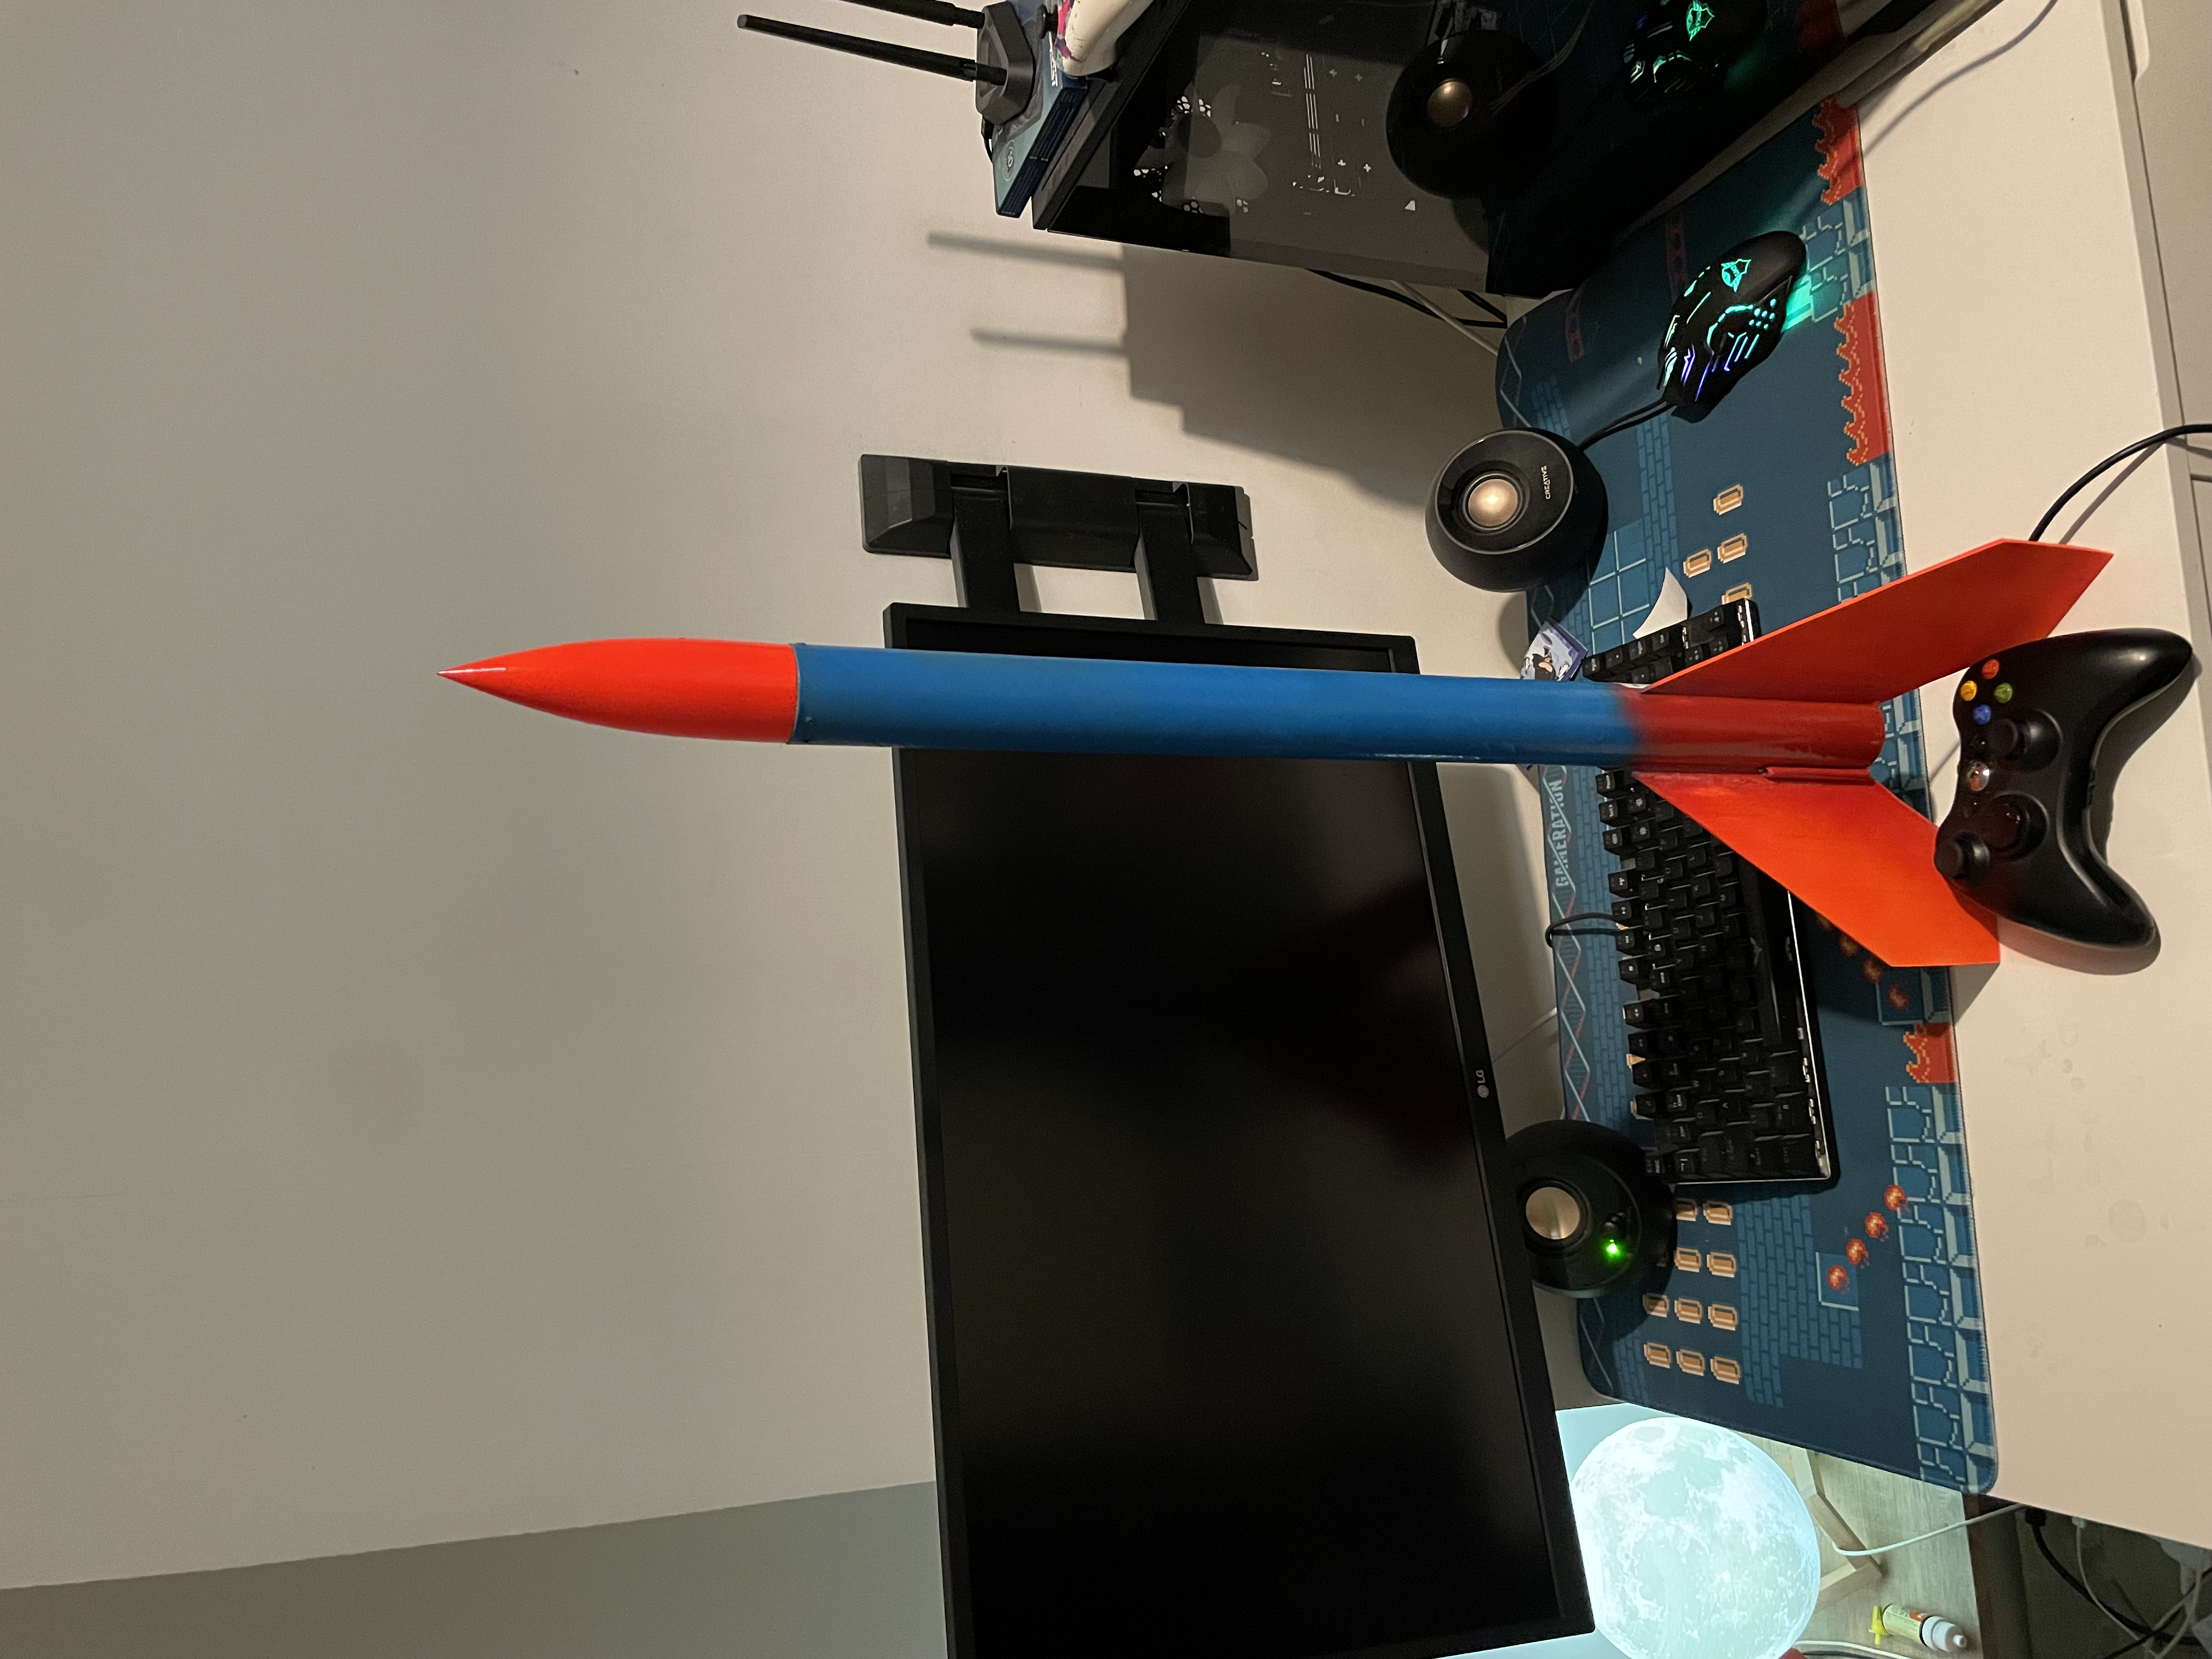
<figure class="media"><oembed url="https://www.youtube.com/watch?v=uXA_iyEar38"></oembed></figure><p>These instructions will produce a rocket with a diameter of 10" at the base (fin extent) with a tube diameter of 40mm. A length of 60cm tube has been used in the original construction.<br> </p><p><strong>UPDATE: </strong>Please note this is a work in progress, and the first launch ejected the motor thereby reducing the parachute ejection force meaning that only one of three parachutes deployed and the wadding was still in the tube. An improved method of adhering the end stop and an improved internal end stop will be provided in the future.</p><p><strong>Second Launch Update: </strong>The end cap has been reworked into a screw in holder and glue in ring. This works a lot better than a friction bung. The launch reached an apogee of about 1000ft estimated, touched the clouds, ejected the parachute and… the parachute then drifted away leaving Bertha to return to earth like a dart. It ate 2" of dirt but <strong>SURVIVED!</strong> So that's 2 launches, 2 survivals, and a slightly updated design… <br><br>For the third launch I'll make sure I tie the parachute on properly.</p><h3>Disclaimer</h3><p>Rockets are dangerous. Obviously. If you need to be told to take extra care over every single part of this process you should probably not be going through the process. Read everything carefully, read all of your motor manuals carefully. Read as much as you can about aerodynamics, and most of all. <strong>Don't blame me if your rocket hits you in the face. </strong></p><h4><strong>What can go wrong?</strong></h4><ul><li>High winds shearing your rocket in the direction of a near by orphanage. Or PTA meeting, therefore overloading the local orphanage with new orphans. </li><li>Improperly ignited motors blowing up randomly. </li><li>Improperly stored motors igniting randomly.</li><li>Improperly handled motors igniting randomly.</li><li>High speed rocket to the face. In some cases, that might mean your face is pretty much not a face but a hole with a rocket in it. </li><li>High speed rocket to someone else's face. </li><li>Some random woman in a Chelsea tractor driving over your expensive rocket and camera that landed on a completely deserted road and had two people running towards the object right in front of her, I mean what if that object in front of her was a kid and not just a rocket… She just drove off. Yes, this one actually happened.</li><li>Rocket eating dirt. Also happened, careful of the parachute ejection charge if this happens because it can burst the tube depending on how deep it went.</li><li>Rocket ejecting fuel, parachute and blowing up the launch pad. Also happened.</li><li>Rocket jumping into the air, and ejecting it's nozzle at high velocity, followed by all of the fuel. Also happened.</li></ul><h4>What precautions should I take?</h4><p>Handling rockets is dangerous, you probably shouldn't be doing it. However, because you've already ignored all of the above warnings and you still want to make something go absurdly fast with a camera attached or whatever then you need to at least take all the precautions you would with fireworks and then be extra careful because these aren't firework rockets, these things have quite a bit more force and will cause chaos if they go off. </p><ul><li>Don't handle rockets near source of flame.</li><li>Don't handle rockets near sources of static electricity.</li><li>Don't handle rockets near people who wear shoes that generate static electricity on those carpets you get in offices because those people even when not in their optimal generation zone are still a liability to have around. </li><li>Don't keep rocket motors in wet boxes. </li><li>Don't keep rocket motors in cardboard boxes </li><li>DO keep rocket motors in metal tins </li><li>Don't drop rockets</li><li>Don't open up motors with a hack saw expecting to figure out what magic makes them work while generating friction heat and expect it not to blow up in the process. Carefully read this document to the end instead.</li><li>Don't smoke near rocket motors </li><li>Don't play with matches, like ever, that's a basic rule there. Only really use them in the appropriate way because as a technology they're always going to carry a risk and they're fairly well improved upon by modern technology. </li><li>Only use the appropriate igniters with the appropriate rockets. Some igniters are meant for different kinds of motors and you might get a surprise if you use the wrong thing. </li><li>Surprises are bad, plan everything.</li><li>Pick your launch site carefully, you usually need a half mile radius or so when launching unless it's windy and the parachute catches a draft, in which case you might be chasing the thing two or three miles, maybe more.</li></ul><p>Some scary videos that the British government made about fireworks</p><figure class="media"><oembed url="https://www.youtube.com/watch?v=NGiIjP2szkw"></oembed></figure><p>Still want to do this?</p><h3>Required Vitamins</h3><ul><li>3x 1mm thick, 30cm x 10cm (12" x 4") balsa wood sheets </li><li>40mm outer diameter, 38mm inner diameter (1mm wall) cardboard tube, heavier tubes may work but produce different results, e.g. carbon fibre.</li><li>30cm thick elastic chord.</li><li>A parachute (or a plastic bag, adapted and strung).</li><li>D12-5, D12-7 or other rocket motor with a size of 24mm diameter. </li><li>Wadding</li><li>Launch controller</li><li>Launch platform</li><li>Superglue.</li><li>Some paper.</li></ul><h3>Body construction</h3><p>In order to construct the body, two templates are provided in SVG format. The first template is the fin shape template, although it is generally easier to measure them directly. The second template is the wrap around measurement. </p><h4>Marking the tube for the fins</h4><ol><li>Take the wrap around tape template and print it. </li><li>Cut out the exact shape. This should wrap perfectly around the tube.</li><li>Wrap the tape around the tube aligning it to the bottom, tape can be used to secure the paper into a tube shape.</li><li>Mark the first position at the base of the tube for each of the 3 indicated spots.</li><li>Similarly mark the second position which is approximately 6" up the tube for each of the 3 indicated spots. </li><li>Use a ruler to draw a clearly visible straight line along between the two dots.</li></ol><h4>Cutting and building the fins</h4><p>You can use the template, provided, cut it out and then mark and cut the fins that way, or if you are using the exact size of balsa wood follow the steps below.</p><ol><li>Along one side make a mark at 3" (A) and 9" (B) from one corner.</li><li>On the opposite side, make a mark 3" (C) from the same corner. </li><li>On the bottom edge (the one where there are two 3" marks from it) make a mark 2" (D) from the side which has the 3 and 9" marks. </li><li>Cut between marks B and C </li><li>Cut between marks A and D </li><li>Overlay the completed fin on top of the remaining sheet of balsa wood.</li><li>Trim the 2x3" triangle in the corner.</li></ol><p>You have now produced two halves of a fin. You must repeat this process to make six 1mm thick half fins. The waste triangle is ideal in both size and shape for making a multistage add-on which fits inside the gap left behind. </p><p>Once all 6 sheets are cut, carefully laminate them together in pairs using superglue to secure them. A series of dots of superglue along the inside of each of the edges is a good way to achieve the necessary bond.</p><p>You have now produced three 2mm thick laminated fins. Some trimming and sanding may be required. These fins are extremely light weight, because of the process of using one sheet cut in half and bonded to itself they should remain fairly flat as the internal stresses of the balsa wood will more or less even out. They should be kept flat, while drying, and kept flat after any paint is added as moisture will deform the balsa wood. </p><h4>Joining the fins to the body</h4><p>Once the fins have been dried, and kept flat, they can one by one, be attached to the lines on the body. Add a dot of super glue about 1cm from the top and bottom of the fin's joining edge. and carefully align the fin to the line on the body. Try to gauge with your eye whether it is on straight while the glue dries.</p><p>Once the first couple of drops are dried, apply a generous coat of superglue around the adjoining edge. Carefully tipping the rocket body to allow the superglue to dry and smooth out.</p><p>Repeat this process until all 3 fins are in place. <br> </p><h4>Producing the launch guide </h4><p>When launching a model rocket from a standard launch platform a 3.5mm guide is usually used. For our launch guide we're going to use a piece of paper cut into a 3" by 3" square, rolled around a guide dowel. </p><p>You will need a guide dowel with a 3.5mm diameter to make this. A rocket launch pole (which will be required for the guide to follow is usable).</p><ol><li>Place the strip of paper against the guide, and roll it back and forward to begin producing a curvature. Eventually you should be able to tightly roll the paper around the guide dowel.</li><li>Once the paper is able to roll around the dowel, roll the paper around until there's a 5mm overlap. and add a line of superglue 60% of the width of the paper in the crease where the sides meet. </li><li>Roll the paper, spreading the superglue along the length until it runs out.</li><li>Repeat the application of the glue, and rolling, until the whole tube is complete. </li></ol><p>The tube can be glued to the body along side one of the fins, providing directional alignment and structural stability.</p><h3>3D Printed parts</h3><ul><li>Nose cone - a typical nose cone with a cross pattern for securing the parachutes and shock chord to. </li><li>Motor internal end stop ring - a ring which holds the motor in place internally to the tube. This end stop has a hole in it to allow the parachute ejection, and should fit a D12 motor. </li><li>Motor stabilisation ring - a ring which can fit at any part around the motor to keep it stable. </li><li>Multi-stage coupler - a ring which fits an engine in both ends, with the intention of the first engine detonating the second in a multi-stage configuration.</li><li>Final end stop ring - a removable end stop that holds the final motor in the stack in place. </li><li>USB camera mount - a mounting for a cheap USB spy camera that is small enough to be a passenger.</li></ul><p>Please note that the design and construction of multiple stages is left as an exercise for the reader. The coupler is provided for those who wish to explore that avenue. </p><h3>Final assembly</h3><h4>Motor fitting</h4><p>The motor end stop ring must be superglued in place. Exactly 7cm from the end of the tube. In order to do this, insert the motor, and put in place correctly, pinch the tube around the ring position and remove the motor, before dripping and rolling the super glue around carefully to avoid getting any inside the motor mount. If desired, the same technique can be used for the motor stabilisation ring. The stabilisation ring isn't really required, it's a nice of have if you have longer motors.</p><h4>Nose & Parachute fitting</h4><p>The parachute and shock chord must be tied to the nose cone with double knots and a dot of superglue. The shock chord then must be glued to the inside of the main tube body. </p><h4>Packing</h4><p>Once the final parts are glued into the tube, insert wadding down the nose cone side of the tube packing it tightly towards the motor holder. </p><p>Next, insert the parachute, the parachute must be folded in such a way as to allow air to flow into it, it must not be tightly flattened or folded or it will not open. Once folded slide it down the tube. </p><p>Complete the nose side construction by inserting the dangling strings and capping the nose in place. </p><h4>Camera fitting </h4><p>The camera mount is designed to be glued to the side of the rocket, you can place it anywhere you like but closer to the nose is better for weight distribution and therefore stability. An extra rubber band may be added to retain the camera more securely.</p><h4>Engine insertion</h4><p>It should be fairly obvious by now that the engine is inserted into the rear end, and that the end cap should be able to be forced into place for a nice tight fit. Engine adapters can be used but their efficiency with a model of this size is questionable. </p><h3>Final Notes</h3><p>As with all fin stabilised rockets it's important to get an idea of the centre of gravity. You want to load the rocket such that the centre of gravity is as high as possible. This can sometimes mean adding a counter weight inside of the nose cone. A well picked stone can sometimes do the job. </p><p>The fins are for shifting the centre of pressure behind the centre of gravity. In the same way a dart is weighted at the front and fins are at the rear, a fin stabilised rocket uses the exact same principals to launch vertically. In this rocket, the fins move the centre of pressure very far back due to their size and surface area. </p><h3>Links</h3><p>Postal tubes are fairly easy to come by, but for the other parts I've included eBay links. Motors are highly regional, and some postal carriers won't carry them, so obtaining appropriate motors is entirely up to you. If you live in a country where you can happily make your own, a 24mm OD (3mm wall) by 70mm tube is the standard size supported here. A good ratio is 65% KNO3, 30% Sorbitol, 2% FeO3 and 2% MOSu3, 1% Sulphur. Carefully baked into a properly ended tube at 80 degrees Celsius for about 20 minutes (bake with only one bung in to allow evaporation). Nozzle size of 3mm is optimal, the hole should be drilled carefully to a depth leaving the inner diameter from the rear bung. A 1 mm hole carefully drilled in the rear end and packed with the same fuel with an added 10% baking soda will serve as a delay to further pyrotechnics e.g. parachute eject. bungs should be fairly deep 2-3cm is sensible.</p><ul><li><a href="https://www.ebay.co.uk/itm/124848212325">Camera</a></li><li><a href="https://www.ebay.co.uk/itm/224067639675?var=522845690509">Balsa wood</a></li><li>Postal tube</li><li><a href="https://www.ebay.co.uk/itm/155135132603?hash=item241ec643bb:g:rhAAAOSw-f5jCNfI&amdata=enc%3AAQAHAAAAoP5dP7bYKfHrBVwrNAZK4VasaXA%2FBso5xDlZeH2MGQaCe1hAA402uNSMhv9EBr5gLxYmU8iR8zKgcN%2Fq7nTxoiSN0A%2F5rUZ2ZZZLPcA7iOZojfka35nugaJeMjIXBDEEvU4gGnxahSfFIyFDT%2Bzhi%2B49NXnHfdPRx7xWcFxv2L5SdwnkDzwlb4m6uSuSc3l0DuxqvYwcoLFZL68huxaMozA%3D%7Ctkp%3ABk9SR6iwvZOHYQ">Parachute</a></li><li><a href="https://www.ebay.co.uk/itm/302155329551?hash=item4659dc700f:g:ZcgAAOSwiDFYQZqC&amdata=enc%3AAQAHAAAA4C%2FUOBFU5dzbY6z5TZvu8nQFGAo6inEAaM6ur2maLhThVSIVxW7ac10D8wBG3H12ngZNpSa3LVKrIj6FEUfEGm3KvUAk%2FbIV2CRnYrQMXl2oouXYw6LTtsTyd%2BrKnFp%2BEUfCxPQ2MOoNCGfNPteBp0ZJWESUWIHkDbIap6d%2B7vzdIDXhC%2F3s%2BcB6%2FvOsA69VHXoziuAuOHNYoqS%2BYBR33820ct8q7jUBEIV7WDDQWLVhXWV%2FXgi10oqyEYtvzc3z1EfNZsgDFZ1573ukoKF98Qo2Ce69u9tSk6DwvPTTgOBz%7Ctkp%3ABFBM3sfCk4dh">Wadding</a></li><li><a href="https://www.ebay.co.uk/itm/155104292229?hash=item241cefad85:g:dxUAAOSwBOZi7TaH&amdata=enc%3AAQAHAAAAsIfZsKQP0dXIAs4oefRhP3euBLFtdQHQV6OSqJelGtbb9C7%2FdnjPqdp4DqY5kXQYYdtfsczwtW5op3JyDX8oiBbyy36azRoyF%2Fj07SW5NT8Byzwk0d4QbBUy5axyQyxbfOk%2FhCheRtd5jTl3PPOp3Yl2kyWfSlncpWQ9dnJHOexG1NmT0CCavxFonIrokUxob0pyPSexCCBWKnvNWFpubfSdMsaR3kd9xAxcg4exAJW7%7Ctkp%3ABk9SR5yE1pOHYQ">Launch Controller & Launch Platform</a> (<a href="https://www.printables.com/model/202315-model-rocket-launch-controller-multipad-launch-pad">or build your own</a>)</li><li><a href="https://www.ebay.co.uk/itm/283992943906?_trkparms=amclksrc%3DITM%26aid%3D1110013%26algo%3DHOMESPLICE.SIMRXI%26ao%3D1%26asc%3D20201210111452%26meid%3D1fd9ecb32dea4b1a9d64620c546d9ed3%26pid%3D101196%26rk%3D3%26rkt%3D12%26sd%3D363748404591%26itm%3D283992943906%26pmt%3D1%26noa%3D0%26pg%3D2047675%26algv%3DPromotedRVI%26brand%3DUnbranded&_trksid=p2047675.c101196.m2219&amdata=cksum%3A2839929439061fd9ecb32dea4b1a9d64620c546d9ed3%7Cenc%3AAQAHAAAA8Iq9Pd1eiueKRlho1pRz6mLPYQEiCPtXE397Fp9tgBRyDrYh7f%252F4Irl2pxGj%252BFpBxq0p6ND2QsTRAI7Og8etCX70I0JwNTot5dpByNbG1xEygQ82wYj9EUx1zyE5ukSltM64%252BbbKkCzQ7iwQvB7iKyUG06QFEHcrP4ezjEyvh6qV7s7dEYbclzGaEVJWPOkWiWWGQypQ73Dqpjy8TsECSv0JC748oZQvN5IMLjasHAeWXogZm6C6zjPRfY9%252Ftqmf0DKtfUtwG7TTozHzcpi74eKEbI%252Be4oeoT%252F0ipSXMVsRHJji24qYRg3svIB4H54NdVw%253D%253D%7Campid%3APL_CLK%7Cclp%3A2047675">Shock Chord</a> (a rubber band is sufficient)</li><li>D12-7 Motor</li></ul>
With this file you will be able to print Bigger Bertha Rocket (with camera) with your 3D printer. Click on the button and save the file on your computer to work, edit or customize your design. You can also find more 3D designs for printers on Bigger Bertha Rocket (with camera).