Binary Watch
myminifactory
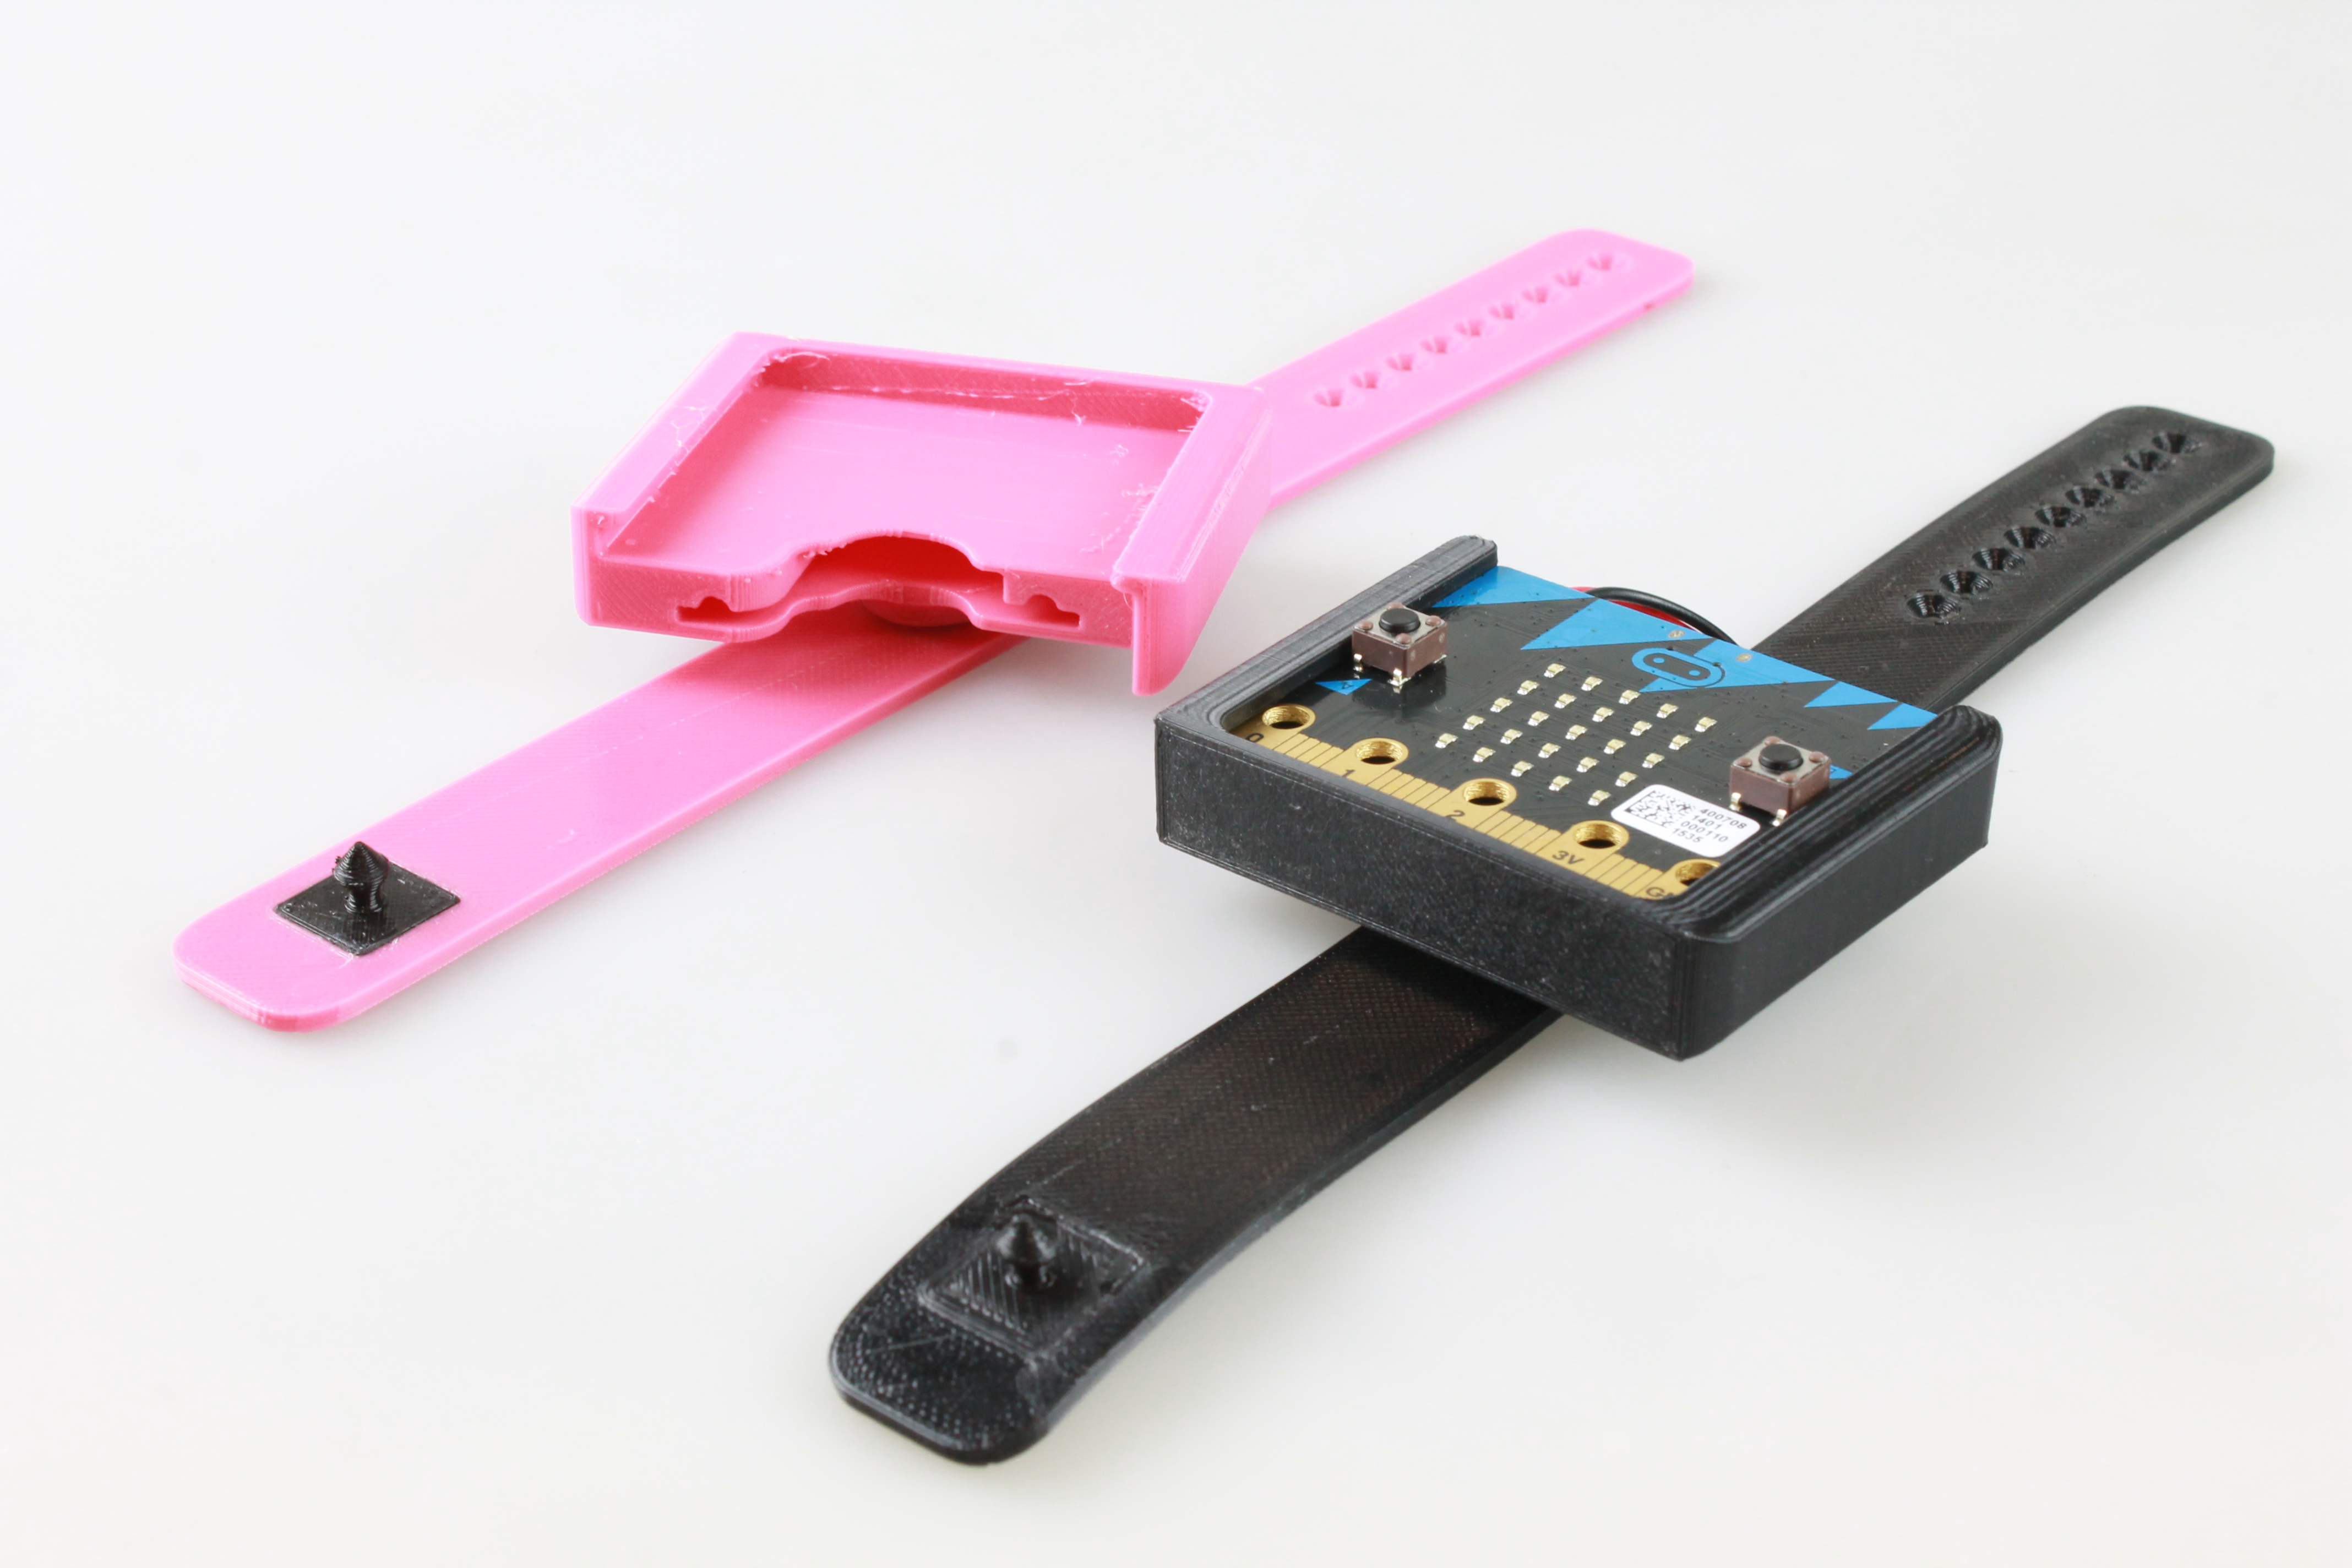
This is a fully 3D printed watch that displays the time in binary code. You can rotate the dial and easily access all the pins to add more functionality. In this tutorial, you will learn how to 3D print using flexible filament and program a watch by converting decimal numbers into binary. The watch displays the time in binary, meaning only those who can read binary can tell the time on this watch. Enter the Matrix and impress your friends! Enjoy this project! Things You Will Need: • A 3D printer • 1 micro:bit device • Coin cell battery coin cell holder • Filament (plastic) for your 3D printer, PLA & Flexible! Parts Description: Step 1: Printing the Parts 1. Bracelet & Dial: To obtain the 3D files, click the download button on this page! Next, you'll need to slice the parts, which means generate a code that your printer can understand. This process is called "slicing" because your printer prints the part layer by layer. You'll need to use the right slicer for your 3D printer; ask your teacher if you need help with this! The most important setting for the printer is the temperature of the nozzle, which will depend on the type of filament you use. The speed, infill, layer height, and whether you need support or not also need to be considered. Print the bracelet and dial using flexible filament. Use a nozzle temperature of 230°C, high infill (more than 35%), no support, and no raft. Heat the bed to 60 degrees and apply some glue to prevent warping. Flexible filament doesn't always stick well, so be careful! Export your code to your SD card and take it over to the printer! 2. Dial Clip and Clasp: These parts need to be printed in PLA or ABS with a 100% infill. Because they're small, print three of each on one print bed at low speed, allowing layers to cool as the nozzle moves between pieces. Step 2: Flash the micro:bit You can find this code here Step 3: Assemble the Watch 1) Apply glue inside the hole in the bracelet. 2) Clip the two PLA clip parts into their respective places and hold them together for a few minutes so the glue sticks well. 3) Clip the dial into the bracelet. 4) Slide the coin cell and micro:bit inside the watch. 5) Read the time!
With this file you will be able to print Binary Watch with your 3D printer. Click on the button and save the file on your computer to work, edit or customize your design. You can also find more 3D designs for printers on Binary Watch.