BIQU B1 E3D V6 Print Head (RAW MK1)
thingiverse
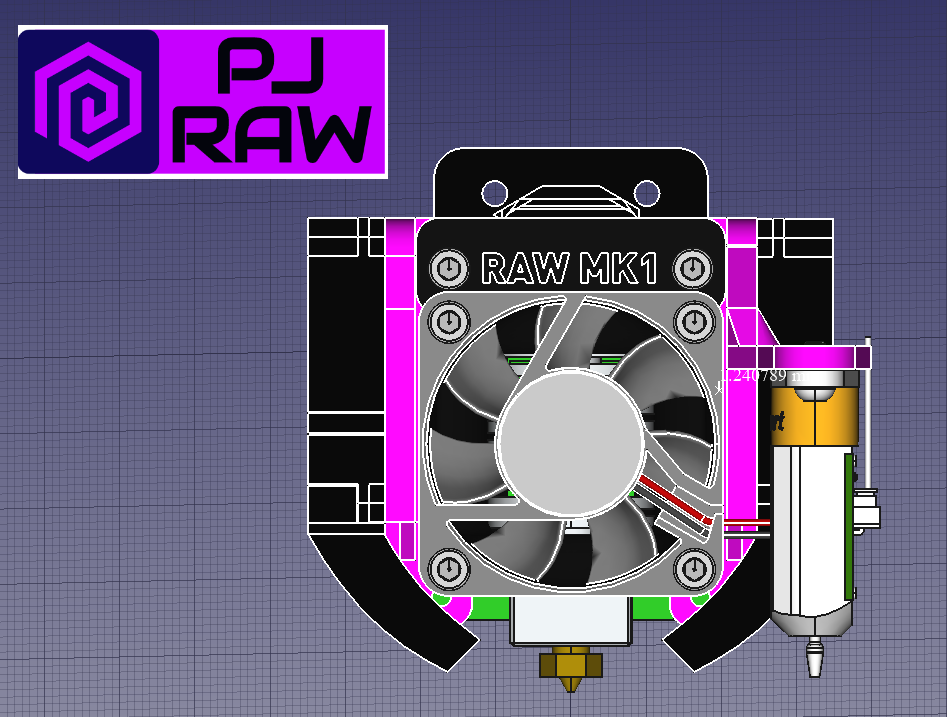
*THIS IS A WORK IN PROGRESS* # A E3D hotend mount for the BIQU B1 (with support for bltouch/3d touch sensor) In addition to supporting the V6 the design also includes more cable strain relief for the USB port. The files include a 40mm duct (a fantastic design made by loco https://www.thingiverse.com/thing:354723) but you can also just use the 30mm one that comes with your E3D kit. ## Printing _Ensure your flow rate is calibrated before printing_. Holes use a +/-0.3mm tolerance. The fan ducts must be printed in PETG, everything else PLA or PETG at your preference. I recommend printing the clamp in PETG and perhaps the backplate. Print as orientated in the picture, 0.2mm layer height, 3 walls, and 20-25% gyroid infill. ## Supports Most parts are designed to be printed _without_ supports. The main body is the only part that must be printed with supports under the BLtouch holder. I recommend using my support settings in the image provided. If you wish you can also add them under the screw holes but they are certainly _NOT_ needed in the V6 clamp area. ## Fasteners You will need to tap threads (M3x0.5mm) into the predrilled holes or use self-tapping screws. You could also use a bradawl to help your thread get started if using standard machine screws. I used an assortment of M3 and M2 fasteners including but not limited to: - 2 x M3x10-12mm screws and nuts needed for the V6 clamp - 4 x M2x14mm screws are needed to mount the fan ducts - 4 x M3x20mm screws for the hotend fan shroud - 4 x M3x12-14mm screws for the backplate ## Assembly and post-printing Use an hex key to clean out all holes and push through any support material. Clean-up the support material around the bltouch holder. It is important to check that your heatsink fits the provided clamp. If it is massively too tight or too loose check your printer tolerance. It is fine to be a bit loose because the clamp will pull it very tight when you fasten down the screws. Check that the ducts fit around your blower fans. They need to be pressed on tightly so that they don't leak air around the sides. Check that your USB cable fits inside the backplate guide hole. It is fine to be a bit tight but if it doesn't fit check your printer tolerance. I recommend the following assembly order. 1. Attach ducts to fans 2. Attach fans to the main body, using the provided spacers if required 3. Attach the bltouch to the main body (if required) with the PCB facing outboard 4. Assemble your e3d hotend and secure it to the main body with the clamp. Press the fan shroud onto the heatsink and attach your choice of fan. 5. Route all wiring under the body towards the back and make the connections to the pcb 6. Align the pcb and backplate with the main body holes and then fasten it down. 7. Tidy the wiring ensuring that wires keep away heater block. 8. You can now reattach the assembly to the carrier plate. ## BLTOUCH Set your firmware to the following x =32 , y=-36, z = -1.35 as a starting point.
With this file you will be able to print BIQU B1 E3D V6 Print Head (RAW MK1) with your 3D printer. Click on the button and save the file on your computer to work, edit or customize your design. You can also find more 3D designs for printers on BIQU B1 E3D V6 Print Head (RAW MK1).