Bird Photo Booth Mount for 2" square post
thingiverse
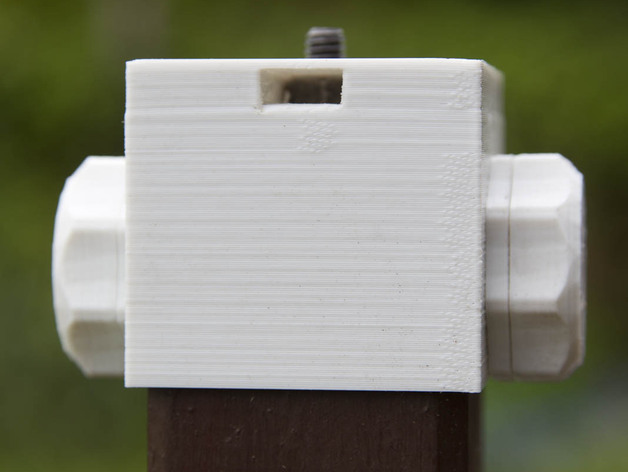
I purchased a Bird Photo Booth from Bryson Lovett a week ago and needed some way of attaching it to what was once a bird table feeder - I had removed the table part and was left with a post which was roughly 46mm square. (A 2" square planed piece of wood). In the instructions for his Photo Booth, Bryson recommends using a tripod as a support but I wanted something more permanent in the garden so that the birds could get used to it and I could fit my GoPro camera (or iPhone) as needed. The Bird Photo Booth is described here: http://www.BirdPhotoBooth.com My mount fits to the base of the Photo Booth using a 1/4" BSW screw and then the whole assembly slots on top of the post secured by an M8 threaded rod which has a thumbwheel at both ends. (The design of which was based on a Thing from 3D_CC_design http://www.thingiverse.com/thing:53680) My very first attempt at using this arrangement can be seen here: http://youtu.be/LaNMRyZQzFY noting that I have since made one or two adjustments to the position of the feed tray which should give me a better view next time our Robin comes down for a feed!). Instructions All parts have been designed to print with a 0.2mm layer height and no support. The post mount contains a single layer support diaphragm which needs to be drilled out after printing. This is required so that a suspended hole can be formed without the need for any support material. A 1/4" BSW nut slots into the top of the mount and then a 1/4" BSW cap head bolt, 1/2" long, goes into the nut from below using an allen key. This provides the thread onto which the Bird Photo Booth can be fitted. Once on the post, mark the position of the hole needed for the M8 bolt which is used to secure the assembly and then drill this hole into the post. I made the securing bolt by printing two SpinnyNutSeparate pieces. An M8 nut fits into the top half which is then capped with the bottom half. (You may need a bit of drill bit work here to get the two halves to mate). That was my first attempt. However, since then, I have reworked the method of encapsulating the M8 nut which in my opinion is a far better solution but a wee bit more involved. Taking inspiration from Nophead's blog, http://hydraraptor.blogspot.co.uk/2014/03/buried-nuts-and-hanging-holes.html I created the Encapsulated_M8_Nut.STL To print this, you need 0.2mm layers and a pause when the print nozzle gets to a height of 6.6mm. At this point, drop in an M8 nut (there is plenty of space) and carry on with the rest of the print. As said - this is a better idea but my original works very well and is easier to construct.
With this file you will be able to print Bird Photo Booth Mount for 2" square post with your 3D printer. Click on the button and save the file on your computer to work, edit or customize your design. You can also find more 3D designs for printers on Bird Photo Booth Mount for 2" square post.