BlinkM Coin Cell Battery Holder
thingiverse
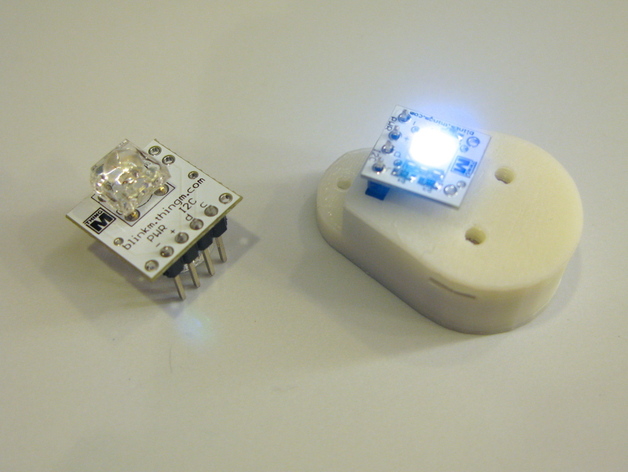
Power your BlinkM or BlinkM MinM smart LEDs with this snap-together coin cell holder and BlinkM mount. Minimal soldering (just two solder dabs) required. Includes holes for turning into a pendant and mounting additional diffusers over the BlinkM. Instructions Parts needed: one each of plastic pieces here (see the STL files) two CR2032 3V coin cells one 4-pos female header socket (Digikey S7037-ND or equivalent, http://www.digikey.com/scripts/dksearch/dksus.dll?keywords=S7037-ND) two short pieces of solid wire (old resistor leads, 26 gauge wire stripped, etc.) Steps: Push the 4-pin socket into the hole until it stops. It should friction-fit in without any need for glue. On the bottom, feed the two wire pieces in as shown in the photos, and solder them to the two pins on the header socket. These wires become the battery terminals. Bend the wire battery terminals so they make good contact with the cells. Insert coin cells, snap together top piece. Insert BlinkM and watch it play its light sequence. To protect the back, put a small piece of gaffers tape or similar over the terminals. Now I don't really like coin cells because they're not rechargeable. But as a quick, portable way of showing off BlinkMs, this little coin cell pack does pretty well. There also exist rechargeable CR2032 cells. Since these are at 3.6V, you should probably use only one and fill the rest of the space with a penny or two as a spacer.
With this file you will be able to print BlinkM Coin Cell Battery Holder with your 3D printer. Click on the button and save the file on your computer to work, edit or customize your design. You can also find more 3D designs for printers on BlinkM Coin Cell Battery Holder.