BlinkyCube - RGB addressable lights in the gear cube.
thingiverse
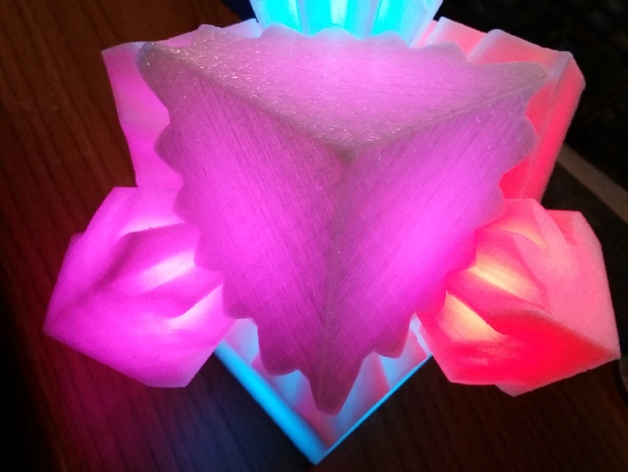
My wife was fiddling with Emmett's gear cube and suggested it'd be awesome with a light inside. If I'm going through that much trouble, I'll add more than one light. Check out this video: https://www.youtube.com/watch?v=3Jl0vh4w2LU. I yanked some WS2811 pixels from the project box and made a few changes to the cube, scaling it up to 5 inches. This is an early beta version of this cube; instructions, wiring diagrams, etc. will follow, and I'll probably modify the pins. This model features nine RGB LEDs - one in the center, one in each corner. I'm running it on an Arduino Nano using FastLED, powered by a 3.7V 18650 battery stored in a custom case (http://www.thingiverse.com/thing:535688/) connected to the Arduino and LEDs via a salvaged USB boost converter from an old charger pack. You can check my GitHub repository at https://github.com/bobiam/blinkygearedcube/blob/master/blinkycube.ino; however, you'll need to adjust some arrays to match your LED setup. The current code is located there too, which has been updated with the hall effect sensor on digital pin 3 that advances patterns when a magnet is nearby. If you don't include or want a hall effect sensor, consider using this older commit without it: https://github.com/bobiam/blinkygearedcube/commit/c3d7d7d8d34ff5b0e07a963634f6b75ecf3ae9ce Print Settings: * Printer brand: Printrbot * Printer: Simple Black * Rafts: Doesn't Matter * Supports: Doesn't Matter * Resolution: .3 * Infill: 15% * Notes: I used about half a kilogram of filament. Printing it in glow-in-the-dark material offers pros and cons; it means I can still see the cube even if the battery runs out, but this makes blacking it out more challenging. To mitigate the problem, my next prototype will be printed in white, which will allow me to switch off all the LEDs for a dark effect.
With this file you will be able to print BlinkyCube - RGB addressable lights in the gear cube. with your 3D printer. Click on the button and save the file on your computer to work, edit or customize your design. You can also find more 3D designs for printers on BlinkyCube - RGB addressable lights in the gear cube..