Blue Origin "Rocket Ship"
prusaprinters
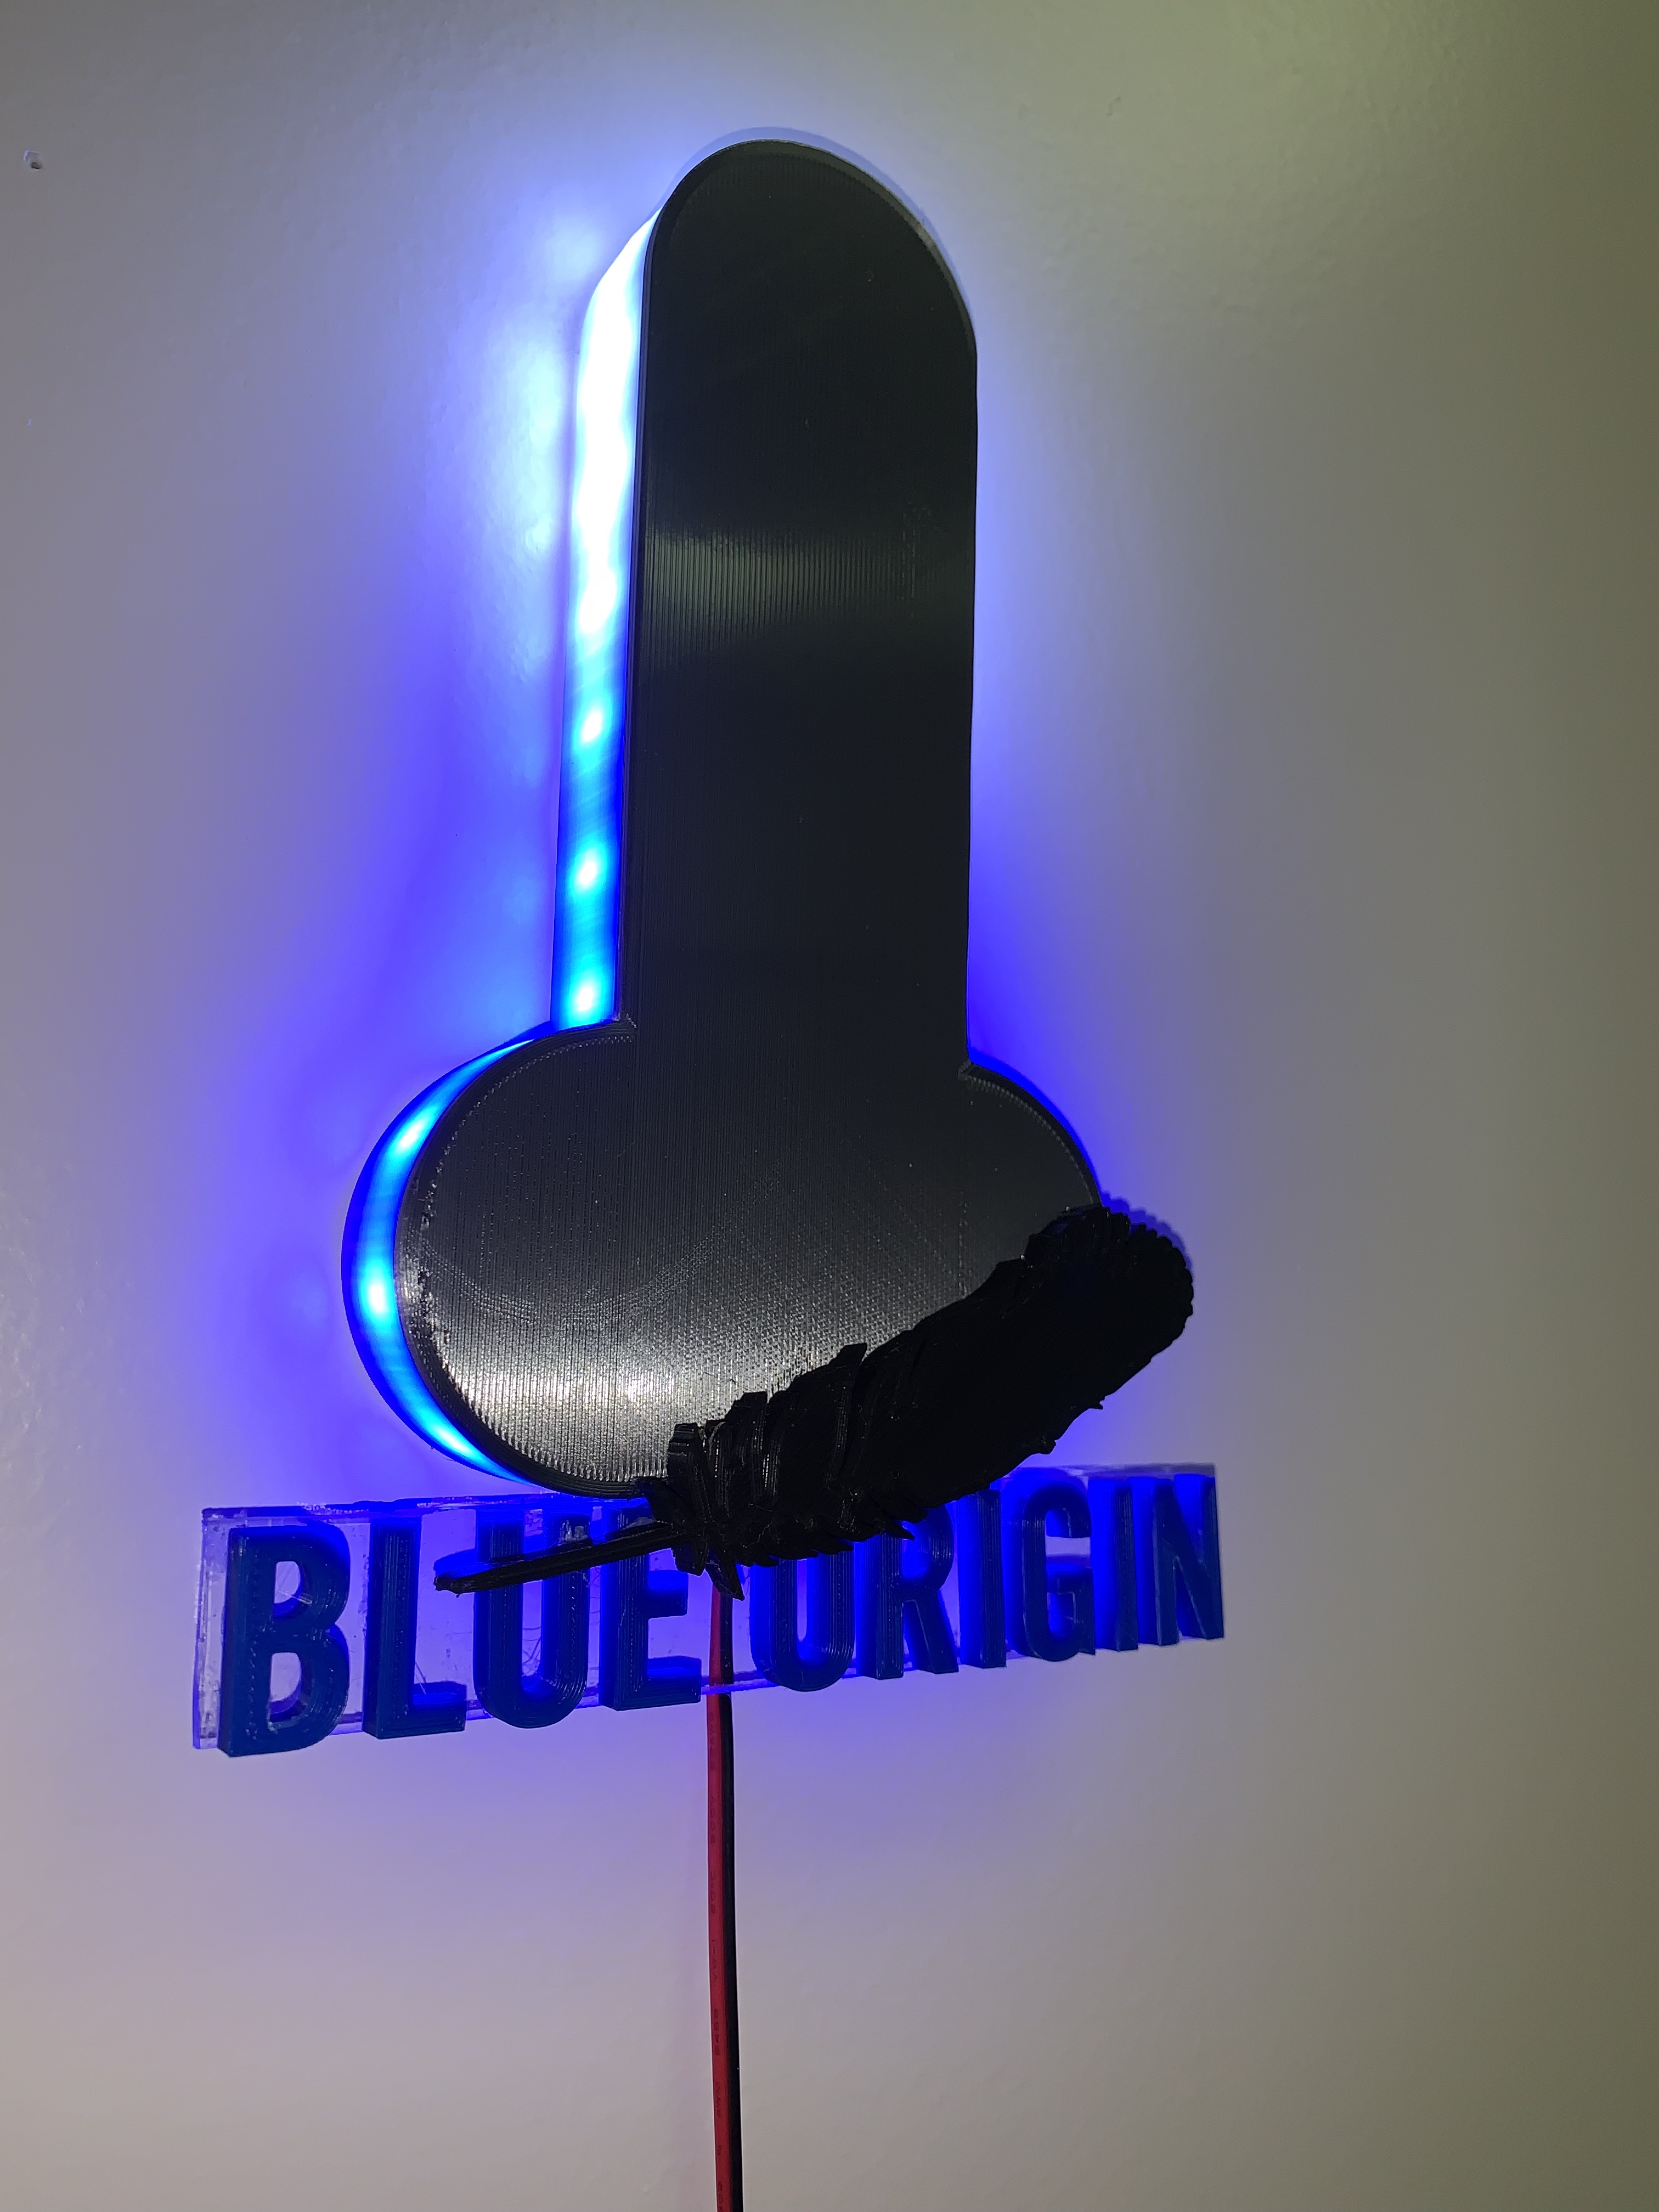
<h3>Blue Origin Rocket Ship</h3><p> </p><figure class="image image-style-align-left image_resized" style="width:51.12%;"><img src="https://media.printables.com/media/prints/273340/rich_content/671d8063-b98f-45b0-a7b5-239de93b5f3a/launch1.webp#%7B%22uuid%22%3A%2272b8b5ff-e799-4f83-ab24-5695c1e16d8e%22%2C%22w%22%3A2000%2C%22h%22%3A1333%7D"></figure><p>Hey man, I support civilian space travel, but if you make a rocket that looks like this I'm going to make jokes! This makes a great gag gift. I designed, printed, and assembled this and then secretly installed it in a friends office. The reveal was done a year ago and we are still laughing. Now, we all come to his office and laugh at his rocket ship. I find it best to skirt very close to the NSFW (not safe for work) line, and this was a great way to decorate a friend's office walls.</p><p>The design process was pretty straight forward and not too “hard”. I pulled the open source logo pics off of the Googles, extruded them along with the rocket shape and that was it. </p><p>I used a clear piece of Lexan to attach the letters and logo. The LED light strip is a small section of addressable LEDs using a NodeMCU to control the whole thing. A small 5VDC power supply is used power the strip and the NodeMCU. I think assembly took less than an hour. Below is the list of parts I used, or ones that can be used to make this project. It's a copy and paste from another LED logo project I posted as the parts are the same.</p><h4>Print Setup:</h4><p>I printed this with two different colors, face down on the platter. When sliced, determine how thick the front facing surface you need. Calculate the corresponding layer height and incorporate a filament change G-Code (M600) command through Post Processing Scripts. Replace the colored filament with clear PLA and finish the print.</p><ul><li>Material: PLA (colored for the top layer, clear for the walls)</li><li>Quality: .12mm</li><li>Temp: 200°C</li><li>Bed: 67°C</li><li>Print Speed: 50mm/s, first layer at 20mm/s</li><li>Walls: 3</li><li>Supports: None</li><li>Infill: <ul><li>100% for clear walls </li><li>20-50% for top surface</li><li>Use support blockers to modify infill based on layer height</li></ul></li></ul><p> </p><h3><strong>Parts</strong></h3><p><strong>LED Strip</strong></p><p>Aclorol WS2812B 144 Pixels Individually Addressable RGB LED Strip 5V, 3.3ft Programmable WS2812B WS2812 1M 144 LEDs Dream Color Strip Lighting</p><p><img class="image_resized" style="width:50%;" src="https://media.printables.com/media/prints/272866/rich_content/2f901812-3156-4042-aa37-b3d71d6b04df/image.png#%7B%22uuid%22%3A%220799452c-6075-478f-abe6-3c3c1fa3ae56%22%2C%22w%22%3A504%2C%22h%22%3A447%7D" alt="A picture containing indoor Description automatically generated"></p><p><a href="https://a.co/d/aswPgY3">https://a.co/d/aswPgY3</a></p><p>I used a less dense version of LED strip lights in my own project. However, I’ve used the ones linked here and they provide smoother animation due to their increased LED density. I have no recommendation of one brand over another. The only real requirement is that they be <strong>ProgrammableWS2812B or WS2812</strong> style lights. These lights can be cut and spliced together over gaps as needed by simply soldering on connection wires between segments. As with all LED Strip lights that are programmable and being used with a NodeMCU controller, splicing power to each segment is needed in longer applications. This project will not require any additional power due to its short length.</p><p> </p><p><strong>LED Power Supply</strong></p><p>ALITOVE 5V 3A 15W AC 100V~240V to DC Power Supply Adapter Converter 5.5X 2.5mm 5.5x2.1mm Plug for WS2812B WS2811 WS2801 SK6812 LED</p><p><img class="image_resized" style="width:50%;" src="https://media.printables.com/media/prints/272866/rich_content/089388f9-2ca4-4530-ae12-4afef0e4dee4/image.png#%7B%22uuid%22%3A%22cdb2c853-5c7e-44cc-80c9-0b18892fa718%22%2C%22w%22%3A1196%2C%22h%22%3A1228%7D" alt="A picture containing electronics Description automatically generated"></p><p><a href="https://a.co/d/7emno9J">https://a.co/d/7emno9J</a></p><p>Any common 5VDC power supply will work so long as it provides enough wattage for the number of LEDs you’re powering. This is the unit I used, and it has been in my office, powering my lights 5 days a week for the past year. It is on for approximately 12 hours a day and has worked flawlessly.</p><p> </p><p><strong>NodeMCU Controller</strong></p><p>KeeYees 3pcs ESP8266 ESP-12E Development Board WiFi WLAN Wireless Module CP2102 for NodeMCU for ESP-12E for Arduino</p><p><img class="image_resized" style="width:50%;" src="https://media.printables.com/media/prints/272866/rich_content/db26b3ad-17d0-4049-8cfc-73fe72a9a379/image.png#%7B%22uuid%22%3A%22b56eef63-e4ad-4e4c-8785-0d1666e57a9b%22%2C%22w%22%3A828%2C%22h%22%3A794%7D" alt="A picture containing text, electronics, circuit Description automatically generated"></p><p><a href="https://a.co/d/0seFCnx">https://a.co/d/0seFCnx</a></p><p>Again, I’m not recommending a specific brand of NodeMCU, but rather one that will support the running of WLED. These just so happened to work well in 6 different projects I’ve done. The box that I have designed is based on these controllers and their dimensions.</p><p> </p><h4><strong>WLED</strong></h4><p>WLED is an amazing program that was written by Aircookie (and many other contributors) that is used to control addressable LED lights. The capabilities that the WLED program has is astounding. When I first started making lighted logos, I used the following links to start getting a handle on how this all works and what parts I would need.</p><p> </p><p>Basic use of WLED, the NodeMCU, and some excellent LED project guidance:</p><p><a href="https://youtu.be/tXvtxwK3jRk">https://youtu.be/tXvtxwK3jRk</a></p><p> </p><p>Great beginner projects and a solid method on the basics of using a controller and LED strip lights:</p><p><a href="https://tynick.com/blog/11-03-2019/getting-started-with-wled-on-esp8266/">https://tynick.com/blog/11-03-2019/getting-started-with-wled-on-esp8266/</a></p><p> </p><p>GIT Hub WLED Project:</p><p><a href="https://github.com/Aircoookie/WLED/releases">https://github.com/Aircoookie/WLED/releases</a></p><p> </p><p>WLED home page. Contains great information and instructions on the use of the software:</p><p><a href="https://kno.wled.ge/">https://kno.wled.ge/</a></p>
With this file you will be able to print Blue Origin "Rocket Ship" with your 3D printer. Click on the button and save the file on your computer to work, edit or customize your design. You can also find more 3D designs for printers on Blue Origin "Rocket Ship".