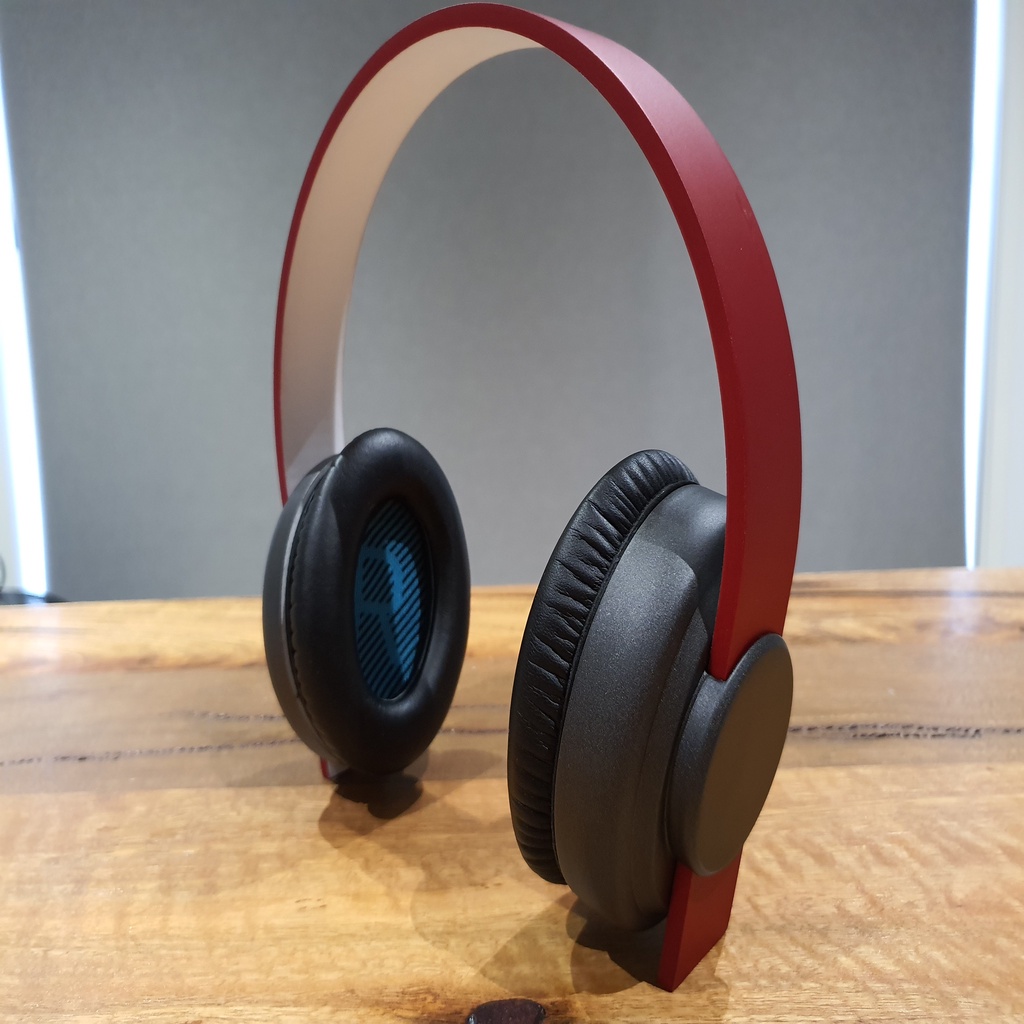
Bluetooth Headphones
thingiverse
Had a go at making my own Bluetooth headphones which I designed on OnShape. This version has the volume up and down buttons on the back not visible from the front. I printed everything at 100% infill (I thought maybe having more infill would mean more blocking of external sound but I cant be sure that worked) making sure that you have NO SUPPORTS for the headband because that is where you put the wires through. I printed the cups face down (opposite to what is shown in the images) so there is a fair bit of support to remove when you're done printing. This was the only way I could get a smooth finish on the parts you see and meant less sanding. The headband laying on its side so there was no need for supports. The cushion and driver holder can go anyway you like because you don't see it after you attach the cushion. All at .2 layer height. You need to print the POWER SIDE, AUDIO SIDE, 2x DRIVER HOUSING and HEADBAND Below is what I used as parts to get this all working. *dayton audio 40mm speaker drivers (http://www.theloudspeakerkit.com/dayton-audio-ce38mb-32-1-1-2-mini-speaker-black-32) *CSR8645 bluetooth chip from Aliexpress (https://www.aliexpress.com/item/32918680156.html?spm=a2g0o.productlist.0.0.18e87dd0ccKwtX&algo_pvid=5930dd66-486d-4061-8972-3daaa806198c&algo_expid=5930dd66-486d-4061-8972-3daaa806198c-4&btsid=766fac78-c467-40f0-b6a6-d4c50d9c54c5&ws_ab_test=searchweb0_0,searchweb201602_3,searchweb201603_52) *Li-ion Battery Pack found at Jaycar (https://www.jaycar.com.au/spare-li-ion-battery-pack-to-suit-gt-4110-quadcopter/p/GT4113) *DPDT power on/off switch (https://www.jaycar.com.au/sub-miniature-dpdt-pcb-mount-switch/p/SS0823) *Hook up wire (https://www.jaycar.com.au/hook-up-wire-pack-2-metres/p/WH3025) *tactile switch x2 for volume up and down (https://www.jaycar.com.au/3-5mm-spst-micro-tactile-switch/p/SP0602) *hot glue (to stick the parts to the insides and secure the cups to the headband at whatever length fits your head) *model glue (https://www.amazon.com.au/Modelling-Glue-Revell-Contacta-Professional/dp/B0187U3LMS/ref=sr_1_5?dchild=1&keywords=revell+contacta+glue&qid=1577087646&sr=8-5) *paint of your choice (I used Dulux plastic primer spray and colours from Dulux range) *sandpaper (different grits to get the surface nice and smooth before paint) *soldering iron and solder *lithium battery charging module (https://www.ebay.com.au/itm/Type-C-USB-5V-1A-18650-TP4056-Lithium-Battery-Charger-Module-W-Protection-Chip/362711194693?ssPageName=STRK%3AMEBIDX%3AIT&var=631869985071&_trksid=p2060353.m2749.l2649) Bose replacement cushions (https://www.ebay.com.au/itm/Replacement-Ear-Pads-Pad-Cushions-for-Bose-QuietComfort-35-QC35-II-Headphones/163330189217?ssPageName=STRK%3AMEBIDX%3AIT&var=462599690279&_trksid=p2060353.m2749.l2649) I did not necessarily buy items listed on Amazon or Ebay from those particular sellers. If you find it somewhere else then go for it. If you decide to make these, post them on here :) Huge shout out to Shannonley https://www.thingiverse.com/shannonley. Check out his homebrew headphone website when you get a chance.
With this file you will be able to print Bluetooth Headphones with your 3D printer. Click on the button and save the file on your computer to work, edit or customize your design. You can also find more 3D designs for printers on Bluetooth Headphones.
