Boxy Mandelbulb
prusaprinters
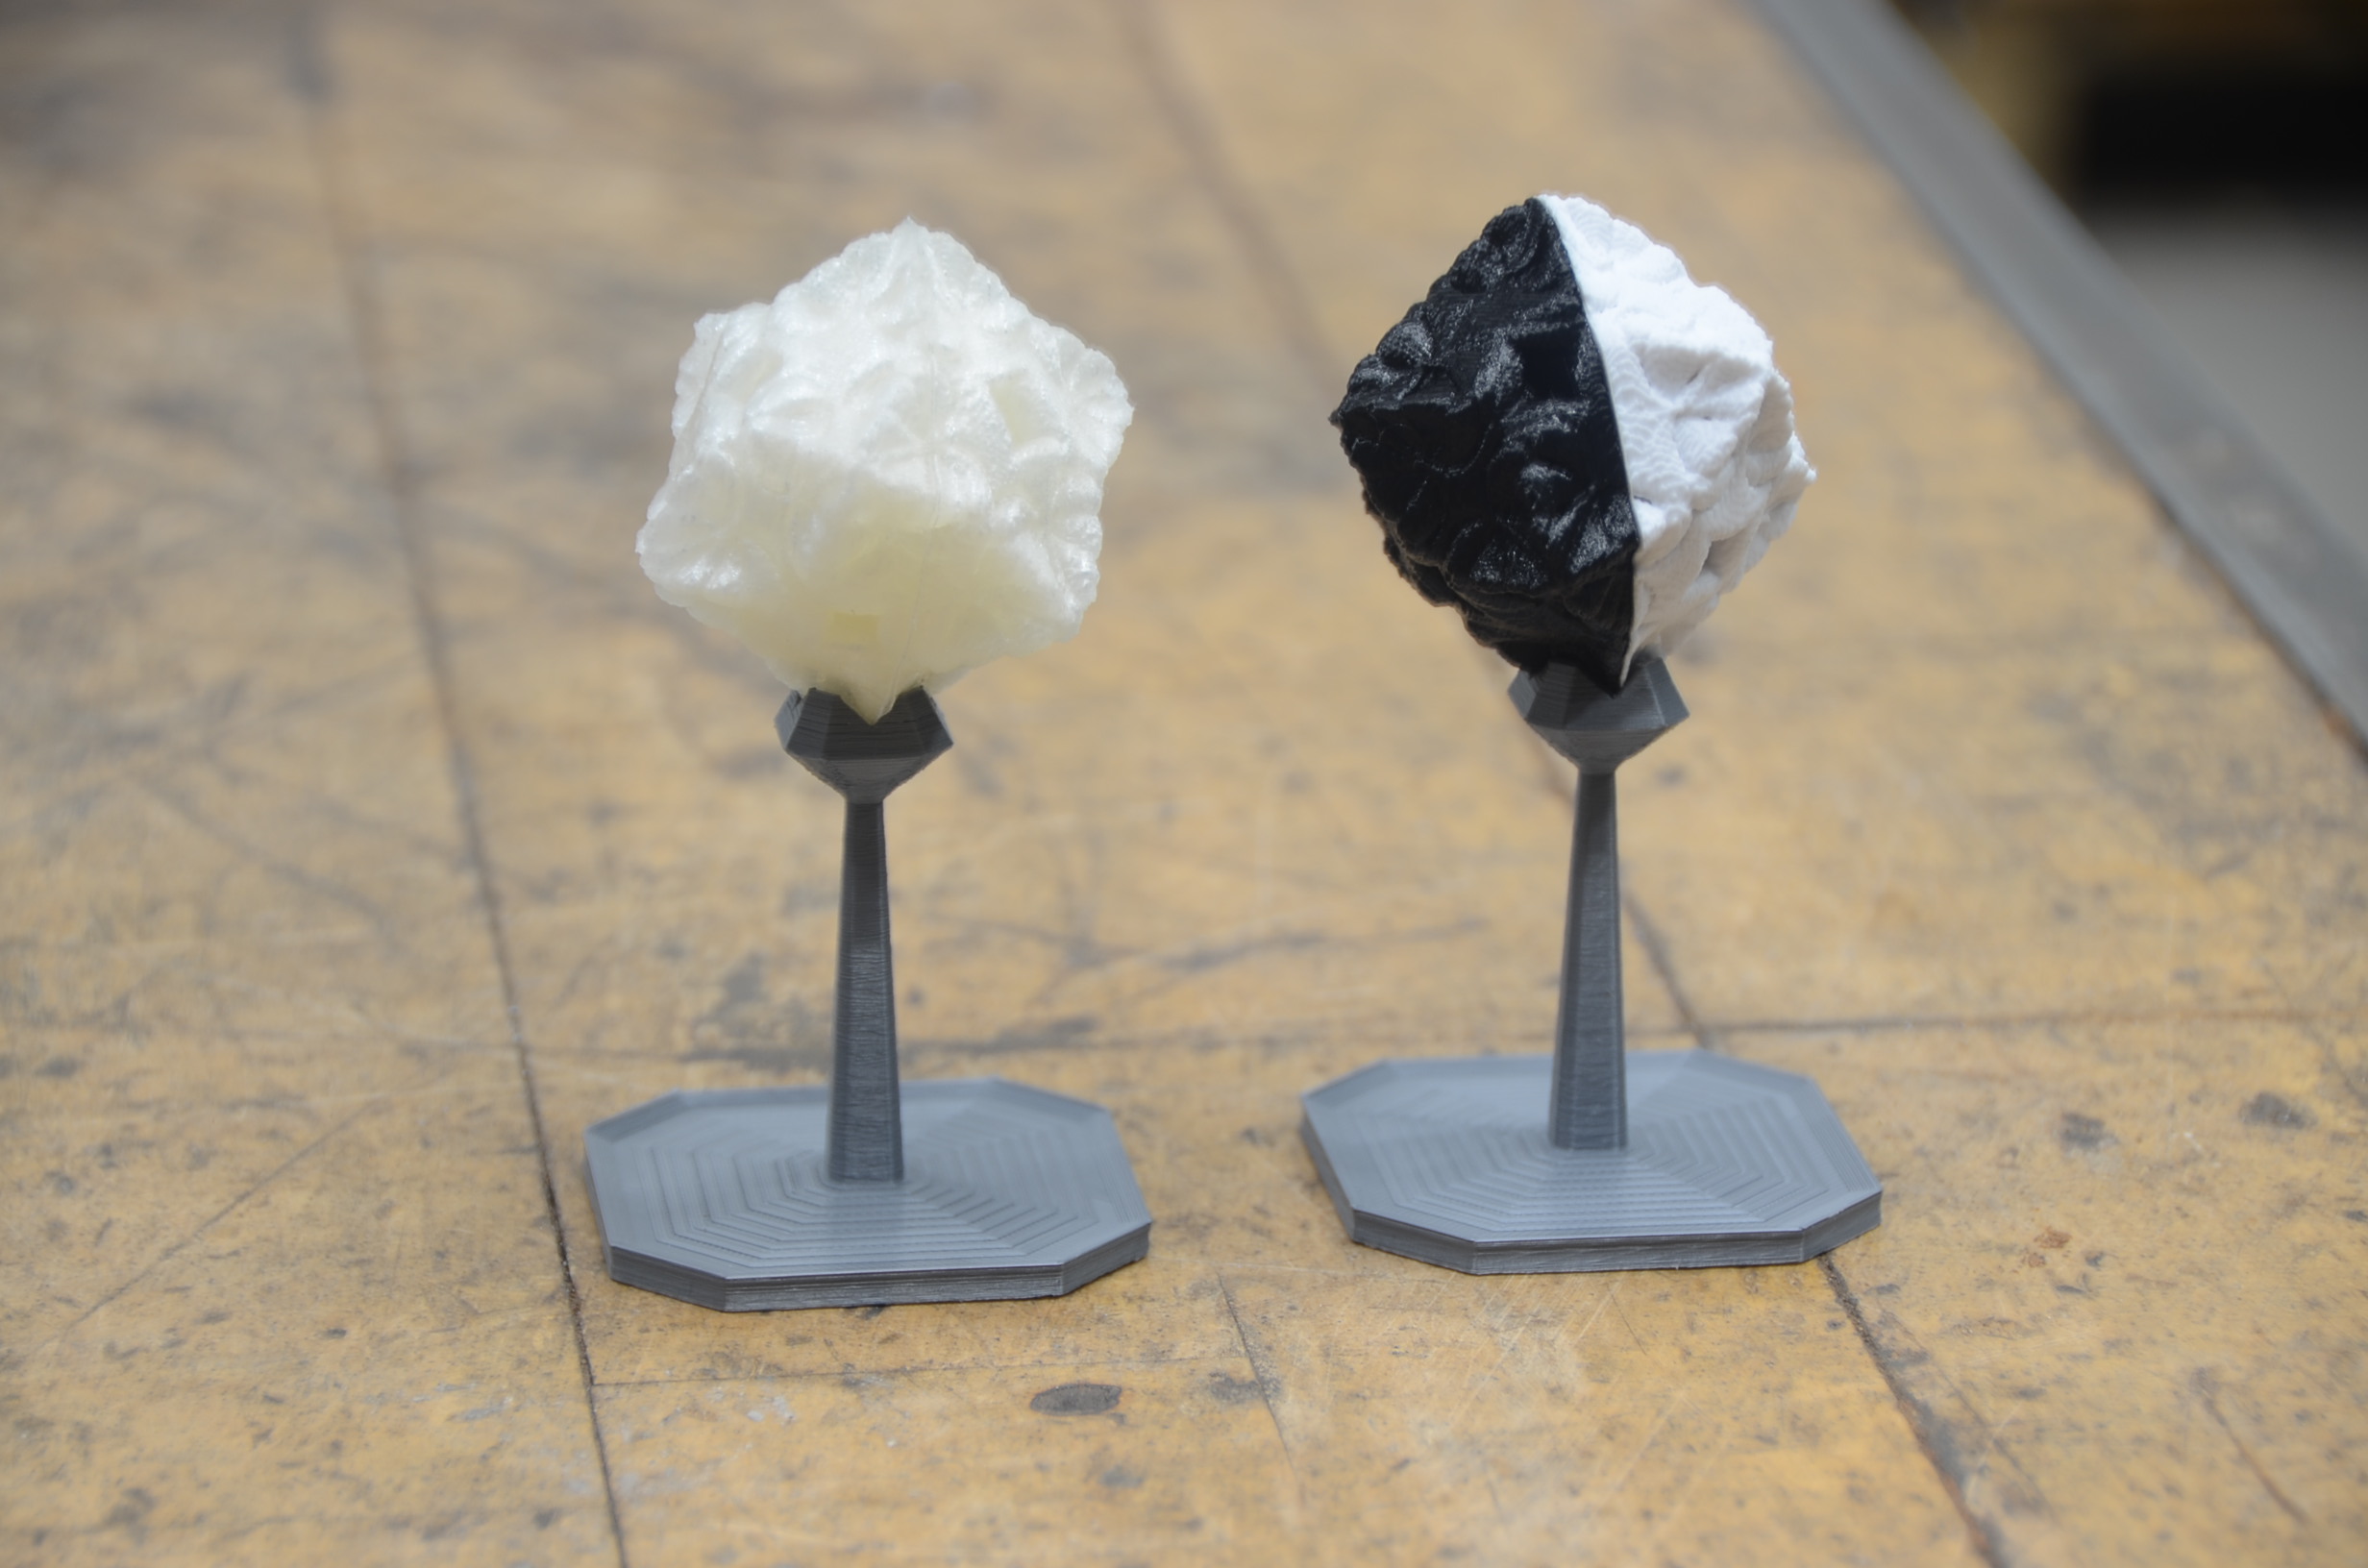
<p>After finding many cool fractal prints online, such as the <a href="https://www.prusaprinters.org/prints/18630-super-duper-fractal-pyramid">Sierpinski Pyramid</a> and <a href="https://www.prusaprinters.org/prints/50715-mandelbulb-polygon-3d-fractal">Amygdoloid's Mandelbulbs</a>, I decided to try to make one myself using <a href="https://mb3d.overwhale.com/">Mandelbulb 3D</a>. I also designed a stand to go with it!</p><p> </p><h3>Printing + Assembly Instructions</h3><p>Print both halves without infill or supports, and glue the halves together such that you can see through the model. The stand can be printed as normal. The mandelbulb should sit well on the stand on one of its cube-like edges. I would recommend scaling everything down by 50%, as it can take quite long to print otherwise.</p><p> </p><h3>The creation process</h3><h4>Making the mandelbulb</h4><p>This particular Mandelbulb was discovered by messing around with Mandelbulb 3D's MutaGen function. You can take a look at it yourself using the parameters provided. The fractal was then converted into a 3D shape by following <a href="https://www.deviantart.com/nic022/art/MB3D-to-3D-Print-Tutorial-348647408">this guide</a> and referring to <a href="https://fractal.institute/create-fractals/the-mandelbulb-3d-master-training-resource-guide/">this other one</a>.</p><p>In a nutshell, the conversion process is as follows: the fractal was converted into a series of image slices using the Mandelbulb 3D's voxelstack function. These slices were then stitched together in <a href="https://imagej.net/software/fiji/">ImageJ Fiji</a> (note that the triangulate function is simply ‘save as → Wavefront .OBJ’). Isolated areas were then removed using <a href="https://www.meshlab.net/">Meshlab</a>. Finally, the mandelbulb was decimated in <a href="https://www.blender.org/">Blender</a> (as the filesize was large and it was really lagging my computer), split into two halves, and each side given a face to make it easier to print. </p><h4>Printing and assembling the mandelbulb crystal</h4><p>Although the model is a bit messy and non-manifold, it seemed to print out properly when sliced with <a href="https://ultimaker.com/software/ultimaker-cura">Cura</a>. Cura also removes the extraneous faces on each of the two halves, allowing one to properly look through the model in the holes on at the center of each face. Although the model itself can certainly be cleaned up a bit better (feel free to give it a shot!), it seems to do the job.</p><p>To get a nice surface texture and hopefully minimize the need for supports, I sliced the mandelbulb with a 0.12 layer height. The model already has its own fractal infill, so I set infill to 0. Finally, I added a brim to increase bed adhesion.This seemed to work: both halves were successfully printed on an Ender3 Pro and glued together. </p><p>My first attempt involved using uncolored PLA. I found that the result looks a bit like a quartz crystal (or sugar cube), though it has a bit of a seam. To try to make this seam into a feature, I also tried printing each half out in black and white PLA. This turned out pretty well in my opinion; it gives off a yin-yang vibe.</p><h4>Making the display stand</h4><p>I also made a small display stand to go with the bulb. To do this, I reoriented the crystal in Blender such that one of its edges was facing downwards. A rectangular prism was then overlaid, beveled, and subdivided. The notches in the prism were estimated by eye. Finally, I added a base, scaled the vertical section to my liking, and made a last few adjustments.</p><p> </p><h3>Your turn!</h3><p>Let me know how you like it! I would love to see your creations.</p>
With this file you will be able to print Boxy Mandelbulb with your 3D printer. Click on the button and save the file on your computer to work, edit or customize your design. You can also find more 3D designs for printers on Boxy Mandelbulb.