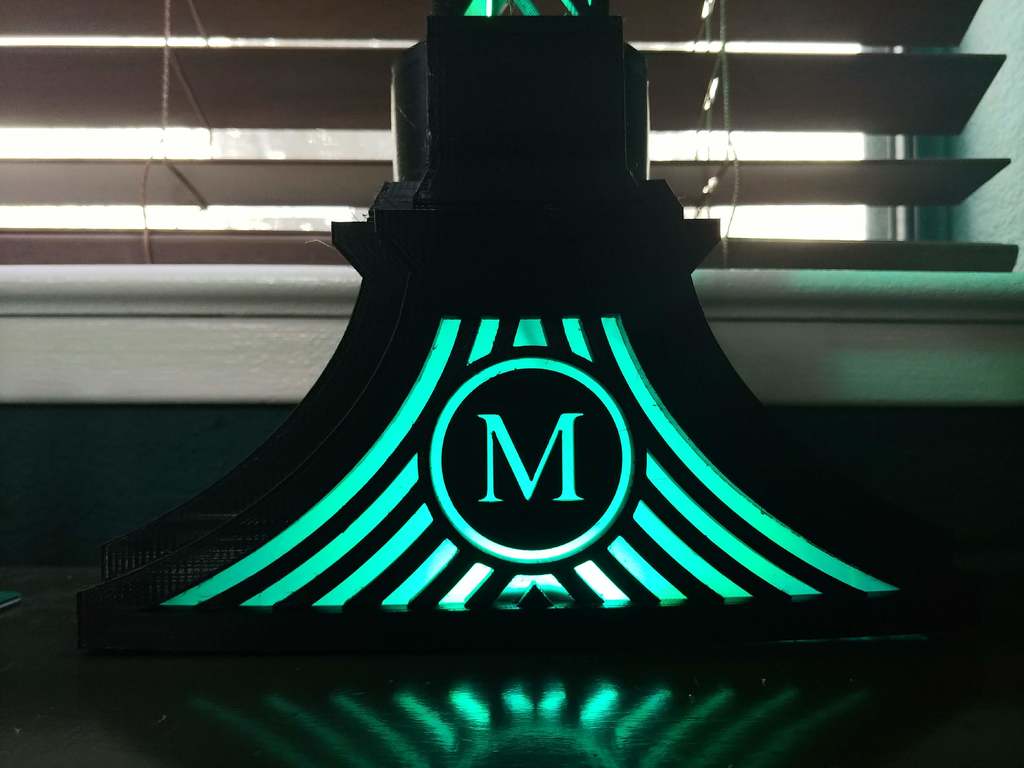
Bridge Lamp Tweaks
thingiverse
I wanted to share my tweaks so I'm reposting my Make as a Remix. :P Here are the changes and additions: 1. I removed the designs and reshaped the inside just a little to accommodate the "M" insert. The Insert is all one piece. I printed the diffuser layers in white, paused, switched to black, and printed the rest of the pattern. 2. I designed these little LED strip holders that, after the "M" inserts were installed, this piece would fit onto the bottom and lock the inserts into place. I wired these short sections into the rest of the LEDs. I've set my code up such that I can control the color of the bases independently of the rest of the strip. 3. I modified the LED Channels to center the LED strip in the model and allow for a larger strip (I'm using WS2812b LEDs which were a little to big for the existing slot). I also separated the two parts of the model into individual STLs. They were linked together in space which prevented me from making the best use of my build plate. Having them separated I was able to print way more in one go. 4. Not pictured, I created a "sole" for the bases. It fits over the bottom of the base thereby sealing them off. I had some light bleeding out from under the base and wanted to block it off. I gave it a little flair at the bottom to add stability to the lamp. I printed mine in TPU thinking it'd also give the base a little bit of grip on the desk. It really didn't add much grip at all though... As for the electronics: - Node-mcu w/ MQTT - Dimmer switch/knob - a lot of basic dimmable white LEDs - a lot of WS2812b RGBW LEDs Shout out to Opossums!!
With this file you will be able to print Bridge Lamp Tweaks with your 3D printer. Click on the button and save the file on your computer to work, edit or customize your design. You can also find more 3D designs for printers on Bridge Lamp Tweaks.
