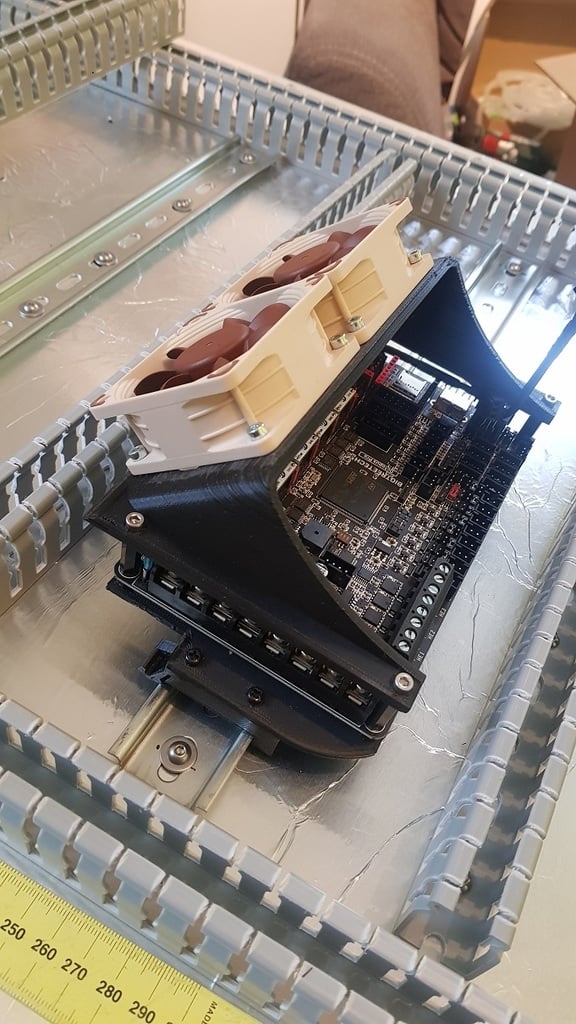
BTT Octopus Pro Din Rail Mount, FAN Mount
thingiverse
Din Rail Mount consist of 2 parts for each side. They need to screwed together by an M3 screw. Option 1: threading for M3 direct or Option 2: inserting an insert with heat. You need: https://www.amazon.de/ruthex-Gewindeeinsatz-St%C3%BCck-Gewindebuchsen-Kunststoffteile/dp/B08BCRZZS3/ref=sr_1_5?keywords=m3+einschmelzmutter&qid=1641124413&sprefix=m3+eins%2Caps%2C96&sr=8-5 https://www.amazon.de/ANTHYTA-Schrauben-Abstandshalter-Schraubenmutter-Kunststoffbox/dp/B091KJNZLB/ref=sr_1_5?crid=YGXE81P2VLUO&keywords=m3+schrauben+abstandshalter&qid=1641124494&sprefix=m3+schrauben+absta%2Caps%2C105&sr=8-5 For Fan installation on FanMount bracket: i also recomend to use an M3 insert.
With this file you will be able to print BTT Octopus Pro Din Rail Mount, FAN Mount with your 3D printer. Click on the button and save the file on your computer to work, edit or customize your design. You can also find more 3D designs for printers on BTT Octopus Pro Din Rail Mount, FAN Mount.