BTT UPS 24V V1.0 Case
prusaprinters
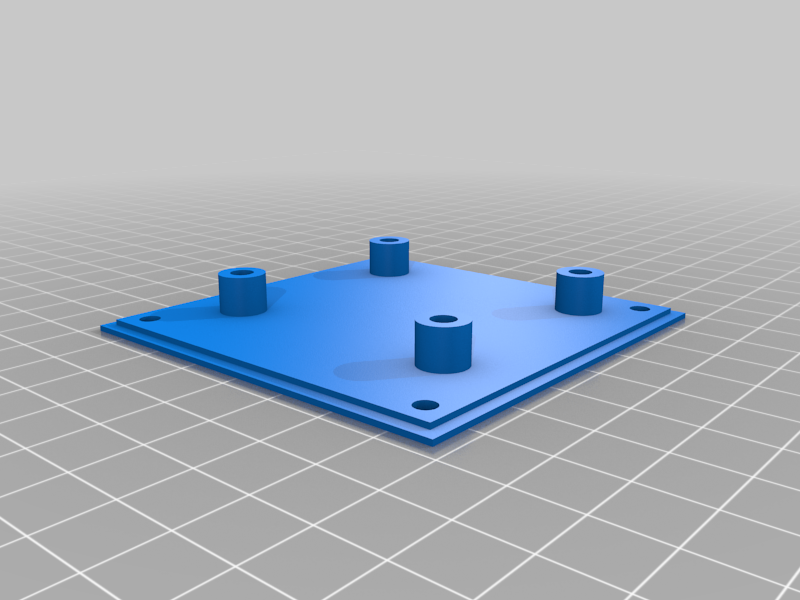
<p>Just a basic box to enclose and mount the BTT UPS 24V v1.0, knowing me I have probably over engineered this ;)</p> <p>To secure the base part to extrusion use 2x M3x8mm machine screws with 2x M3 T nuts, maybe a thin washer too.</p> <p>Fit the UPS to the top plate using 4x M3x5x4.2mm threaded brass inserts with 4x M3x8mm machine screws.</p> <p>Power and signal cable can be connected to the UPS & fed through the cutouts in the base part.</p> <p>This top plate is then fitted upside down on to the base part using 4x M3x5x4.2mm threaded brass inserts with 4x M3x10mm machine screws.</p> <p>The enclosure can be mounted either side as I have allowed holes for that or if you need to have the cables entering from the front of your printer, mine exit at the back and I have my enclosure mounted under my bed.</p> <h3>Print Settings</h3> <p><strong>Printer Brand:</strong></p> <p>Anycubic</p> <p class="detail-setting printer"><strong>Printer: </strong> <div><p>All-metal Mega</p></div> <p><strong>Rafts:</strong></p> <p>No</p> <p class="detail-setting supports"><strong>Supports: </strong> <div><p>No</p></div> <p><strong>Resolution:</strong></p> <p>0.2</p> <p class="detail-setting infill"><strong>Infill: </strong> <div><p>50</p></div> <p><strong>Filament:</strong> Sunlu PLA Blue</p> </p></p></p> Category: 3D Printer Accessories
With this file you will be able to print BTT UPS 24V V1.0 Case with your 3D printer. Click on the button and save the file on your computer to work, edit or customize your design. You can also find more 3D designs for printers on BTT UPS 24V V1.0 Case.