C8 Camera Mount Assembly
thingiverse
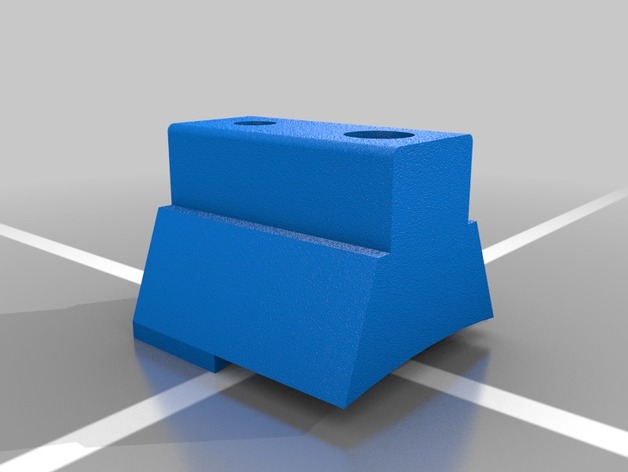
This is a 3-piece print which provides rail-mount brackets for a camera to piggy-back on a Celestron 8" Schmidt-Cassegrains, "C8" telescope. This assembly is fitted for the older model C8, CeleStar Deluxe with the double fork equatorial mount and an under-rail for weights, c1998. Post-Printing Post-Print Assembly Materials List • The three C8 Camera Mount Assembly prints o C8 Front Bracket o C8 Rear Bracket o C8 Camera Bracket • 1 – U-channel aluminum rail, 1" x ½" x 13-1/8" (6063-T52 Al chan, sharp corner) • 2 – ¼" x 1" bolts • 1 – ¼" x ½" machine screw • 2 – ¼" nut • 2 – #8-32 x ¾" (1" will work too) machine screws • 1 – #10-24 x 1" machine screw • 1 – Manfrotto 323 RC2 System, Quick Release Adapterhttps://www.bhphotovideo.com/c/product/554141-REG/Manfrotto_323_323_RC2_System_Quick.html Caution: Inserting screws into your telescope mounting holes can damage or misalign the optical elements. Finger-test the fit of all screws before inserting with tools. Do not over-tighten the screws. Rail Preparation – cut and drill the aluminum rail Cut the rail to about 13-1/8" long (test fit on your scope for precise length) Drill a ¼" diameter hole, centered side-to-side and positioned about 0.350" from the front face of the rail. Label this hole "A". You can use the C8 Front Bracket to mark the drill point of this hole. Drill a ¼" diameter hole, centered side-to-side and positioned about 1.275" from the front face of the rail. Label this hole "B". You can use the C8 Front Bracket to mark the drill point of this hole. Drill a ¼" diameter hole, centered side-to-side and positioned about 0.5" from the rear face of the rail. Label this hole "C". Drill a ¼" diameter hole, centered side-to-side at a position along the rail for mounting your camera (I used 10” from the front). Multiple holes can be drilled for C8 Camera Bracket and further back the position, the balanced the telescope will be. Label this hole "D". Assembly Insert the #10-24 into the forward counter-bore hole of the C8 Front Bracket—this will sit under the aluminum rail and can be accessed through hole A Insert a ¼" hex nut into the bottom counter-bore hex-hole of the C8 Front Bracket Fit a ¼" x 1" bolt through hole B of the rail and into the matching hole (with nut) on the C8 Front Bracket. Thread the bolt into the nut finger-tight. Insert a ¼" hex nut into the bottom counter-bore hex-hole of the C8 Rear Bracket Fit a ¼" x 1" bolt through hole C of the rail, into the matching hole (with nut) on the C8 Rear Bracket. Thread the bolt into the nut finger-tight. Fit a ¼" x 3/8" machine screw through hole D from the bottom (in the Al U-channel), through the C8 Camera Bracket, and tighten into the Manfrotto 323 bracket quick-release Insert two #8-32 x ¾" machine screws into the top counter-bore holes of the C8 Rear Bracket Fit the whole assembly onto your C8 and attach the C8 Camera Mount Assembly a. Locate one of the mounting holes on the ‘rear cell’ of the C8, place the C8 Rear Bracket near one of these mounting hoes, and finger tighten one of the #8 screws into the rear cell b. Locate the ‘front cell’ mounting hole, place the C8 Front Bracket near the hole, lightly tighten the pre-inserted #10 screw through access hole A c. Tighten the 3 mounting screws and 2 bolts connecting the brackets to the rail How I Designed This This was my second project using OnShape, free subscription (started before "public" requirement). The front and rear brackets were designed first with 4 revisions after test-fits on my C8. Drawings were created later (for my first posting to Thingiverse) and exported to provide dimensions. The camera bracket was created and run through several test fits with the aluminum rail and the Manfrotto quick-release. To be improved • Match the shoulder angles on the C8 Front Bracket • Consider having the Manfrotto 323 RC2 sit flush with the C8 Camera Bracket (the current offset allows for tight indexing)
With this file you will be able to print C8 Camera Mount Assembly with your 3D printer. Click on the button and save the file on your computer to work, edit or customize your design. You can also find more 3D designs for printers on C8 Camera Mount Assembly.