Cable-Driven Tool Changer System
thingiverse
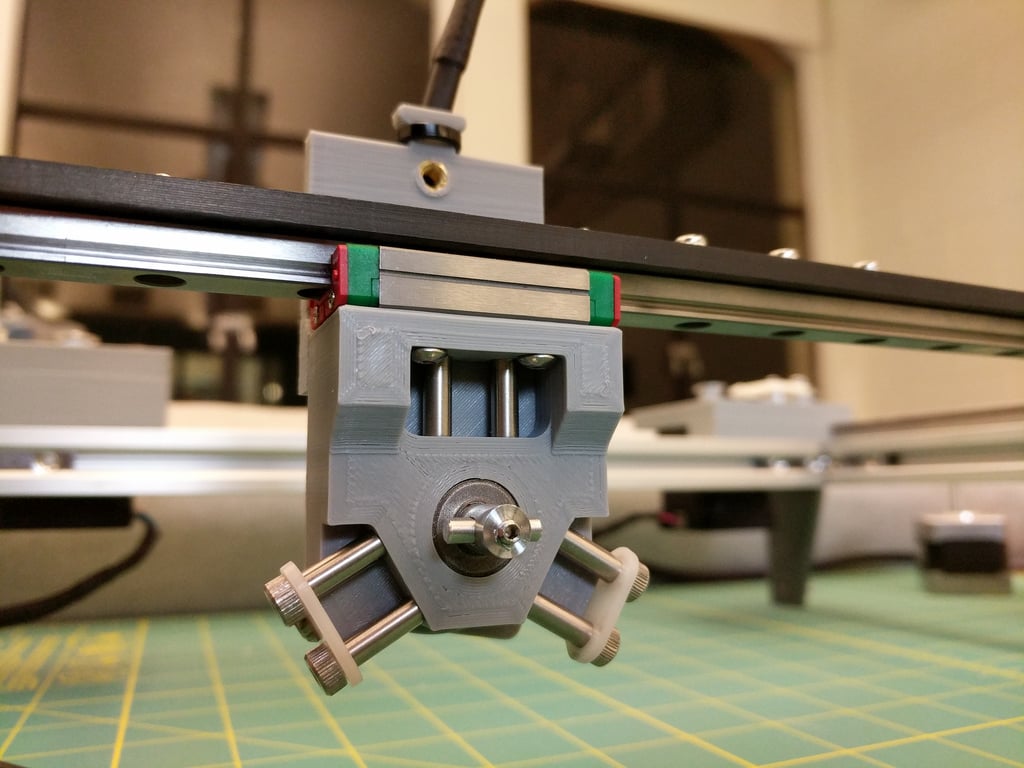
This appears to be a 3D printing project, specifically a tool changer base and related parts for a 3D printer. The project includes various components such as balls, screws, dowel pins, heat-set inserts, and other parts that need to be printed or laser-cut. Here's a breakdown of the instructions: **Tool Base:** * 3x "Kossel-style" 10mm threaded balls with M4 threads * 3x M4 buttonhead screws (10mm length) * 3x M3 flathead screws (8mm length) * 4x M2 screws (6mm length) * 3x M3 Heat-set Inserts * 4x M2 Heat-set Inserts **Tool Parking Post:** * 2x dowel pins (5mm diameter, 50mm long) **Print Settings:** * All prints were tested with a Prusa i3 Mk3. * Print all parts in the rendered orientation for optimal performance. * No support material is required. **Specific Print Settings for Each Part:** * **Tool Changer Base:** 0.2mm layer height, 6 perimeter layers, 80% honeycomb infill, PLA or ABS, brim recommended * **Shoulder Screw Reinforcement Plates:** 0.2mm layer height, 4 perimeters, print solid (tiny parts), PLA or ABS * **Cable Drive Motor Post Vertical:** 0.2mm layer height, 4 perimeters, 20% rectilinear infill, PLA or ABS * **Pulleys:** 0.2mm layer height, 4 perimeters, 20% rectilinear infill, PLA or ABS * **Pulley Cinch Backing:** 0.2mm layer height, 6 perimeter layers, 20% honeycomb infill, 3mm raft recommended, brim recommended * **Alignment groove disc:** 0.15mm layer height, 4 perimeters, 20% rectilinear infill, PLA or ABS * **Generic Parking Post Base:** 0.2mm layer height, 4 perimeters, 20% rectilinear infill, PLA or ABS **Additional Instructions:** * For laser-cutting the Shoulder Screw Reinforcement Plates from Delrin, use a PDF file provided. * You may need to drill out the larger two holes to 3mm to fit the shoulder screws.
With this file you will be able to print Cable-Driven Tool Changer System with your 3D printer. Click on the button and save the file on your computer to work, edit or customize your design. You can also find more 3D designs for printers on Cable-Driven Tool Changer System.