Cable Mast for Trick Laser Rostock MAX METAL
thingiverse
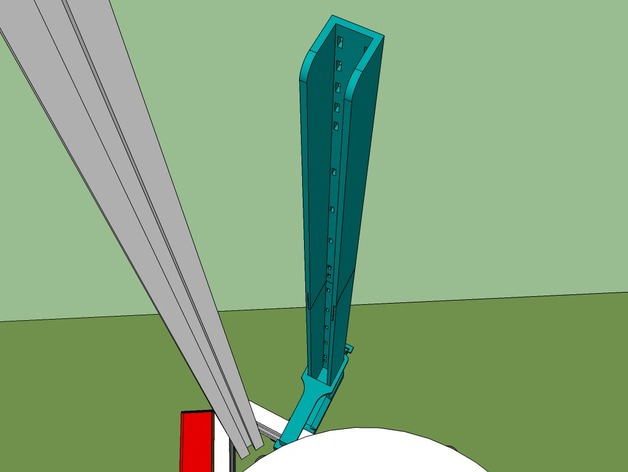
This cable mast allows you to route your hot end wiring without having to lash it directly to the top of the frame. It will take most of the weight of the cable, and you can take even more weight off the effector by using my strain relief mast and some paracord. The mast and extension were printed on a Rostock MAX METAL with Trick Laser's 269mm arms. The mast is 260mm tall, so it should print okay on printers with 269, 290, and 300mm arms, although I've only printed it with 269mm arms. (Unless your printable height is less than ~280mm, you should be fine. There does have to be some leeway for the carriages to be able to move the effector from side to side.) You should print the mast and extension one at a time, as the build volume of a delta printer is highest at dead center. Move the mast in your slicer so that the center of the mast is over the center of the print surface. The mast and extension are intended to be lashed together with zip ties, which are also used to lash the cable(s) to the inside of the mast. As this will be a long print, it's a good idea to print the calibration STL first so that you can be sure the mast and extension fit together properly! The stabilizer piece will help keep the mast upright. It comes with a small locking bar that you can use to secure it to the mast. However, I must admit that I've lost mine, and it still works fine. Parts are fixed to the frame using Unbrako #10-32 x 1/2 low-head caphead screws and 80/20 Inc T-Slot HW 10 Series 10-32 Roll-In T-Nut w/Ball Spring #3922 N.
With this file you will be able to print Cable Mast for Trick Laser Rostock MAX METAL with your 3D printer. Click on the button and save the file on your computer to work, edit or customize your design. You can also find more 3D designs for printers on Cable Mast for Trick Laser Rostock MAX METAL.