Cable passthrough
prusaprinters
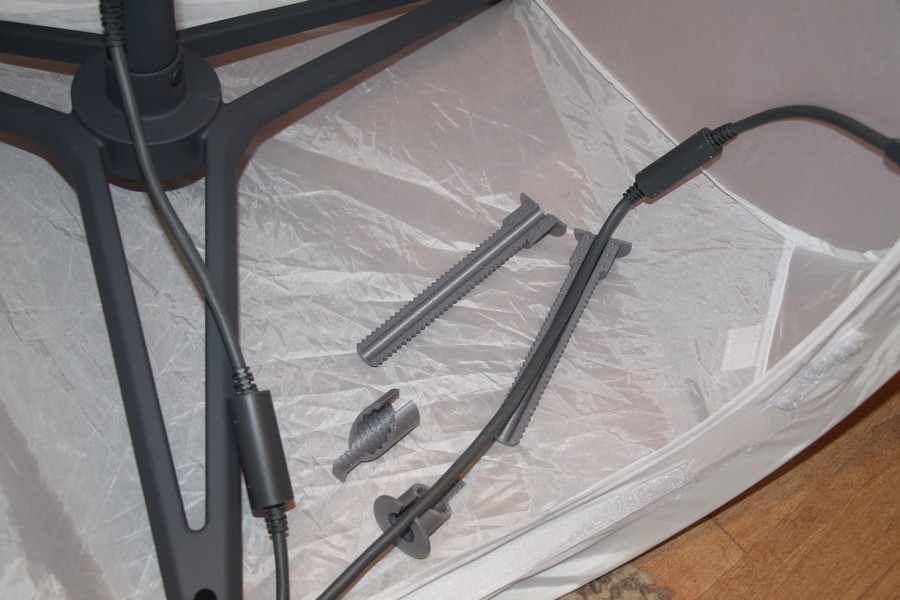
<p>Well, I got starlink and wanted to make my own cable passthrough. Here is my design. The SpaceX symbol on the end is used without permission, but since the whole purpose is to use this with the dish, I hope it'll be overlooked. (The hole down the middle of the screw is the diameter of the cable that comes attached to the dish.)</p><p><br>This cable passthrough is designed to assemble around the cable. See the pictures to see how. </p><p>The attached .M3D and .GCODE files are for a 162 mm (6.38 inch) long version, which is long enough for the thickness of my wall. If your wall is thicker*, or thinner, the easiest way to adjust it is to open the .BLEND file and change the count on the array modifier on “Thread”. Then figure out how to get the cap to line up, (shift-s helps, a lot, and you only need to adjust the Z-axis for that one part), or delete it as (probably) no major loss. Remember to export it at 1000 scale.</p><p>I'd recommend putting the graphic end on the inside, and orienting the notch down on the outside. Even then, I'd strongly recommend caulking, as this thing is in no way weather-tight. That said, I designed this with an eye toward easy assembly, and disassembly, so I'll probably not be taking my own advice regarding caulking.<br><br>* If it's very much thicker, you're going to have to print it in sections, and use glue, or arrange the model diagonally. Probably with just the one, long, part in the slicer.</p>
With this file you will be able to print Cable passthrough with your 3D printer. Click on the button and save the file on your computer to work, edit or customize your design. You can also find more 3D designs for printers on Cable passthrough.