Cadre végétal / Green Wall
thingiverse
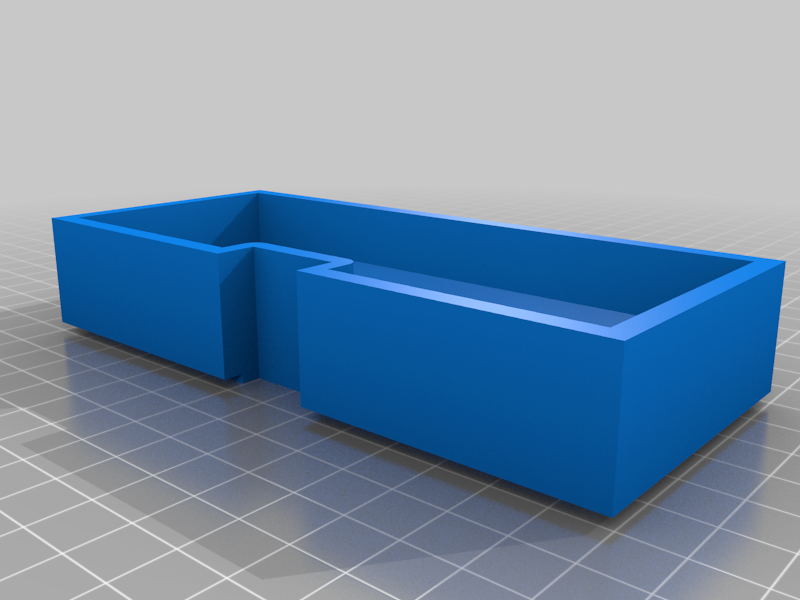
Salut a tous, Voici mon design de cadre végétal pour intérieur/extérieur. C'est le fruit de plusieurs essais et voila comment cela fonctionne. Il est composé de 3 pièces à imprimer : - Le boitier principal qui contient les plantes. - Un diffuseur situé sur la partie supérieure du boitier et qui permet d'arroser les plantes - Le cadre qui sert pour l'aspect esthétique (cacher le boitier) ainsi qu'à maintenir les plantes, le terreau, la sphaigne dans le boitier. Pour ma part j'ai utiliser un cadre en bois du commerce. N'importe quel cadre ayant une ouverture de 13x18cm fait l'affaire pour cette version. Pour le montage du boitier voici les éléments nécessaires : - Une cheville a placo - 4 vis a bois de petite dimension pour fixer le cadre - un crochet métallique ou une vis pour accrocher le cadre au mur - Des plantes, j'ai pris des plantes qui demandent peu d'entretien. Les plantes tombantes sont adapté je trouve. - Du substrat. Pour ma part j'ai utiliser de la sphaigne uniquement, il est plutôt recommandé de mettre un fond de terreau et de couvrir avec de la sphaigne pour mieux garder l'eau. - Un grillage fin ou un textile pour plantes afin de maintenir le substrat dans le cadre. Montage du cadre : 1- Positionner le cadre sur une table (face vers la table) puis le boitier par dessus le cadre de sorte a ce que les 4 supports sont alignés avec les trous du cadre. (Si utilisation d'un cadre du commerce il est éventuellement nécessaire de pré-perçer les trous dans le cadre). 2- Viser les 4 vis dans le cadre sans qu'elles viennent serrer le cadre et le boitier ensemble. (le cadre doit rester amovible). Puis enlever le cadre du boitier. 3- Ajouter le grillage ou la toile sur le cadre, les vis peuvent aider à le maintenir. Si les vis ne suffisent pas du scotch peu servir temporairement pour le montage. 4- Remplir de boitier avec le substrat et mettre le cadre en position pour maintenir le substrat à l'intérieur. 5- Faire des ouvertures dans le grillage ou la toile pour insérer les plantes dans le substrat. 6- Accrocher au mur. 7- Ajouter le diffuseur. Arrosage : Remplir le diffuseur d'eau et laisser l'eau couler. Une ouverture se trouve à la base du cadre pour vérifier le substrat est saturé en eau. Il est également possible d'enlever le cadre du mur pour arroser les plantes. Je ne suis pas allé jusqu'à faire un tuto de montage avec images, si vous avez des questions n'hésitez pas a me contacter A plus ________________________________________________________ Hi all, This is my indoor/outdoor plant frame design. It's the result of many tests and here's how it works. It is composed of 3 parts to be printed: - The main box which contains the plants. - A diffuser located on the upper part of the box and which allows you to water the plants - The frame which is used for the aesthetic aspect (hide the box) as well as to maintain the plants, the compost, the sphagnum in the box. For my part, I used a commercial wooden frame. Any frame with an opening of 13x18cm will do for this version. For the assembly of the box, here are the necessary elements: - A wall plug - 4 small wood screws to fix the frame - a metal hook or a screw to hang the frame on the wall - Plants, I took plants that require little maintenance. Hanging plants are suitable I find. - Substrate. For my part I only use sphagnum, it is rather recommended to put a bottom of compost and cover with sphagnum to better keep the water. - A fine mesh or plant textile to hold the substrate in the frame. Frame assembly: 1- Position the frame on a table (facing the table) then the box over the frame so that the 4 supports are aligned with the holes in the frame. (If using a commercial frame, it may be necessary to pre-drill the holes in the frame). 2- Aim the 4 screws in the frame without them tightening the frame and the box together. (the frame must remain removable). Then remove the frame from the box. 3- Add the mesh or the canvas on the frame, the screws can help to maintain it. If the screws are not enough, tape can be used temporarily for assembly. 4- Fill the box with the substrate and put the frame in position to hold the substrate inside. 5- Make openings in the mesh or canvas to insert the plants into the substrate. 6- Hang on the wall. 7- Add the diffuser. Watering: Fill the diffuser with water and let the water flow. An opening is located at the base of the frame to check the substrate is saturated with water. It is also possible to remove the frame from the wall to water the plants. I did not go so far as to make an assembly tutorial with images, if you have any questions do not hesitate to contact me See you
With this file you will be able to print Cadre végétal / Green Wall with your 3D printer. Click on the button and save the file on your computer to work, edit or customize your design. You can also find more 3D designs for printers on Cadre végétal / Green Wall.