Calculus project 1: Volume of a container
thingiverse
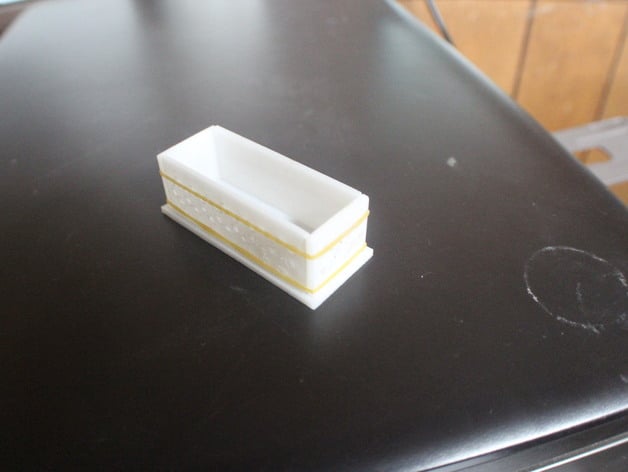
This is the first part of a series of projects designed specifically for first-year calculus students. Students will learn how to use various mathematical equations to assess the properties of solids and containers in this series. In this initial project, we will determine the generic equation for a lidless box that can be 3D printed using a standard geometric equation. For instructions and equations, continue reading. Print Settings Printer: CraftBot Rafts: No Supports: No Resolution: Optimum Infill: 25% Notes: I optimized this design to be printed in ABS with maximum settings. I recommend using a skirt with an offset of 0mm (also known as a brim) and 2-5 loops for ABS. As seen in the photo, increased infill may also be beneficial. How I Designed This For this project, I used a free program from Autodesk called TinkerCAD. I have long been a user of AutoCAD, which is a desktop drafting program from the same company. Using TinkerCAD made it easier for educators and learners to replicate what I did. TinkerCAD is awesome because it's not only free but also easy to use, and it runs in your browser with built-in instructional lessons. www.tinkercad.com The first part of this project starts with a standard rectangle. I chose dimensions that were easy to work with, took minimal plastic, and printed easily. Therefore, I used the box tool to create an object that was 100x60x2mm. Next, I used the box function again along with the hide function to make my "cuts" into my object. For this example, X=20mm. At this point, it's easy to see the dimensions X = 20mm will give us. We have a base of 60x20mm, two flaps with dimensions of 60x20mm, and two flaps with dimensions of 20x20mm. Project: Volume of a Lidless Box Concept For this experiment, imagine that we have material such as paper or cardboard with dimensions of 100x60mm. Our lidless box is made by cutting out squares from the corners as seen in the "How I Designed This" section. The corners are then folded up to create a lidless box. If you notice the image on the left, it looks a lot like the object we created, which will allow students to visualize this part of the project and tie it in with the next parts as well. Objective Help students visualize the math they will be using and make it easy to see the real-world applications. Audience Even though the overall project is designed for calculus students, this part can be used for algebra students as well. Preparation Teachers and/or students who are creating a lidless box with their own values of X need to have access to a computer with internet access and log in to a free TinkerCAD account. Tinkercad is easier to use with a mouse than with a tablet or trackpad, so computer mice are recommended. No previous 3D design experience is required for the students, although familiarity with TinkerCAD is helpful. It's beneficial to have students form into working groups of two or three to collaborate on the design process. Having students work in groups is also helpful if you have limited computers and/or limited 3D printer access. Step 1: Standard Formula To find our generic equation, we will start with the standard formula for volume: V = area x height Step 2: Establish X For this experiment, X will be an unknown equal to the length of one of the sides of the squares that we "cut" out of the original 100x60mm object. Step 3: Use X To Find Generic Equation Taking the standard formulas V = area*height and area = width x height, then subtracting X from the width and height to represent the squares we cut out, we get: V = (100 - 2X)(60 - 2X) * X Step 4: Substitute for X V = (100 - 2(20))(60 - 2(20)) x 20 = (100 - 40)(60 - 40) x 20 = (60)(20)(20) V = 24,000mm^3 = 24ml Results We have now used our conceptualization along with algebra to come up with an equation that will give us the volume of a lidless box created by starting with a 100x60mm rectangle with squares cut out of the corners with dimensions XX. No matter how big or small our squares are, we can easily find the volume of the lidless box using our equation: V = (100 - 2X)(60 - 2X) * X
With this file you will be able to print Calculus project 1: Volume of a container with your 3D printer. Click on the button and save the file on your computer to work, edit or customize your design. You can also find more 3D designs for printers on Calculus project 1: Volume of a container.