Calculus Project 4: Using submersion to find volume
thingiverse
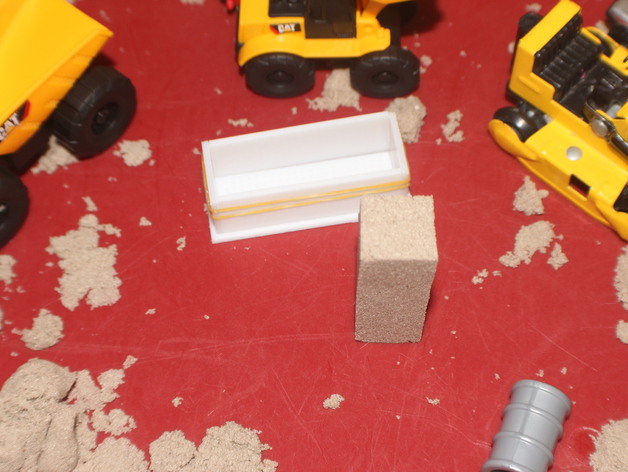
This is the fourth installment of a series of projects designed specifically for first-year calculus students. Throughout this series, pupils will learn how to utilize various mathematical formulas to assess the properties of solids and containers. In this segment, we'll be employing the molds created from part 3 to verify the work completed in part 1. Part 1: http://www.thingiverse.com/thing:1368258 Part 3: http://www.thingiverse.com/thing:1373188 Print Settings Printer: CraftBot Rafts: No Supports: No Resolution: optimum Infill: 30% square Notes: I optimized this design to be printed in ABS with maximum settings. I recommend a skirt with an offset of 0mm (also known as a brim) with 2-5 loops for ABS. Additionally, consider increasing the infill ratio. How I Designed This For this project, I employed a free program from Autodesk called TinkerCAD. As a long-time user of AutoCAD, a desktop drafting software from the same company, I chose TinkerCAD to make it easier for educators and learners to replicate my work. TinkerCAD is an excellent choice due to its ease of use, being free, and running directly in your browser with built-in instructional lessons. www.tinkercad.com For part 4 of this project, we began with the product from part 2. If you recall, we used X=20mm which gave us a base of 60x20mm, two flaps with dimensions of 60x20mm, and two flaps with dimensions of 20x20mm. We then transformed this into a mold by adding a channel around the base and extending the flaps. Part 2: http://www.thingiverse.com/thing:1371700 Project: Using Submersion to Find Volume Objective By the end of this part, students will be able to test/prove the math they used in part 1 of this project. Audience Although designed for calculus students, this part can also be utilized by algebra students. Preparation Teachers must ensure access to graduated cylinders with mL/MM3 markings. It's recommended that teachers have completed all other steps of this project already, preferably with their class. Step 1: Setup Graduated Cylinders Place graduated cylinders on a table visible to all students. Add just enough water so the molds from part 3 can be submerged. Step 2: Record Water Level Make sure you record where the water level is before submerging any molds, and between each one. Step 3: Submerge Molds Submerge the molds created in part 3, one at a time. Step 4: Calculate Volume To find V, take the water level before submersion and subtract it from the water level after submersion. Step 5: Compare Compare the volumes recorded from this part to the numbers calculated from part 1. If everything goes as planned, your numbers should match up quite well. Results Students have now progressed from creating a lidless box to calculating its formula and even proofing that their formula works. They are now ready for part 5; charting their data!
With this file you will be able to print Calculus Project 4: Using submersion to find volume with your 3D printer. Click on the button and save the file on your computer to work, edit or customize your design. You can also find more 3D designs for printers on Calculus Project 4: Using submersion to find volume.