Calibration for printing directly on the build plate (resin printers)
thingiverse
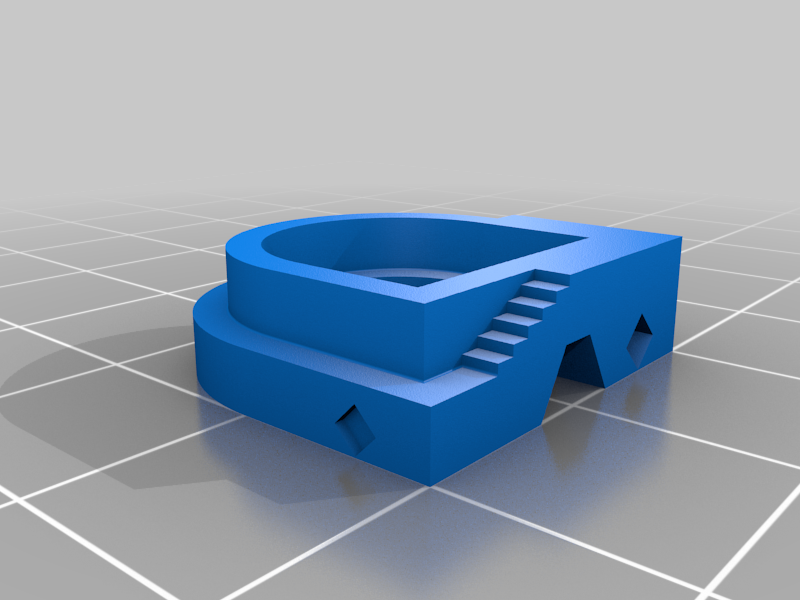
This is a small test model I made for calibrating settings for resin printers when printing directly on the build plate, which usually results in a loss of the bottom part of a model when the printer isn't calibrated precisely. A few features of this model: * Markings on the side showing the distance in millimeters from the bottom of the model * Diamond emboss features which should appear symmetrical * The lower ring and upper ring should be 3mm each. There is a cutout so you can measure the top ring thickness with calipers * Each "step" on the staircase going from the outer ring to upper ring is 0.5mm in height You can adjust your printer by either changing the "z offset" or by duplicating the bottom layer of your design the appropriate number of layers. For instance, if you can barely see the 0.25mm mark and you're printing with a layer thickness of 50um then adding 5 additional bottom layers should result in a print that is more accurate.
With this file you will be able to print Calibration for printing directly on the build plate (resin printers) with your 3D printer. Click on the button and save the file on your computer to work, edit or customize your design. You can also find more 3D designs for printers on Calibration for printing directly on the build plate (resin printers).