Calibration switch for Electronic Scale
thingiverse
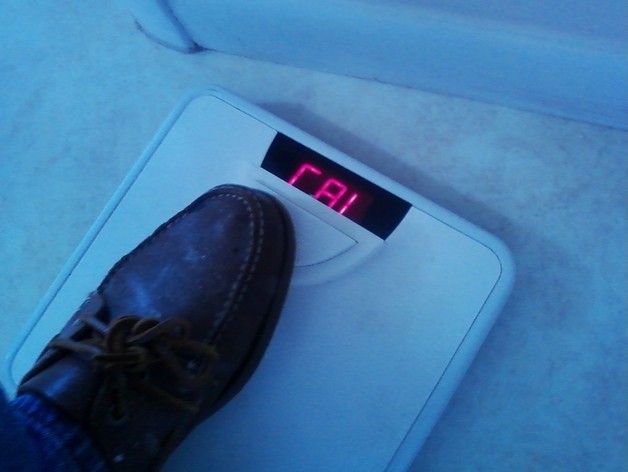
The bathroom scale's two calibration switches failed due to broken plastic feet. These switches prevent weighing until zero calibration is achieved. To fix this issue, a new switch plate was placed on top as there was more space available. The instructions involve printing Part 1 (retaining cover), Part 2 (button), and Part 3 (switch base). Drill holes in the scale cover and Part 3 for leading calibration wires through. Attach one part of the calibration metal lead (+) to a standoff in the base, and the other part (-) to the button's standoff. Flexible weather stripping is placed in the base to act as a spring. The button is inserted into the base and calibration leads (adjusted by bending) are set to make contact when weather stripping is compressed. The retaining cover goes over the top of the button and base, retaining the button inside while drilling a hole in the back of the cover for securing with a screw on the base's backside. Finally, use double-sided tape to attach the assembly to the scale cover.
With this file you will be able to print Calibration switch for Electronic Scale with your 3D printer. Click on the button and save the file on your computer to work, edit or customize your design. You can also find more 3D designs for printers on Calibration switch for Electronic Scale.