Calibration Test Print
thingiverse
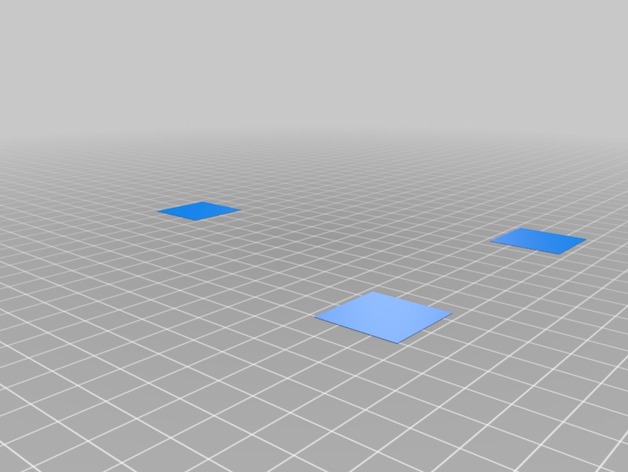
Basics ===== This set of test prints is designed to assist you in the calibration of build platforms. These prints attempt to balance time and plastic used with getting decent results. In short, it should be a more efficient method. Included There are two sets of calibration prints included here. The first set is for build plate leveling. These are the flat squares. They are intended to print above the build platform thumbscrews. Please see below for details. The second set is a set of concentric cylinders. These are intended to help you adjust belt tension on your MakerBot Replicator 2. Again, please see below for details. Updates ==== Update 4/5/13: Added circle calibration print. After having circles that came out as ellipsoids, I created these as a simple test of belt tightness. Instructions Prelude == I'm going to assume you know how to download and print objects - there is nothing different or special about doing so with this object. Instead, here are directions on calibrating a bot with it. These directions are loosely based on those given by MakerBot if you contact them with calibration issues. The STL files included are for the MakerBot Replicator 2, as that is what I have. The OpenSCAD script used to generate the STLs is included, so you can tune it yourself (or to your printer). Build Plate Leveling == First off, I recommend going through the MakerBot's built in calibration. That will get you close enough for these to be useful. Next, print this object on medium resolution. If the printed plastic is cylindrical and has gaps between the lines at any of the three test points, the build platform needs to be raised at that point. If the plastic extruded is thin, squashed, intermittent or not extruded, the platform is too high at that point - lower it. Repeat until you get plastic where you can see the individual lines, but the overall print is flat and has no gaps. Finally, repeat on fine quality until satisfied. Circle Calibration == I was printing some parts which depended on circles coming out.. well, circularly. They weren't. This file was put together as a test case for a bug report, but can also quite easily be used to test if the issue exists and/or has been corrected. In short, if the result is not circular, you need to adjust the belt tension on the X and Y axes. See http://www.youtube.com/watch?v=76XaGlyG0Z0 and http://www.youtube.com/watch?v=l1FWj-ZHEVA for how to adjust this. What MakerBot doesn't tell you is how tight to make the belts. To quote Nick at MakerBot support: "There isn't really a precise measurement when adjusting your Replicator 2's belts. A good test would be to tighten until they feel taut, then attempt to print a circular or cylindrical model, and see if you start to get better results." I found simply getting things as tight as was reasonable and I was comfortable with was sufficient. So why is this a better calibration print? == Quite simply, this print is better because it allows you to independantly adjust each of the three thumbscrews on the Replicator 2 independantly, therefore making calibration easier. This means fewer prints, means less plastic used and you printing new shiny toys earlier.
With this file you will be able to print Calibration Test Print with your 3D printer. Click on the button and save the file on your computer to work, edit or customize your design. You can also find more 3D designs for printers on Calibration Test Print.
