Can Crusher: A Torque Vs. Speed Project (WIP)
thingiverse
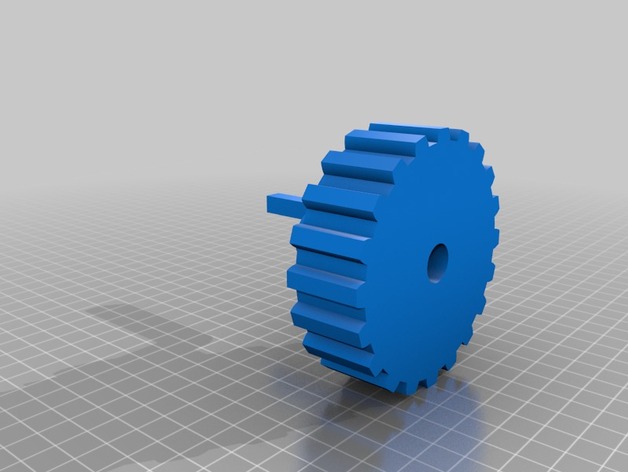
Hi, I am a 17-year-old student who is heavily involved in multiple afterschool programs focused around STEM. I've designed this project to teach younger students how different gears play a crucial role in Mechanical Advantage while crushing some cans! While working on this project, be sure to have the proper safety equipment at all times! For each project, I recommend printing out the following: (2) First Dowel Inserts (2) Second Dowel Inserts (1) Large Gear (1) Large Handle Gear (1) Small Gear (1) Extra Large Handle Gear (6) Crusher Gears Project: "Can Crusher: Torque Vs Speed" Overview & Background: By completing this project, young engineers can learn about the effectiveness of torque vs speed through the use of gears and crushing cans! Objectives: The application of Torque in everyday life The role that different sized gears play An example of Mechanical Advantage Audiences: 6th-9th Grade Students with an interest in engineering. Subjects: Math, Science, Engineering Skills Learned (Standards): Students will be able to identify the mechanical advantage of using different sized gears. Lesson/Activity: Parts List: (1) small cardboard box (2) ½” wooden dowels Duck tape Pen Ruler Assorted Metal Cans Scissors/Exacto Knife Safety Goggles Super glue 3D Printed Parts: (2) First Dowel Inserts (2) Second Dowel Inserts (1) Large Gear (1) Large Handle Gear (1) Small Gear (1) Extra Large Handle Gear (6) Crusher Gears Procedure: Place all parts on the work surface and count to ensure you have all of the correct parts needed. Push the 3D printed parts aside, and place the Box, Pen, Ruler, Duck Tape, and Exacto Knife in front of you. Duck Tape the flaps of the box up, so it's taller than before. Make sure all four corners are secure. Use the Ruler to measure and mark lines at least 2 ½” from both sides, and 2” down from these marks. It should make a plus sign. These will be the center of the holes for the dowels. Next, measure a quarter inch from the plus, and draw a circle all the way around. Do the same to the opposite side. Carefully cut out the circles and pop all 4 out, and check that they are lined up with the holes on the opposite side. Check that these are the right size by pushing the dowels into the holes all the way through. Push aside the Duck Tape, Exacto Knife, Pen, and Ruler, and get your Dowel Inserts and dowels ready, and push one end of the dowel into a First Dowel Insert. Take 3 of your crusher gears onto the dowel and space them out a little more than 1 inch apart. Repeat for the next dowel. Make sure they won't clash with the Crusher gears on the other side, and super glue them in place. Push the dowels through to the other side of the box, and place the Second Dowel Inserts onto your dowels. Make sure that the dowel can spin, and also that the dowel is sticking out at least 1 inch on one side. Congrats! You built your crusher! Move the Crusher gears around to meet up with each other but make sure they won't collide. Duration: About one hour Preparation: What is Mechanical Advantage (not how to calculate it) The dangers of moving gears and sharp metal Rubric & Assessment: At the end of this, the students should be able to talk about and write about how different sized gears gave them an advantage, or didn't help them. The box should be mostly intact. Handouts & Assets: In the "Thing Files" section of this project, there is a printer-friendly assignment that I have created.
With this file you will be able to print Can Crusher: A Torque Vs. Speed Project (WIP) with your 3D printer. Click on the button and save the file on your computer to work, edit or customize your design. You can also find more 3D designs for printers on Can Crusher: A Torque Vs. Speed Project (WIP).