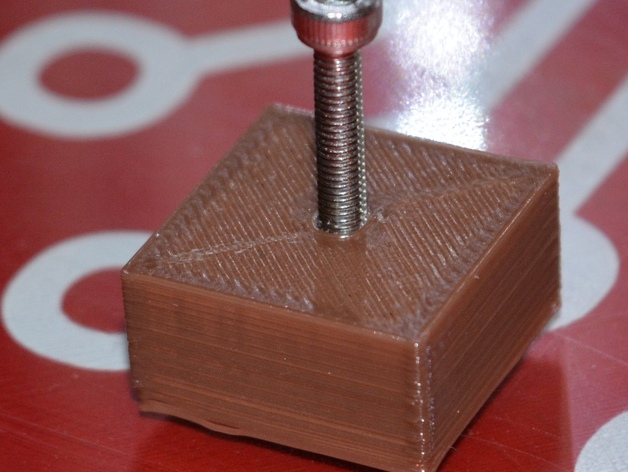
Captive Nut
thingiverse
This is a straightforward test piece designed to demonstrate how a nut can be permanently embedded in a 3D printed object. I've uploaded a STEP file for the nut trap test part, which allows you to modify the dimensions of the nut according to your requirements. The current test piece is optimized for use with a M3 screw and nut. Print Settings Printer Brand: RepRap Printer Model: MakerFarm i3V 10 Rafts: Not required Supports: Not necessary Resolution: At least 0.25mm Infill Density: 25% Notes: To embed the captive nut, you will need to utilize the "Pause at Height" option in Cura under the Plugins section. This feature pauses the printing process so that the nut can be securely embedded within your part. Cura also enables you to specify the x-y position of the print head. Be sure to move the print head to a location where you have access to your part. If you are using a 3D printer with a movable bed, exercise extreme caution not to move the print bed while embedding the nut. This will prevent subsequent layers from shifting and ensure a precise final product.
With this file you will be able to print Captive Nut with your 3D printer. Click on the button and save the file on your computer to work, edit or customize your design. You can also find more 3D designs for printers on Captive Nut.
