Car stereo Boombox
grabcad
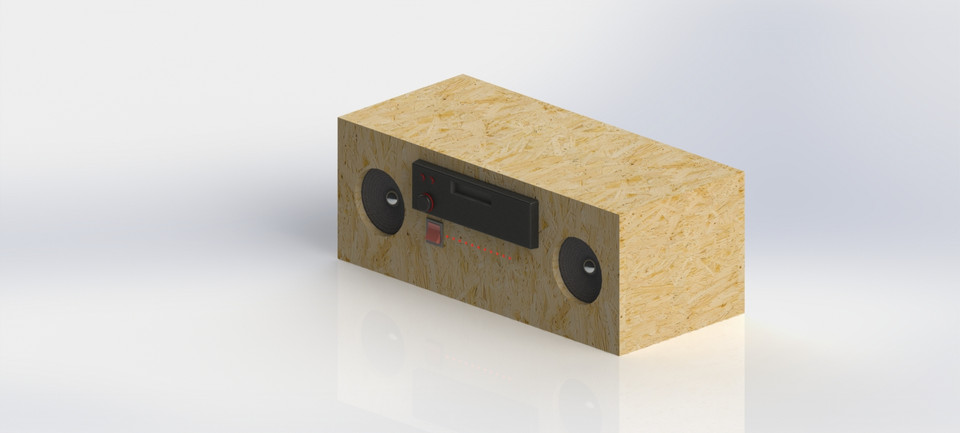
This is my boombox. I found a PC power supply unit and I had no idea what to do with it. So... I got an old car stereo (Blaupunkt Car 300) and two speakers from the radio. I connected power supply unit to the car stereo. I added an antenna (I used a simple wire) and then I connected two 5W speakers to the stereo. Now, I can listen to music. But... it was just few components lying on each other. So I made a case. I used OSB (Oriented strand board) for the case. I cut up the panels and cut out holes for the stereo, speakers, ... with jigsaw. I assembled all the components together and I got nice piece of "furniture" that plays music. I added a rocker switch to the front panel so I can turn ON or turn OFF PC power supply unit that doesn't run all time and it's easier too, because I don't want to turn it on at the back of boombox. I also added Arduino Uno, Microphone Sensor AVR PIC, resistors, wires and LEDs. I connected all of them together and programmed Arduino to control LEDs. I wrote program for sound sensitive LEDs. I ordered all of this components on ebay and they costed around 10€ . Components that I used: - Blaupunkt car 300 - 5W speakers (2X) - PC power supply unit - rocker switch - Arduino Uno - LEDs (7X) - 300Ω resistors (7X) - wires - microphone sensor Some videos that were helpful to me: - https://www.youtube.com/watch?v=I5dov-HfoZk&index=1&list=WL - https://www.youtube.com/watch?v=_L4YbE4MngY - https://www.youtube.com/watch?v=c3DFLFITaG0 Tutorial for the second video with also written program for Arduino on this page http://www.princetronics.com/sound-sensitive-lights-w-sound-sensor-arduino/
With this file you will be able to print Car stereo Boombox with your 3D printer. Click on the button and save the file on your computer to work, edit or customize your design. You can also find more 3D designs for printers on Car stereo Boombox.