CAS-class Assault Carrier (Halo: 3 ODST)
thingiverse
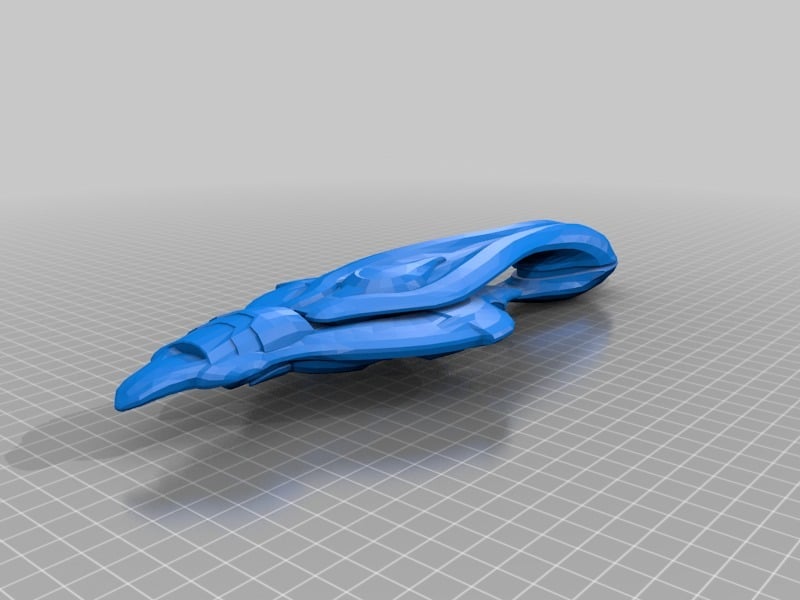
This is a CAS-class Assault Carrier of the Holy Covenant Empire from Halo 3: ODST. Printing at 100% scale will give you a 284mm or 11.2" model. I don't recommend printing at scales higher than 100% because of how visible the polygons will be, nor do I recommend printing at scales below 50% because thin walls will be omitted. The base model isn't mine, but a free .obj can be found here: https://www.yobi3d.com/v/PrvuCKuAGh/Covenant_Assault_Carrier.obj I've cleaned up the mesh, split it into sections to minimise supports, designed pin holes for assembly (pins are included), as well as added a few small details here and there (with just a touch of artistic liberty - nothing lore-breaking though so don't worry). Note that this is a semi-WIP - I'm going to modify the nose to include the funky shapes as soon as I figure out how (seen here: https://vignette.wikia.nocookie.net/halo/images/a/aa/H3_Covenant_Assault_Carrier_Transp.png/revision/latest?cb=20140601051019), as well as split the hull into front and rear halves like so (seen here: https://www.halopedia.org/images/thumb/f/f1/MDT.png/800px-MDT.png). For now though I'm happy with what I've done, so I'll no longer mark it as WIP, and just let you decide whether to print or not. I might add the above features in the future when time is my ally. Pin dimensions are in micrometers, with a naming scheme of [Radius]X[Length]. Assembly is very straightforward, although you'll need to print multiples of some of the pins. Additionally, due to the pins being exactly the same diameter as their respective holes, I'd strongly advise scaling back the R3750 to R5000 pins to 99% and the R2500 to 97% to get a light interference fit. Alternatively, sand back the outer diameter until you get a nice fit. You'll need to print: 2x R5000x34000 - joins Nose & BridgeHook, and CargoFore & CargoAft 2x R4000x28000 - joins CargoAft & Engines 1x R3750x24000 - joins Nose & BridgeHook 4x R2500x28000 - joins BridgeHook & CargoFore, and CargoFore & CargoAft Note that you'll also need to rotate the STLs using your own slicing tool. The widest flat cross sections are always to lay on the printing bed. This may be a bit vague with BridgeHook, so just print it with the spike facing upwards (no supports are needed then, save for the supports in the pin holes - these are easily removable anyway). If you use this in any publicly distributed works I hope you credit me AND the source I listed above. If you fail to do so then there's nothing I can be bothered to do about it, save for hope you get hit by a bus. Also look out for my next upload - an articulated Pelican from Halo: Reach. Happy printing!
With this file you will be able to print CAS-class Assault Carrier (Halo: 3 ODST) with your 3D printer. Click on the button and save the file on your computer to work, edit or customize your design. You can also find more 3D designs for printers on CAS-class Assault Carrier (Halo: 3 ODST).