Case For RaspberryPi RetroPie
thingiverse
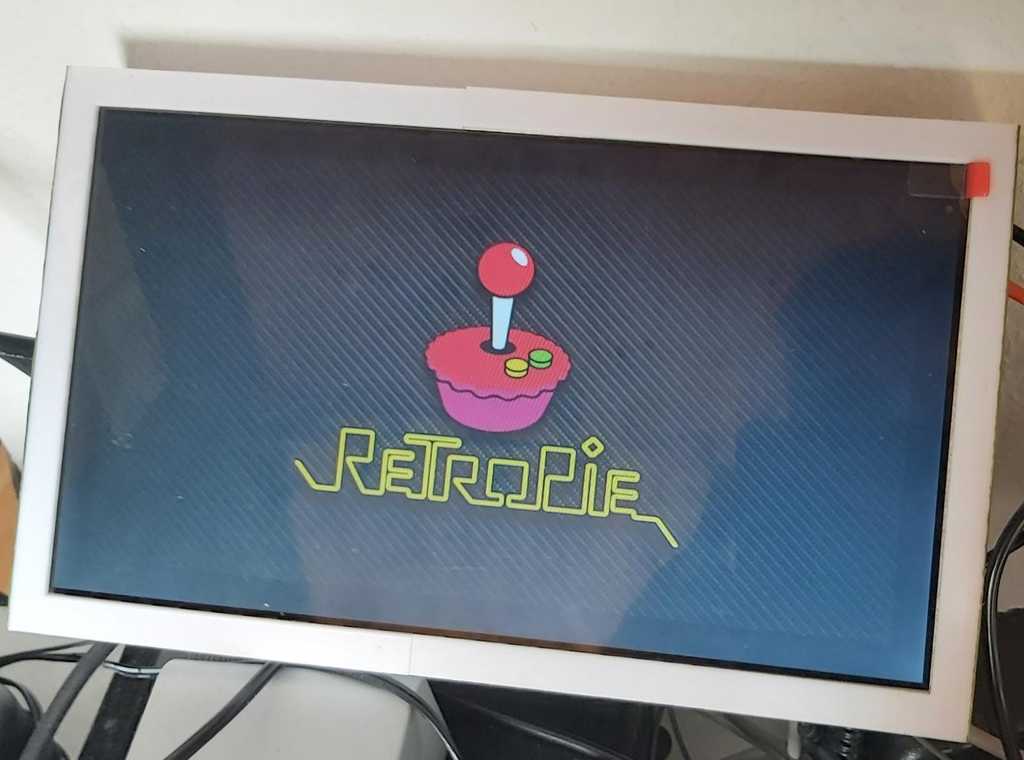
Case for RaspberryPi with 10.1" Display I designed this Case while i build my RetroStation. Print the two big halfs of the case vertically! Assembly Instructions: Insert Ribboncable in Port on Driverboard of the Display, slide RetroPie-Case_Left and RetroPie-Case_Right on the Display (watch out so you dont rip the ribboncable). Place the driverboard plate around the ribboncable and screw it down with M2.5 Screws. Plug HDMI cable in to the driverboard and screw it to driverboard plate. Plug HDMI cable in to RaspberryPi and also screw it down (i had to put nuts on the screws first so they are not too long). Plug in Micro-USB cable to RaspberryPi and 12v Poweradapter to the driverboard. Screw the Fan on to the right backplate and connect it with the du pont cables to pin 2 (5v) and pin 6 (ground) to the RaspberryPi. Screw the Backplates on and you are done. Parts you need: 10.1" Display: https://www.ebay.de/itm/10-1-inch-LCD-Screen-Display-Monitor-Driver-Board-HDMI-VGA-2AV-for-Raspberry-Pi-/392767617029?mkcid=16&mkevt=1&_trksid=p2349624.m46890.l49286&mkrid=707-127634-2357-0 RaspberryPi 3B: https://www.ebay.de/itm/Raspberry-Pi-3-B-1GB-RAM-ARM-Cortex-A53-Quad-Core-1-2GHz-Mikrocomputer-/144493316519?mkcid=16&mkevt=1&_trksid=p2349624.m46890.l49286&mkrid=707-127634-2357-0 5v Fan (i guess not really necessary, but i did it anyway): https://www.ebay.de/itm/Xinda-Miniatur-Luefter-25-x-25-x-10-Mini-Einbau-Ventilator-5-V-DC-3-56-m-h-/324817044549?mkcid=16&mkevt=1&_trksid=p2349624.m46890.l49286&mkrid=707-127634-2357-0 Du Pont cables (you only need two): https://www.ebay.de/itm/2-10-Wege-Dupont-Kabel-F-F-2-54-mm-Jumper-Flachbandstecker-Draht-Arduino-Pi-/373990235228?mkcid=16&mkevt=1&_trksid=p2349624.m46890.l49286&mkrid=707-127634-2357-0 Short HDMI cable: https://www.ebay.de/itm/0-2m-High-Speed-HDMI-Flachkabel-UHD-4K-x-2K-ARC-3D-HDTV-XBOX-PS3-4-20cm-/280567419300?mkcid=16&mkevt=1&_trksid=p2349624.m46890.l49286&mkrid=707-127634-2357-0 12v Poweradapter (not the one i used, i had another one laying around, but this should work too): https://www.ebay.de/itm/12-Volt-Netzteil-universal-12V-DC-12W-1A-Netzgeraet-Stecker-Netzteil-1000mA-12-V-/392936820597?mkcid=16&mkevt=1&_trksid=p2349624.m46890.l49286&mkrid=707-127634-2357-0 and you also need a micro USB cable, i had one from JBL laying around but you can use whatever you like. Feel free to make a remix or let me know what you would improve, this project is far from done. I at least want to install a lithium ion battery and some speaker, maybe an integrated controller. If you are interessted in da FreeCAD file, feel free to contact me. If V2 is done i will let you know I will not be held responsible for anything that goes wrong while printing or assembeling the device. I am also not responsible for any malfunctions happening to your device.
With this file you will be able to print Case For RaspberryPi RetroPie with your 3D printer. Click on the button and save the file on your computer to work, edit or customize your design. You can also find more 3D designs for printers on Case For RaspberryPi RetroPie.