Cast pewter sign (from 3D printed part)
thingiverse
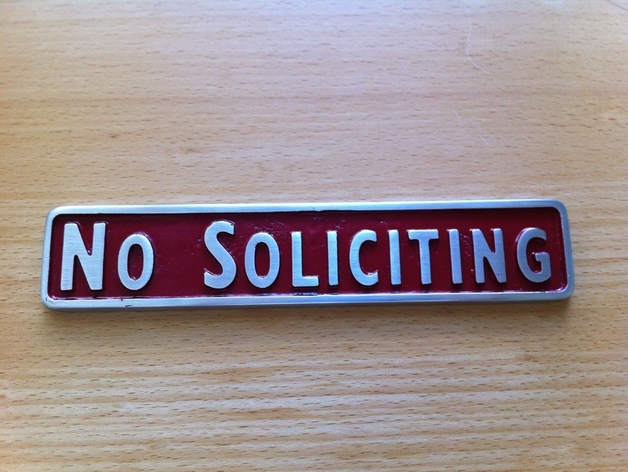
To deter unwanted salespeople, create a "No Soliciting" sign using metal casting techniques. Begin by designing the sign in two pieces for easy molding. Sand the junction of the plastic pieces and bond them to a flat porcelain tile with acetone. Build a wooden box around the plastic and pour thin plaster into the bottom, followed by thicker plaster. Allow the plaster to harden before removing the wooden mold and softening the plastic in an oven. Preheat the mold and tile in the oven and melt pewter. Pour the molten metal into the mold vertically until it emerges from the vents. Once cooled, remove the metal piece and clean any excess plaster and pewter. Sand the surfaces with progressively finer grit paper and spray paint the interior red, leaving the top surfaces polished. Hang the finished sign on your door to discourage solicitors.
With this file you will be able to print Cast pewter sign (from 3D printed part) with your 3D printer. Click on the button and save the file on your computer to work, edit or customize your design. You can also find more 3D designs for printers on Cast pewter sign (from 3D printed part).