Centrifugal Blower
thingiverse
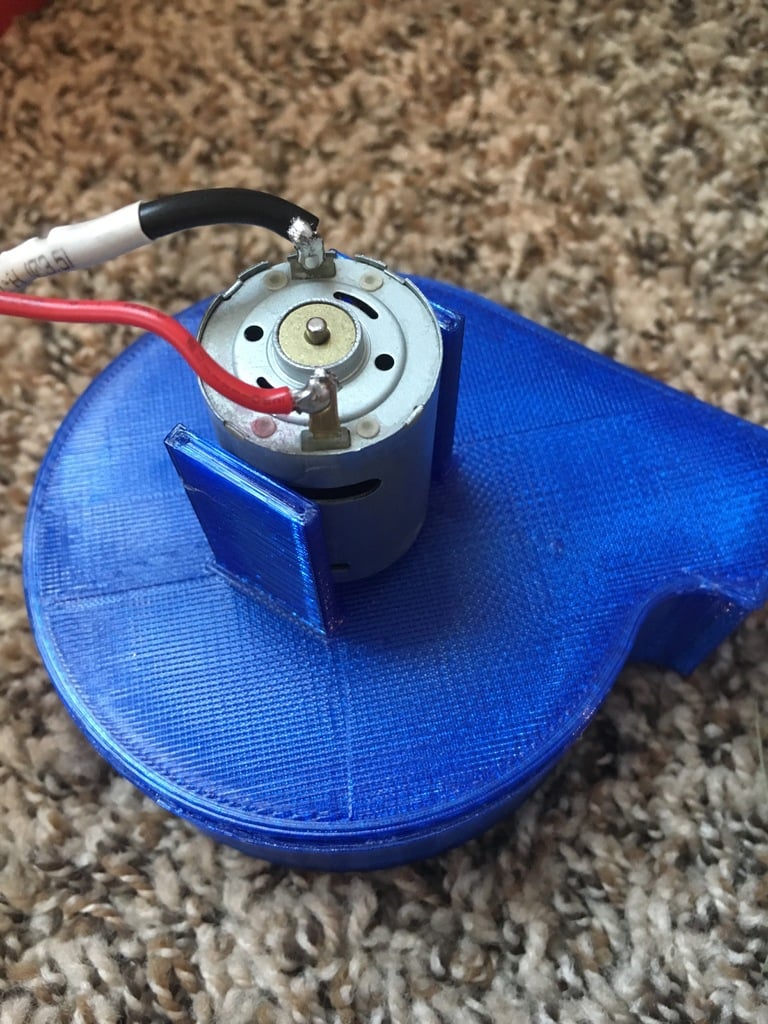
This is a blower I designed in response to my kid's desire to have a desktop sized wacky waving inflatable arm flailing tube man. I couldn't find a good combination of fan/blower and motor that worked well for this application so I made my own. I am NOT an expert in air handlers but I did do some research to optimize the flow of air through this device. This blower moves significant air and can be used for air cooling electronics, 3D printed parts, circulating air in confined spaces, or any other application where a compact but powerful blower is needed. Blower can be operated without the reducer spout for more airflow. With the reducer spout, air velocity is increased but airflow is reduced. Spout fits neatly over the blower's output nozzle. The blower is designed for a 3mm shaft and I mated it to a 12V DC motor. Select a motor with a speed of 15,000 RPM or less. The squirrel cage blower has rub points all around it to reduce drag if the compressor should rub against the housing. The fins of the blower are designed to be extremely lightweight but, as a result, they are a little fragile so take care not to suck anything into the intake. BLOWER SHOULD ROTATE COUNTER-CLOCKWISE!!!!! If you find it turns the wrong direction, reverse your motor polarity. The motor mount tabs are optimized for the motor I'm using but any 380 size motor should fit snugly. Use zip ties to ensure a solid mount if you need to. To assemble the blower, I used CA glue (super glue) which holds very well. Make sure all parts are aligned when adding the side to the housing. Install the motor between the two large motor tabs so the motor shaft protrudes through the hole in the side then affix the compressor wheel to the motor shaft. Take care to ensure there is little or no friction between the compressor and the housing! This is important as any drag will greatly reduce the power of the blower and will be excessively noisy. A little rubbing is ok because, as the blower is run, the friction tabs will be properly broken in and operate more smoothly. Finally, mate the housing to the side and affix with glue. I used a very fine, silky fabric to make the tube man. It's about 10 inches long and a diameter of 1.5 inches. Sew the fabric into the shape of a tube and draw a face at the top. Make sure to leave both ends of the tube UNSEALED so air can flow freely through the tube man. Our tube man works great with this blower and a 9.6V battery pack. So much wacky fun! EDIT: So I repositioned the parts for easier printing. Also, I don't know why the preview isn't working or why the "Thingiview" isn't coming up.
With this file you will be able to print Centrifugal Blower with your 3D printer. Click on the button and save the file on your computer to work, edit or customize your design. You can also find more 3D designs for printers on Centrifugal Blower.