Cetus Z-Axis Stiffness Bracket (MK3 compatible)
thingiverse
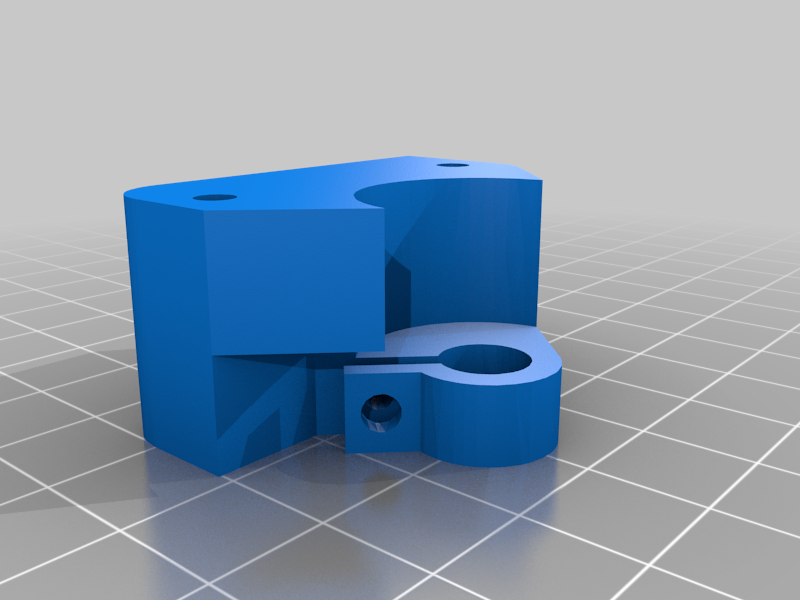
The original model from rreps targeted the Cetus MK2 printer. I had to modify the mounting holes in the bottom of the bracket to oval ones (and also expand the pockets for the nuts), so they align on a Cetus3D MK3. Because it took me some time to get it correct, this is how you mount the bracket very securely: 1. Install the bearing and screw/washer to tighten the fall protection system 2. Attach the bracket with two screws onto the stepper motor 3. Loosen all 4 screws on the z-axis extrusion mount, then firmly press it down until the bracket sits flush with the bottom plate 4. Add the bottom screw(s) (I only used the spare hole next to the foot) 5. Tighten the z-axis screws again Thanks Marco Reps for the original model! PS: A huge fan of your YouTube channel!
With this file you will be able to print Cetus Z-Axis Stiffness Bracket (MK3 compatible) with your 3D printer. Click on the button and save the file on your computer to work, edit or customize your design. You can also find more 3D designs for printers on Cetus Z-Axis Stiffness Bracket (MK3 compatible).