Changing color while printing
thingiverse
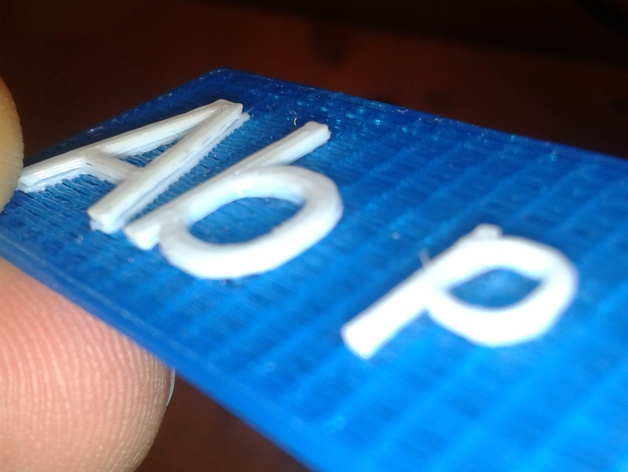
This thing isn't about the .STL file; instead, it provides instructions on how to change filaments while printing with a 3D printer. To accomplish this, enter specific lines of codes in the .gcode file of any part you want to print. Then, print the part, wait for the printer to pause, swap out the filament and type M24. This is pretty straightforward. You'll have the ability to select exactly at which layer the color change will occur. You can look up additional instructions in the instruction tab. Because it isn't about downloading the .STL file, make sure to give a like or reference this page if you use my method or find it helpful. 1. First, slice your .STL and save it as a .gcode on an SD card. 2. Find at which layer the color should change in your host (I'm using Repetier). Let's call it N. For instance, my example has layer 8 as its first layer with letters instead of a rectangular base, so N=8. 3. Next, calculate the height of that layer by plugging the formula into: ((N-1) * Layer thickness + First layer thickness = answer). My first layer is .3mm, and all subsequent layers are .15mm. So for me, (7* .15mm + 1* .30mm) equals .35 mm. 4. Now, find that exact height in your .gcode file by opening it with Notepad, hitting Ctrl+F and typing 'G1 Z...,' where ... is your calculated height. My line reads G1 Z.350 F7800.000). 5. Following 'G1 Z...', paste this: G91 (use relative coordinates) G1 Z15; lift the extruder 15mm M25; stop reading from the SD card - now you can change out the filament! G91 (use relative coordinates again) G1 Z-15; drop the extruder 15 mm down G90; use absolute coordinates again G92 X... Y... Z... E0; place all axes in the correct position Replace all the '...' with the proper values. After X and Y, put in the last coordinate pair that were sent before G1 Z...(step 4). Normally, they're three lines above where it says 'G1 Z...' You'll typically find them right after the line of code G1 F1800.000. Following 'Z' write down your height as you calculated earlier. In my case, I had those exact lines: ... G92 E0 G1 X76.794 Y15.456 E62.94156 G1 X33.206 Y15.456 E64.22251 ...where the bolded values represent where you input new ones: **(my original numbers)** G92; sets all axes in their initial state after a certain event occurred. G1 F7800.000 - move extruder up 780 mm and with that feedrate F is set. 6. Save, print it with SD card 7. Wait for the printer to stop working on your model (at least long enough for you change out) change color. Use a force control function if not implemented with software and remove last layer residue; this could be extruder pressure only with an ejection command G92. Once changed color coming from extruder start printing again
With this file you will be able to print Changing color while printing with your 3D printer. Click on the button and save the file on your computer to work, edit or customize your design. You can also find more 3D designs for printers on Changing color while printing.