Chocolate Print head for i3 quick change printer
thingiverse
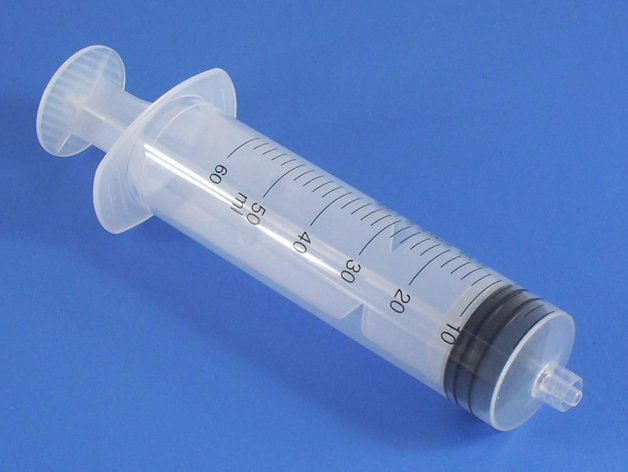
As it says in the title, this is a 3D print head designed for printing delicious chocolate creations. This design is still a work in progress and serves as one of my quick change units. Primarily, I plan to use a syringe with an insulated jacket to dispense the chocolate onto greaseproof paper attached to the bed using bulldog clips. I started designing this device because I often demonstrate printing to a wide range of people, from young to old, and male to female. The chocolate printer consistently grabs everyone's attention. My goal is to inspire as many people as possible to participate in science or engineering projects. Important notes about chocolate printing: Chocolate begins to melt at body temperature, making it challenging to work with. Printing from a syringe onto greaseproof paper clipped to the print bed ensures easy cleaning. The large nozzle size, approximately 2mm, and reasonable print height of 2mm result in completed prints within 10 to 15 minutes, depending on size. White chocolate tends to provide better finish quality compared to milk or dark chocolate. Bubbles can become a problem during printing. Instructions: From the start, I decided to utilize the extruder driver to move the syringe plunger. However, this led to the first challenge: the extruder's built-in safety feature prevents it from working below 180 degrees C. To overcome this issue, I'll employ a pot on the carriage to simulate 200 degrees. Some individuals have resorted to external circuitry for controlling their paste extruders, which isn't my preferred solution due to its lack of elegance and reliance on available printer resources. Instead, I opted for using two small stepper motors (28BYJ-48-5V) wired in parallel as found in the Z-axis of the Prusa i3. Assembly Steps: 1. Cut two 3mm perspex strips, each 40mm wide by 210mm long. 2. Insert four bearings into the top plate and middle plate. 3. Place M6 nuts in the plunger plate, attach washers to prevent nut escape, and secure them with glue. Add microswitch screws. 4. Layout the plates with perspex strips, familiarize yourself with orientation and positioning. 5. Glue one 40mm strip into the guide of the middle plate at a precise 90-degree angle in all planes and located 150mm from the end. 6. Repeat step 5 on the other side. 7. Attach the top to the long ends of the perspex strips. 8. Insert threaded bars through the plates, attaching nuts as you go. Update (July 15th): I used the chocolate printer for the first time last week and loaded it with Dark, milk, and white chocolate syringes a day in advance. The printer performed flawlessly; however, the chocolate had issues – the Dark chocolate solidified too quickly, the milk chocolate layers stayed molten, and the white chocolate took too long to cool. As a result, I'm focusing my next project on finding the ideal blend of dark and milk chocolate for optimal printing performance.
With this file you will be able to print Chocolate Print head for i3 quick change printer with your 3D printer. Click on the button and save the file on your computer to work, edit or customize your design. You can also find more 3D designs for printers on Chocolate Print head for i3 quick change printer.