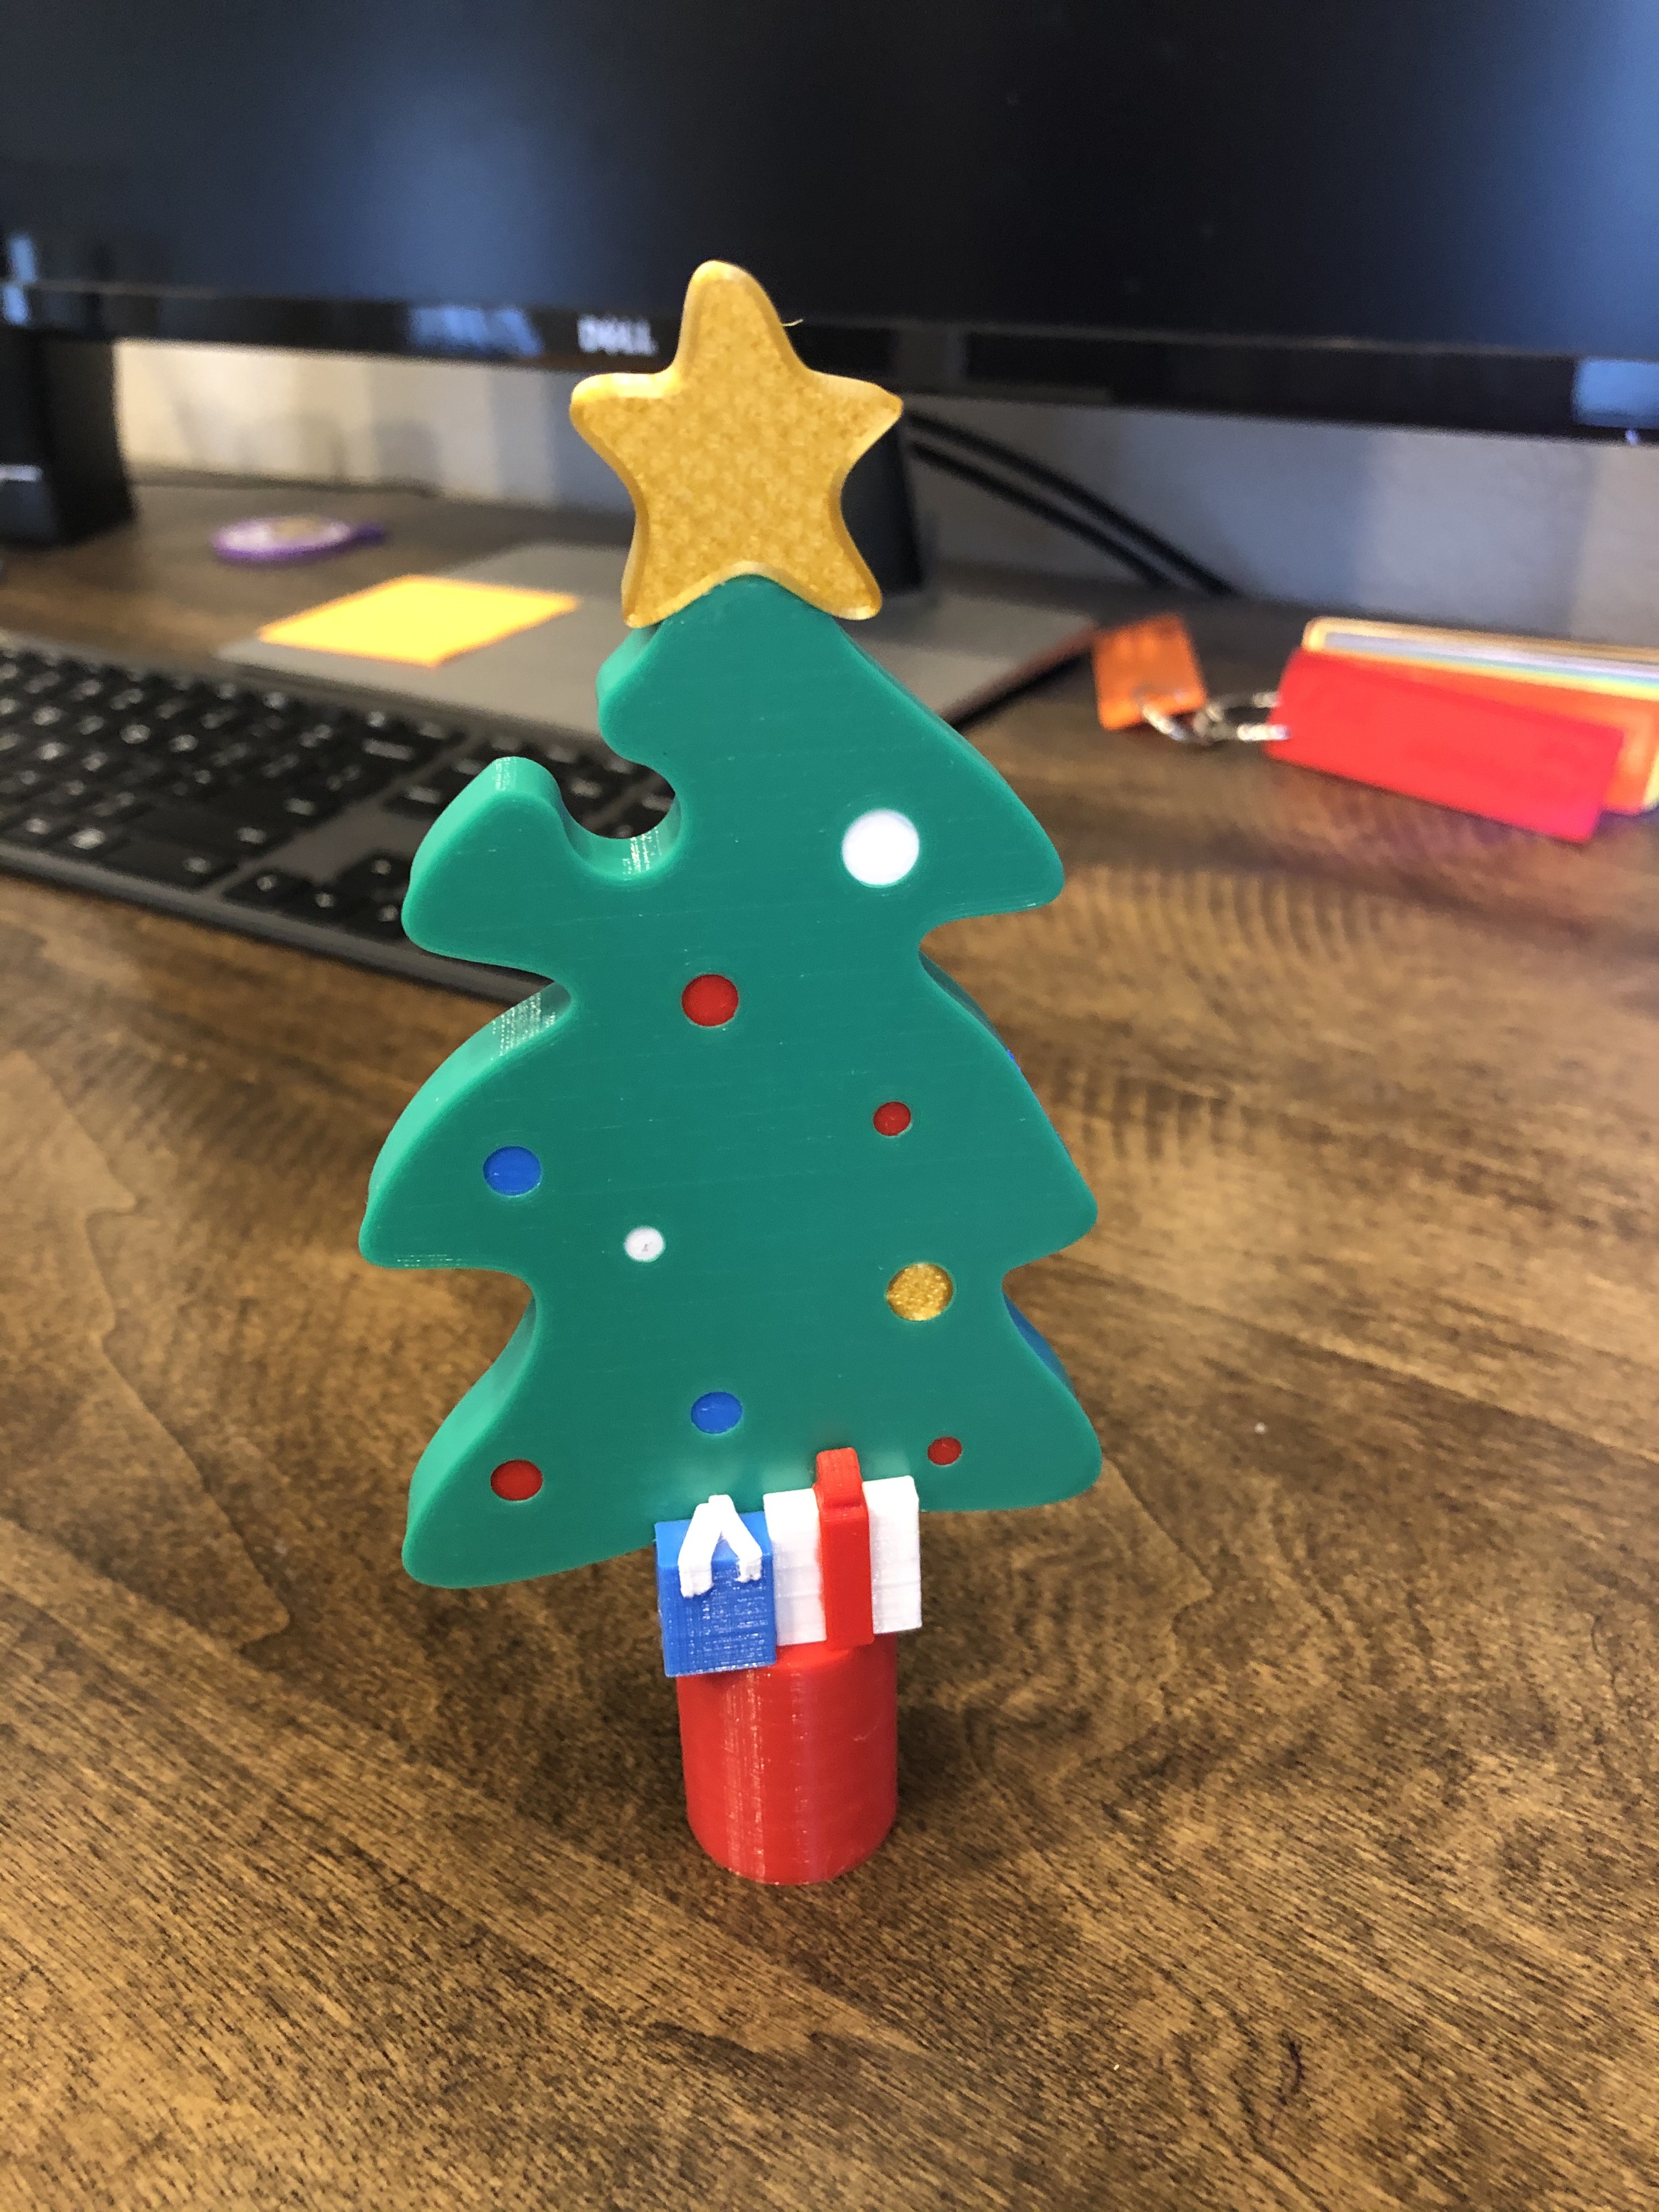
Christmas Light Helper/Hanger - Pole Hook
prusaprinters
<p>This is a simple hook to assist hanging outdoor Christmas lights. It attaches to a common painters extension pole. No simple hook would do - this one helps set the festive mood!</p> <h3>Print instructions</h3><p>Per the great internet oracle, apparently there are two common thread sizes used for painter's poles and threaded broomsticks. In my neck of the world (Wyoming, USA), I have the 5 threads-per-inch variety. I included the 4 threads-per-inch model for completeness, but it is untested.</p> <p>I <em>believe</em> the STL's are MMU-friendly. I do not have an MMU myself, but I do practice the poor-man's version of manually changing colors occasionally. They should import as multi-colors nicely.</p> <p>For those who will be printing each color separately, I have also included the *.3mf files segregated into different colors for convenience. If I understand the file format, these will also include the requisite supports already configured.</p> <p>If you are loading the *.stl's individually, the following parts will need to have supports added. To minimize cleanup, I recommend adding a support enforcer only around the necessary areas:<br/> 1) tree - Lay it down on its back, and add a support for the tabbed area.<br/> 2) ribbon_single - Lay it down on the back of the bow area, so that the long flat is elevated. Add supports under the flat so that the exposed surface stays clean.<br/> 3) ribbon_double - Keep this upright. Add supports under the flat so that the exposed surface stays clean.</p> <p>If printing separately, total parts to print are:<br/> 1x - socket (pick your appropriate tpi)<br/> 1x - pin</p> <p>1x - tree<br/> 1x - star<br/> 9x - ornaments (print these @ 97% in X & Y for easy assembly)</p> <ul> <li>2x large ornaments</li> <li>4x med ornaments</li> <li>3x small ornaments (97% was a little tight, you may want to try 96% here)</li> </ul> <p>(color is your choice, I'm calling it out here to match the filenames)<br/> 1x - blue front_box<br/> 1x - blue back box<br/> 2x - double ribbon</p> <p>1x - white front box<br/> 1x - white back box<br/> 2x - single ribbon</p> <p>Assembly is straight forward:<br/> 1) Ornaments & the star are glued into/onto the tree as appropriate<br/> 2) Slot the tree over the socket and pin them together.<br/> -- Make sure the supports between the tree tabs are fully removed. It is a tight fit for structural rigidity and stray supports could break off the tabs if forced.<br/> -- Don't glue together yet. Wait for the next step to ensure proper spacing.<br/> 3) The front/back boxes sit next to each other on a side and slot onto the pin to hide the pin joint. Ensure a good fit before committing with glue.<br/> -- Once I had a good dry-run fit, I found it worked well to glue the pin into the front-box pair first. Assemble. Then glue on the back pair. That seemed to ensure that the pin was properly placed.</p> <p>Colors shown are (all PLA):<br/> AIO Robotics Red<br/> AIO Robotics Sapphire Blue<br/> Hatchbox White<br/> AIO Robotics Green<br/> Mika3D Silk Gold</p>
With this file you will be able to print Christmas Light Helper/Hanger - Pole Hook with your 3D printer. Click on the button and save the file on your computer to work, edit or customize your design. You can also find more 3D designs for printers on Christmas Light Helper/Hanger - Pole Hook.
