Cineroc Mini 808
prusaprinters
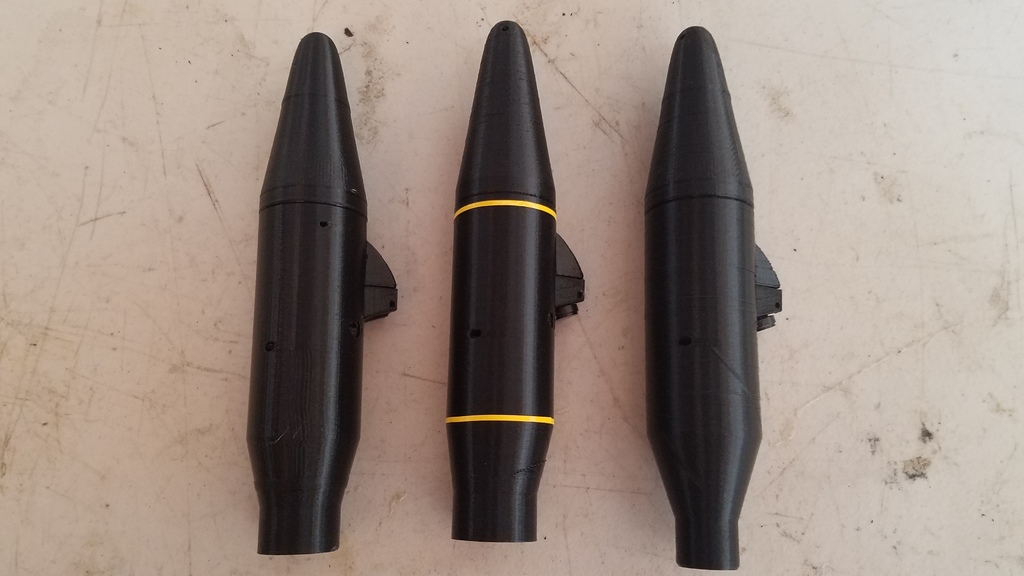
<p><strong>Update</strong> an improved and more 'rugged' 808 Camera sled.<i>Camera_Sled_v2.stl.</i> Naturally, if you've already downloaded the full build, you only need to download <a href="/download:6441418">this one part</a></p><h3>Mini Cineroc 808</h3><p>Mike Dorffler designed for Estes Industries the 'Cineroc' a super 8mm film camera that captured the imaginations of many young rocket scientist (like me).</p><p>I first modeled and published the full size tribute to the Cineroc here - <a href="https://www.thingiverse.com/thing:2995189">https://www.thingiverse.com/thing:2995189</a></p><p>I recently discovered that Semroc offered a Mini-Omega kit - so it felt like the perfect challenge to see if I could fit the 808 into that small of a payload section. Here is a link to that kit <a href="http://www.semroc.com/Store/scripts/RocketKits.asp?SKU=KA-29">http://www.semroc.com/Store/scripts/RocketKits.asp?SKU=KA-29</a></p><p>I modeled the Cineroc Mini 808 after the original design and refitted it with as MATECam 808 HD 'spy' camera. This system is currently designed to work only with this version of the 808 (there are many).</p><p>Here are the 3D Print files for making your own Cineroc Mini 808, I probably will be updating the parts as I tweak and improve them.</p><p>I print most of the parts at .2mm but have found printing the camera sled and camera hood at .05mm yields a better quality result. I also print the camera sled at 100% infill.</p><p>I will be publishing a construction video soon but until then here are some quick notes.</p><p>1) Used a short length of filament to lock the nose cone onto the camera shell. (see picture)<br/>2) With the nose cone locked and the camera sled inserted, fit the camera hood in place<br/>3) Use tape to keep the hood in place and remove the locking filament strand, making sure to keep the hood in place.<br/>4) Use a small amounts of CA glue to bond the hood to the nosecone. (I often use a CA catalyst spray to kick it)</p><p>Extra filament is used to hold the camera PC board to the sled (see picture)</p><p>Once the entire assembly is put together and tested - insert the locking filament in place and trim it flush to the body of the camera. Then use a decorative tape to cover the filament ends and to help hold them in place.</p><p>The camera sled is specifically designed to work the components from a Matecam 808 and is unlikely to work with any other 808 system. (but could)</p><p><a href="https://www.amazon.com/Davidamys-gift-Keychain-808-32/dp/B08R58XPKF/ref=sr_1_2?keywords=matecam+808&qid=1638323685&qsid=133-4737791-5121841&sr=8-2&sres=B01E5HDUXW%2CB08R58XPKF%2CB07X1YLC2L%2CB07GRRLCYS%2CB07GCKZKX8%2CB089HCBZFZ%2CB07GCLFWNN%2CB0744B55QV%2CB010OYASRG%2CB016XTADG2%2CB0116X17JW%2CB06XXFM2B3%2CB00ODJ0V8U%2CB07DMMG7QY%2CB08MZG3WV4%2CB0109GTXWA&srpt=SECURITY_CAMERA">MATECam 808 1080P Keychain Camera </a></p><p>Note: I used a small section of Fiber optic rod (Truglo TG05E) to help make the camera's LED easier to see. You can see it in the camera sled closeup picture.</p><p>The different camera shells are designed for these uses;</p><p>Semroc Offset - works with a pre-built Semroc Omega<br/>Semroc Straight - would require a larger launch lug offset<br/>BT 50 - fits an Estes BT-50<br/>BT 20 - fits an Estes BT-20</p><p>Visit the <a href="https://www.facebook.com/CinerocTribute/">https://www.facebook.com/CinerocTribute/</a> page if you want to share your results or have any questions!!</p><p>Category: Camera</p>
With this file you will be able to print Cineroc Mini 808 with your 3D printer. Click on the button and save the file on your computer to work, edit or customize your design. You can also find more 3D designs for printers on Cineroc Mini 808.
