Circal: First Layer Z-offset Calibration Circle
thingiverse
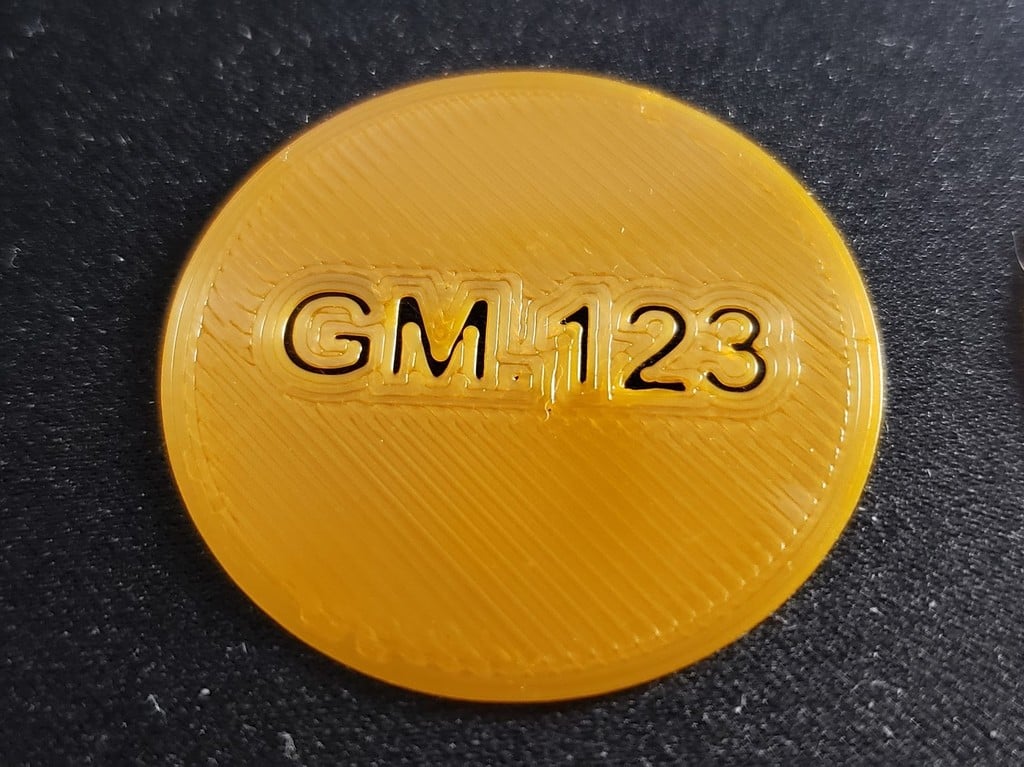
TL;DR: Simple yet fast calibration method with a 35mm diameter circle containing text similar to Benchy. This model provides a rapid but effective first layer calibration technique. The design is just 0.2mm tall, so at a layer height of 0.2mm it will print only one layer. # Features - Circles (more suitable for calibration than squares since they engage both X and Y axes simultaneously) - A diameter of 35mm (each circle prints in approximately two minutes) - Two circle options without and with text (similar to Benchy's first layer text, but much faster to print) # Instructions Each circle takes about two minutes to print, so you can place several circles around the build plate when you are slicing the model. ### For Z-offset calibration Begin with a small number of circles. During printing, adjust the z-offset for each circle and record the z-offset value used for each circle. After the circles have printed, remove them from the bed and compare the first layer to determine the ideal z-offset. - The lines forming the circle should be fused - There should be no gaps between lines - If you try to pull it apart, it should hold together like a sheet of paper I aim to maintain the nozzle at its highest possible position while still achieving proper fusion of layers. You will be getting closer to the correct value when making z-offset adjustments as small as 0.02mm between circles. The text is also an indication; it should be clearly readable and well-defined. ### 1st Layer Adhesion For a more general first layer adhesion test, spread circles across a wide range of locations (corners, middle, etc.) on the bed and let it print.
With this file you will be able to print Circal: First Layer Z-offset Calibration Circle with your 3D printer. Click on the button and save the file on your computer to work, edit or customize your design. You can also find more 3D designs for printers on Circal: First Layer Z-offset Calibration Circle.