Circuit Board Assembly Holder
prusaprinters
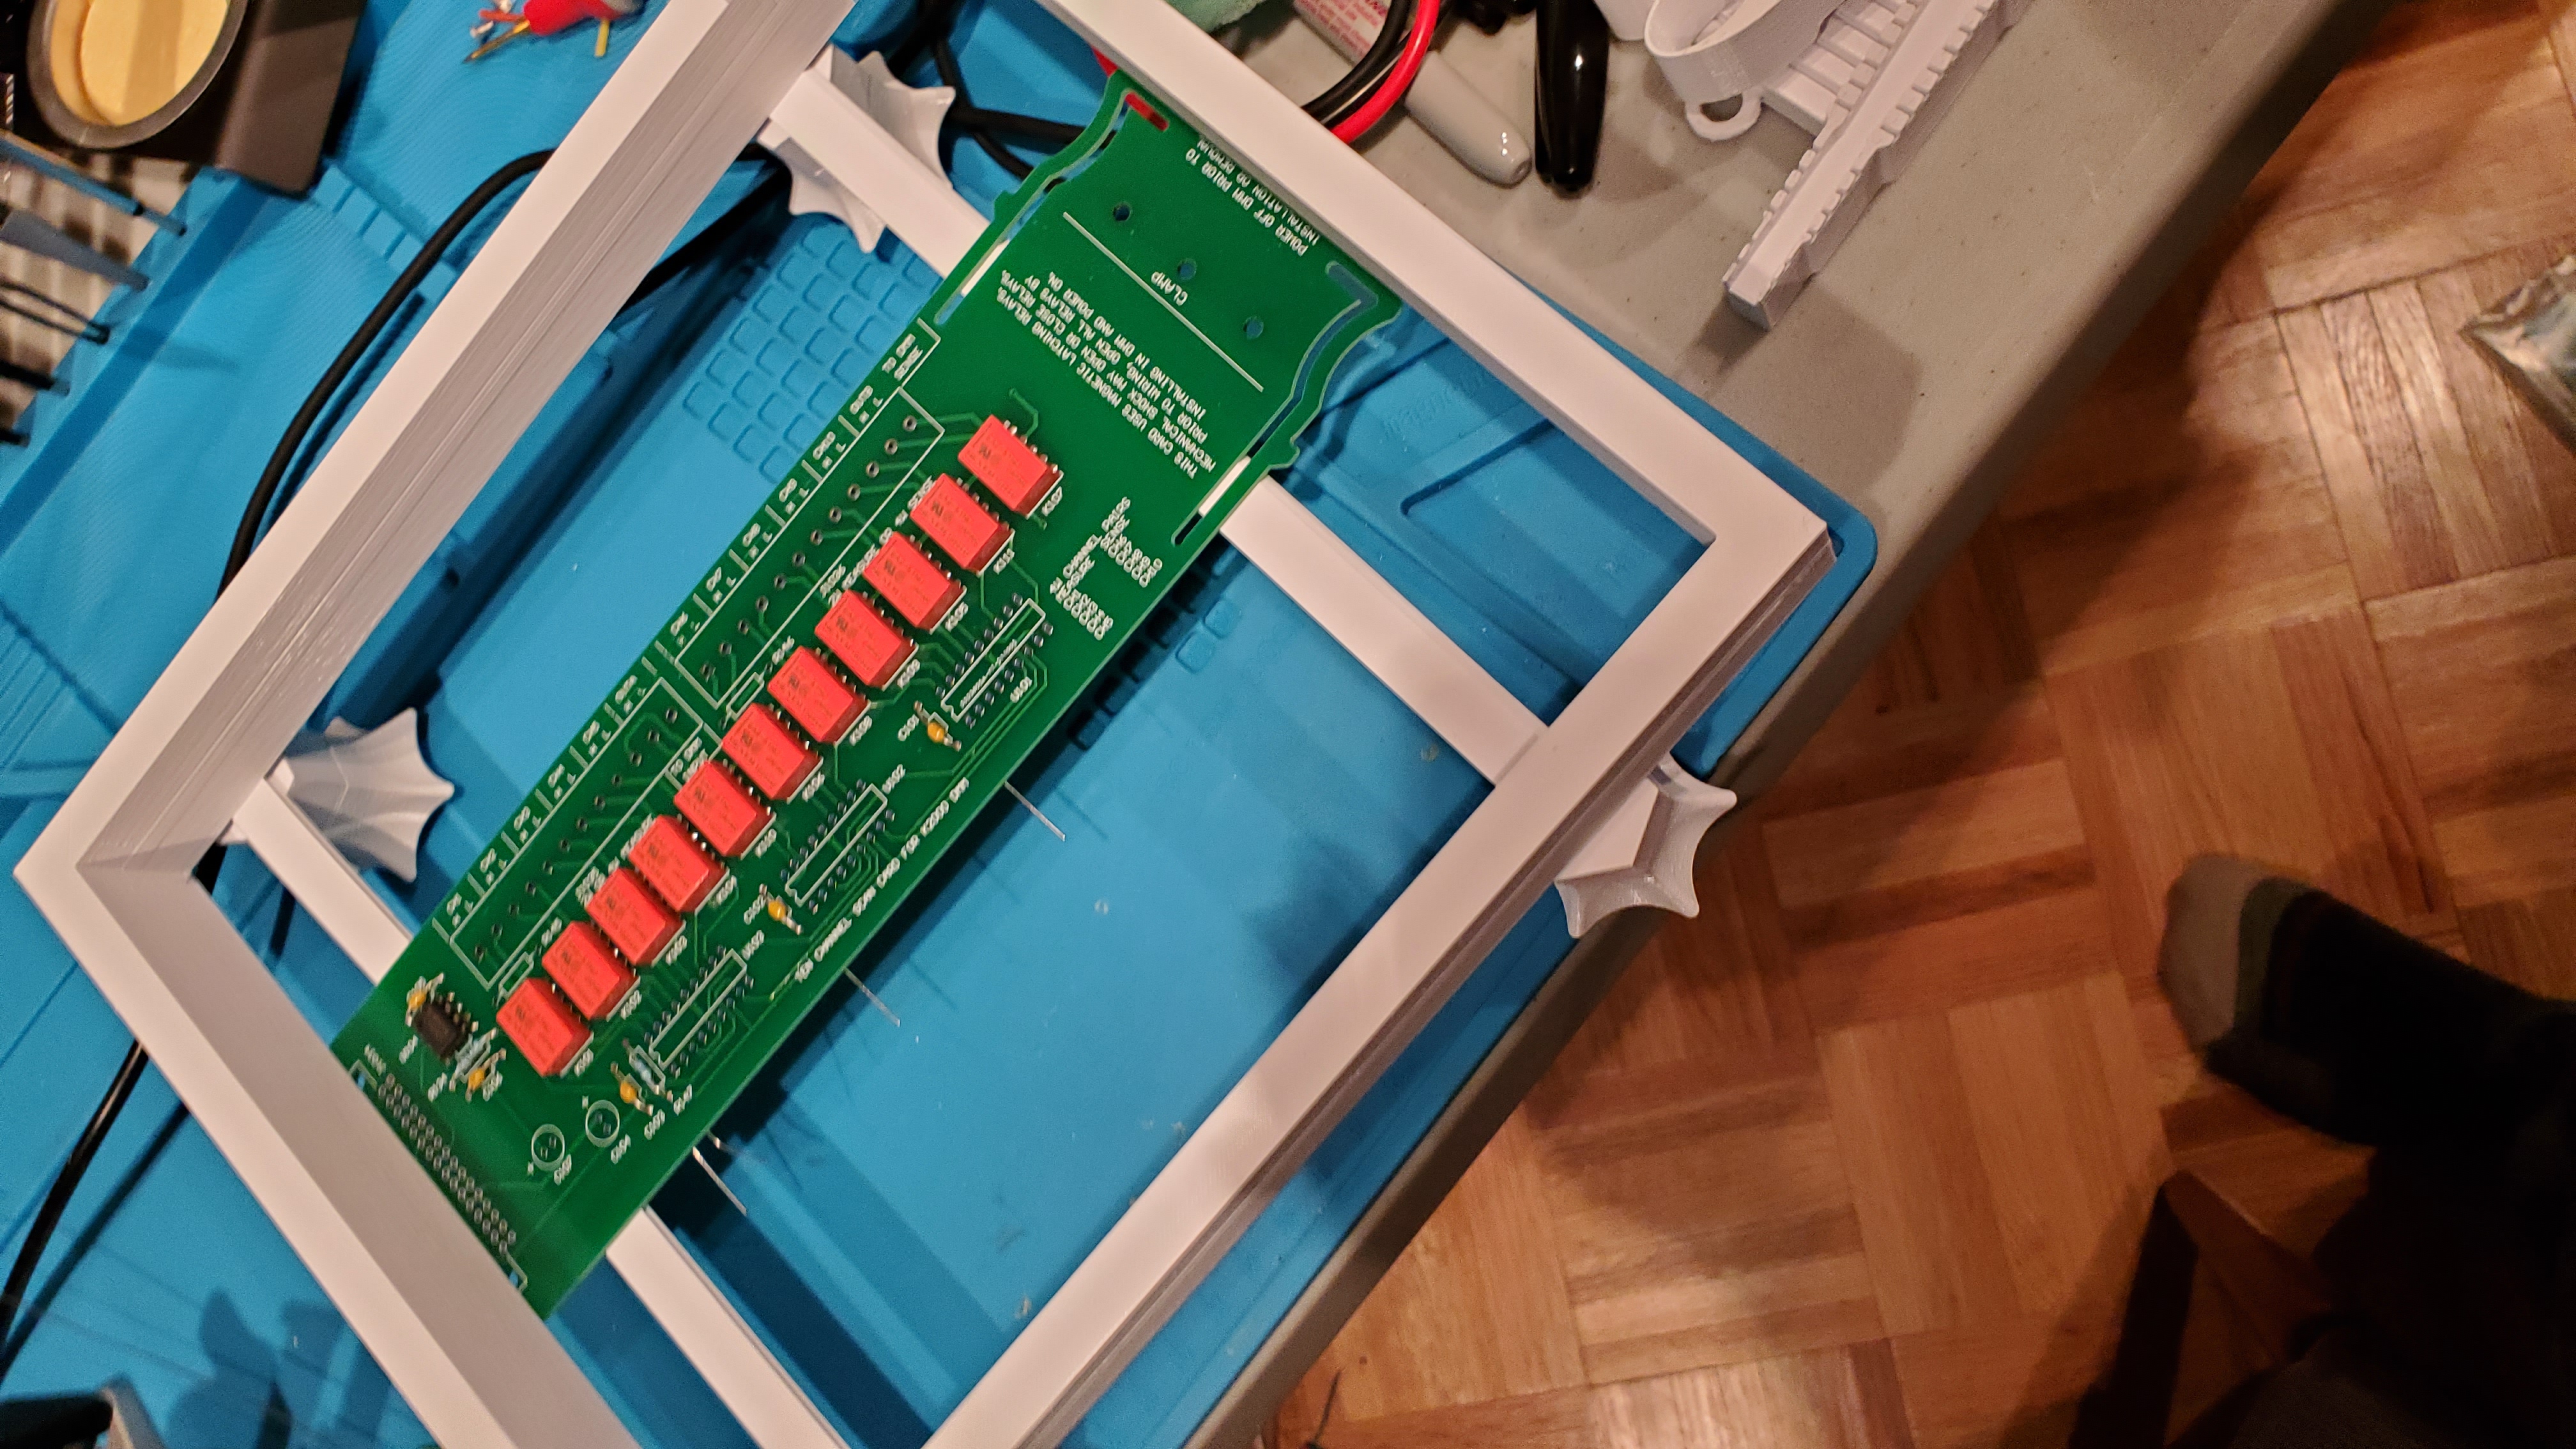
<p>Years ago, when first learning to solder, I found some jigs like this:<br><a href="http://www.fortex.co.uk/product/pcb-assembly-jig-pcsa1/">http://www.fortex.co.uk/product/pcb-assembly-jig-pcsa1/</a></p><p>But they were all ludicrously expensive (200+ USD), so I never really though much of them until came upon this:<br><a href="https://www.nutsvolts.com/magazine/article/september2011_Collier">https://www.nutsvolts.com/magazine/article/september2011_Collier</a></p><p>It was DIY, and much cheaper, only ~80 bucks in materials, though that still seemed like a lot, but now with 3d printing I could easily make something sturdy enough while being 1/10th the cost, less than $8.</p><p>I hope you find it useful!</p><p> </p><p>Print Size: 245mm x 205mm x 25mm (easy to print on mk3)</p><p>Included gcode is for prusa mk3</p><p> </p><p>Required Hardware:</p><p>4x M4 Hex Nuts</p><p>4x M4 Bolt (Hex Head) (Greater than 25 mm, Less than 40mm)</p><p>Superglue</p><p>25mm+ thick foam cut to size</p><p> </p><p>Print:</p><p>1x pcb_holder_frame</p><p>2x (or 4x) pcb_holder_arms</p><p>4x pcb_holder_nut_holder</p><p>4x pcb_holder_screw_grip</p><p> </p><p> </p><p>Assembly:<br> </p><ol><li>Glue nut_holder onto screw_grip</li><li>Insert M4 Hex Nut into each of the 4x nut_holder</li><li>Insert M4 Bolt into each of the 4 corners of the frame</li><li>Place 1 or 2 arms (depending on pcb thickness) between the M4 Bolts on opposite sides of the print</li><li>Screw the combined nut_holder and screw_grip onto the M4 Bolts</li></ol><p>Assembly complete!</p><p>Use:</p><ol><li>Place the PCB between the two arms with the edges inside the angled grove cut into the arms and push them together</li><li>Check that the top (where the parts will stick up) is facing the inside of the frame, away from the screw_grips</li><li>Lock the arms in place using the screw_grips</li><li>Assemble PCB, (Recommended to make multiple passes from shortest to tallest components, grouping similar heighted components together)</li><li>Insert foam to hold parts in place</li><li>Flip over and solder parts in place</li><li>Repeat steps 4-6 until all parts have been added</li></ol>
With this file you will be able to print Circuit Board Assembly Holder with your 3D printer. Click on the button and save the file on your computer to work, edit or customize your design. You can also find more 3D designs for printers on Circuit Board Assembly Holder.