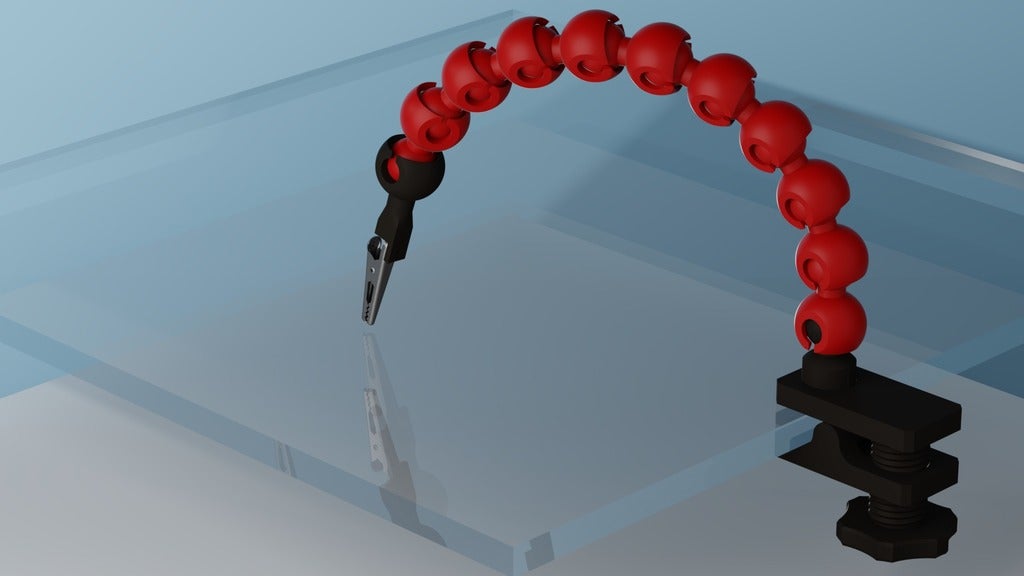
Clamping helping hand
prusaprinters
<p>I liked 3dfernando's <a href="https://www.thingiverse.com/thing:2655828">Helping Hands</a>, but I wanted a better way to hold them on to my really thin table and also more flexibility in being able to fix them to any other thing, so I thought they would remix really well with my <a href="https://www.prusaprinters.org/prints/44056-mini-screw-clamp">Mini screw clamp</a>.</p> <p>I've redesigned the clamp to have a sturdier, stronger screw. This model still prints really well in place, though it's dependent on <strong>really tight tolerances</strong>. If there's interest I wouldn't mind uploading a looser clamp, though 3dfernando's original ball socket has a pretty tight fit anyway.</p> <p>PLA is doable, but i don't really recommend it. PETG works wonderfully well for these parts. I've uploaded a thin version of the clamp (10mm), ideal for thin glass-top tables (like mine) or other supports, and a large version (20mm) that should cover something else. Over that, you're better off with a<em>U</em>-clamp like the original.</p> <p>These files are untouched from the originals:</p> <ul> <li>ball_socket.stl</li> <li>Table_Clamp_Ball_Joint.stl</li> <li>Alligator_Clip_Receptacle.stl</li> </ul> <p>Just insert your regular alligator clips with an M2 screw of your choice (6mm or shorter). I used M3's, but had to make the holes slightly bigger with a drill.</p> <p><strong>Extra hardware</strong></p> <ul> <li>An M2 screw (ideally 4mm) and a bolt (ideally a thin square bolt).</li> <li>Alternatively an M3 screw and bolt, but you'll need to coerce them some.</li> <li>Obviously alligator clips, <a href="https://amzn.to/2GQ7Muk?tag=revensanchez-20">like these</a>*, for example. (referral link)</li> </ul> <h3>Print instructions</h3><p><strong>Rafts:</strong> No<br/> <strong>Supports:</strong> No<br/> <strong>Resolution:</strong> 0.2mm<br/> <strong>Infill:</strong> 30%</p> <p><strong>Notes:</strong></p> <ul> <li>The <em>ball sockets</em> are best printed on their side, with support on the bed only, just to get the ball as round as possible.</li> <li>The <em>clamp</em> are printed without supports, in place. I recommend uping the perimeter count to 4 or more. The holes might require a bit of support if your printer doesn't do very well with overhangs, but I've get perfectly working pieces without them. There's a 0.2 gap between the moving parts. A gentle push once the piece has printed and they snap apart.</li> <li>The screw prints perfectly standing up without any supports.</li> <li>The <em>table clamp ball joint</em> and the <em>alligator receptacle</em> are best printed standing up with a generous brim, but without supports.</li> </ul>
With this file you will be able to print Clamping helping hand with your 3D printer. Click on the button and save the file on your computer to work, edit or customize your design. You can also find more 3D designs for printers on Clamping helping hand.
