Clasp to wall
thingiverse
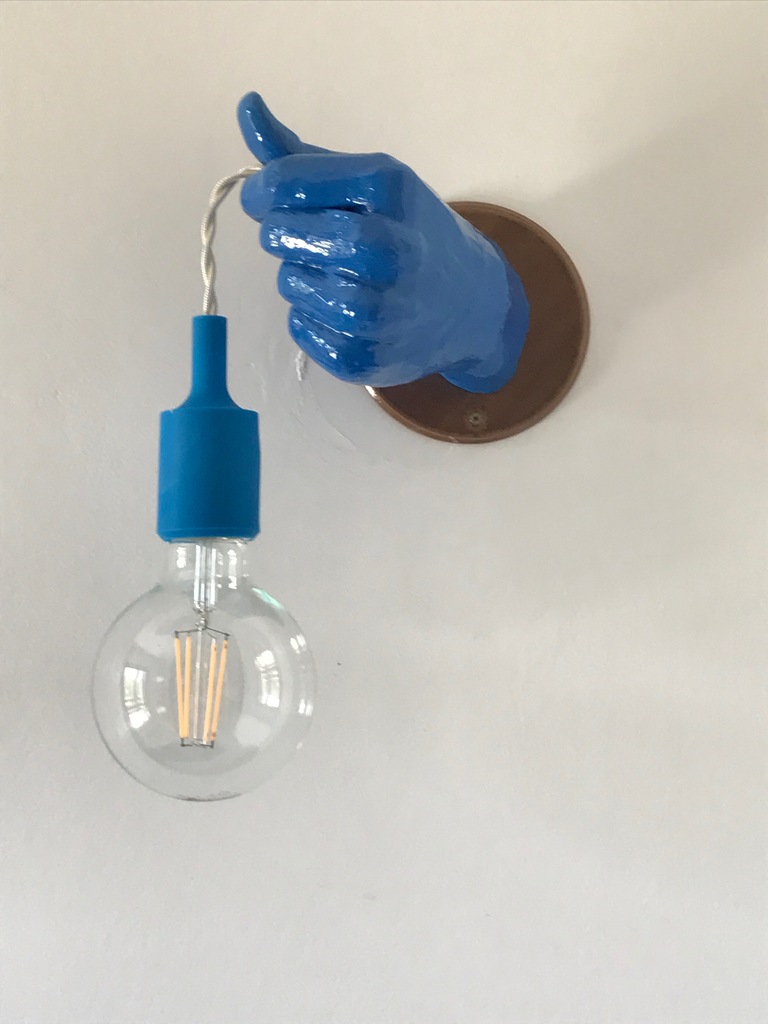
I modified the beautiful project Clasp for stick it to the wall. The thing is very hard to print, you have 3 options: 1) print the full hand vertically. This option is the better for the skin quality, but the support structures tend to collapse, You have to create special cylinders to support the parts. 2) print the full hand horizontally. With this option you have to work very hard for detach support structures. You need a consistent post production phase like sanding. 3) Cut the hand into two parts using netfab (file ClaspHand1 and ClaspHand2) and after printing, paste the parts with a strong adhesive such as E6000. With this option is very simple to detach the support structures, specially those that block the hole through which the electric wire must pass. I stuffed the fracture line with "sugru pasta". The thing was coated with epoxy resin like XTC-3D. In picture 3 (blu hand, printed in two parts) you can see the fracture line, whereas in picture 4 (red hand, printed in only one part) the result is better. Use a nice bulb holder and a nice led bulb, like Philips classic (see pictures). If you print ClaspHand1 rotate it 180°. WallSupport1 and WallSupport2 are glued with E6000. WallSupport2 is printed in Laywood.
With this file you will be able to print Clasp to wall with your 3D printer. Click on the button and save the file on your computer to work, edit or customize your design. You can also find more 3D designs for printers on Clasp to wall.