Clear top Robo R1 & R1+ partial enclosure
thingiverse
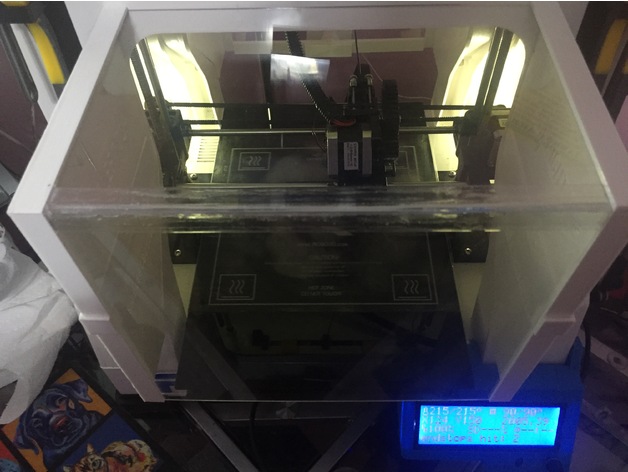
I replaced my old enclosure design with this one that is easier to make and requires fewer parts. This new design calls for printing only four side pieces, seam reinforcements, and magnetic mounts. Outer side braces are optional. You can now use any thickness clear acrylic sheet or plexi-glass, but I recommend a 2mm thickness, which you can easily find at Lowe's Home Improvement store. Magnets come in round 12mm x 6mm sizes and can be purchased on Amazon or E-bay. Print Settings Printer Brand: Robo 3D Printer Model: R1 ABS + PLA Model Rafts: No Supports: No Resolution: Medium Infill: 15% Notes: Use PLA or any other filament that does not warp easily. Post-Printing Parts to purchase and cut, followed by assembly: Purchase 16 round rare earth magnets (12mm x 6mm) from Ebay or Amazon. Buy two 24" x 18" sheets of clear acrylic in your desired thickness (one sheet per enclosure). Get a clear wall corner protector available at Lowe's for $2.97 (a 48" long piece). Cut the acrylic: Front: 10 15/16" x 9 3/16" Top: 10 13/16" x 6 9/16" Assemble two sets of sides using side re-enforcements and your preferred gluing method. First, install the top clear acrylic sheet to both sides and let the glue cure. Next, glue the magnets into their holders and let them cure. Glue the magnet holders to the sides on the enclosure, one near the top and one on the sloped part of the sides that will sit against the printer. Refer to pictures if you have questions about location. Hold the enclosure up to the printer and place a magnet inside the printer in each of the four locations on the enclosure. The magnets should now hold the enclosure in place. Remove each magnet one at a time, apply glue to the side that goes against the printer's interior, and replace it. Repeat this process for each magnet. After the glue cures, remove the enclosure and glue the front acrylic piece to the enclosure, letting it cure. Cut the clear corner protector to 10" in length and use it to connect the top and front together. If desired, add the outer side braces. This completes the assembly of your new printer enclosure.
With this file you will be able to print Clear top Robo R1 & R1+ partial enclosure with your 3D printer. Click on the button and save the file on your computer to work, edit or customize your design. You can also find more 3D designs for printers on Clear top Robo R1 & R1+ partial enclosure.