Clearance test
prusaprinters
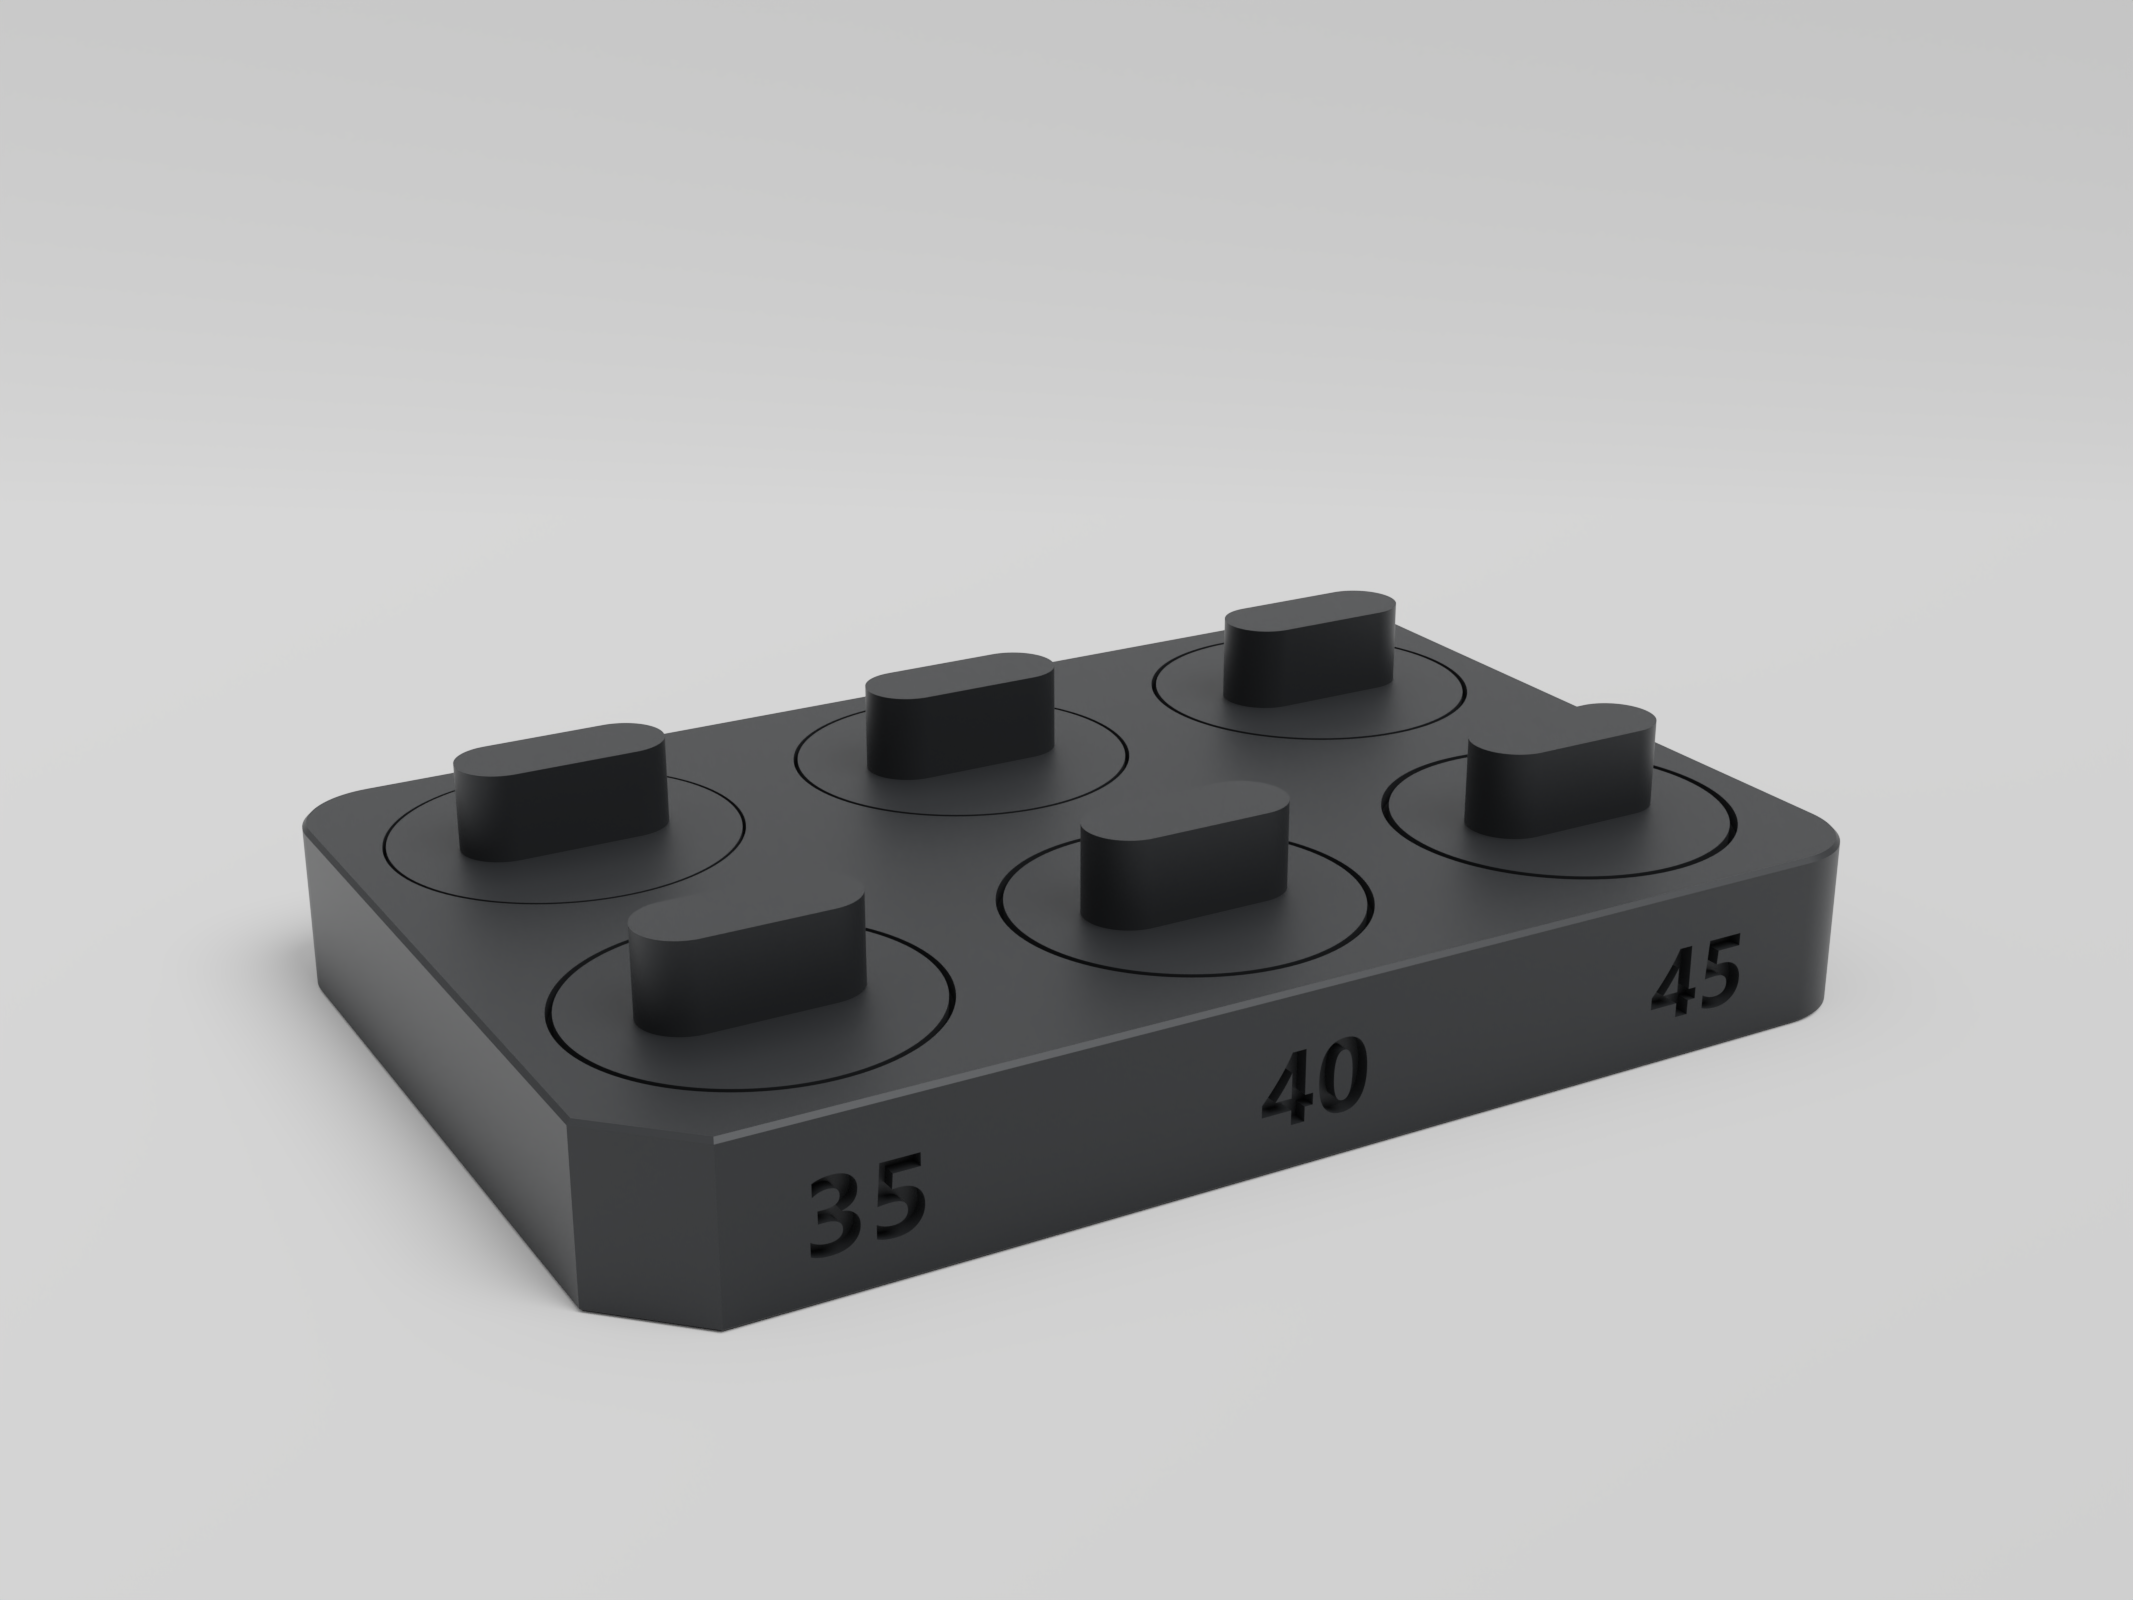
<p><strong>Understanding the clearance</strong></p><p>It's an additional gap left while designing in order to make moving parts move freely and as smooth as possible without being too loose. It has to be considered as well for fitting objects into others.</p><p><strong>Application</strong></p><p>Let's say you want to slide a 10 mm cube (male) into another one, the amount of clearance is applied once per side. That means if you leave 0.25 mm, it will be a total of 0.5 mm for each XY axis. The female cube will then measure 10.5 mm (horizontally).</p><p><strong>The object</strong></p><p>This print is a good to go for testing your machine's limits when you have parts that move or sliding pieces. The amount of clearance is indicated on front and back. Divide the corresponding number by 100 to get millimeters.</p><p><strong>Ø 0.4 Recommended settings :</strong><br>Layer height : 0.25 mm<br>Walls : 3 (1.2 mm)<br>Infill : 10-20%<br>Speed : 60 mm/s<br>Print time : +2H</p>
With this file you will be able to print Clearance test with your 3D printer. Click on the button and save the file on your computer to work, edit or customize your design. You can also find more 3D designs for printers on Clearance test.