Clock in a bottle
thingiverse
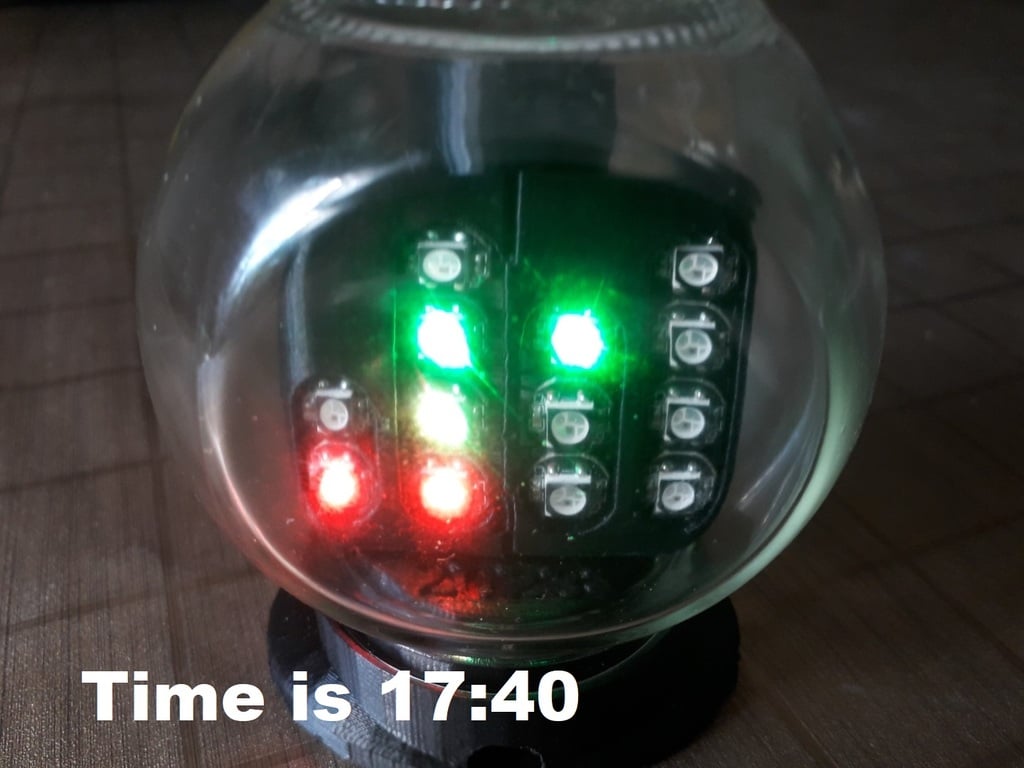
Clock in a bottle Binary clock built in a glass container Pepco / Poundland SKU 34705101. It has 13 pieces WS2812B LEDs for displaying binary coded time. Touching the glass top, the Arduino gets a wake up interrupt from a TTP223 touch sensor, wakes from sleep, reads the time keeping chip DS1302 and displays the time on WS2812 LED chain. Waits 2 sec, turns off the WS2812 supply, goes back to sleep mode to save the battery. In this mode, the consumption is about 30 uA, it means that the battery is good for about 50000 working hours (many years theoretically) with a single charge. The color of the WS2812 is freely adjustable in the Arduino program, the default is red for the 1, yellow for 2, green 4, blue 8 binary weight. To read the time, you add the weights vertically. When the charger is connected, the display stays always on. Preparation: Solder 4-4-3-2 pieces WS2812B PCB-s together, all Vcc and Gnd parallel, DO to next DI. The chain of 13 LEDs is as follows : minutes 1-2-4-8-10-20-40 to hours 1-2-4-8-10-20 all in series. TTP223 : Cut a 22mm dia brass or other metal plate and solder it with a very short wire to pin 3 of the TTP223 chip. This increases sensitivity. Make the A jumper (active low output). Remove the LED or its resistor. TP4056 : Remove/replace the 1k2 resistor with 6k8. Solder 2 identical 100k resistors on the USB input + side to GND forming 1/2 voltage divider to Arduino A0. Arduino Mini : Remove the power LED or its resistor. Remove the unused 5V LDO chip to avoid power leakage. Construction : Print the 3D parts. The display holder is foldable around the 18650 battery tube and can only pass through the glasses neck when folded. Insert (glue) the wired WS2812B LEDs, on top the wired TTP223 and fold the two halves together to insert into the glass. When inside, open it up to full width and attach to the 3D printed bottom with 2 screws. Use your finger in the battery tube to position the display, to make this step easier. Requires some patience. Wire the rest, load the program, insert the battery in the tube, test the battery charge. You may glue (epoxy) the charger PCB in place when ready and working. Holding your finger on the glass keeps the display on, gradually increasing the intensity to maximum. Time adjustment : no charger, push and hold adjust switch, touch the glass to turn display on, the time advances as long as you hold the button. The glass container is 80mm ball having 40mm mouth opening. https://www.youtube.com/shorts/4Y2zgvVDhdI Update 19 Oct 2023 : Some WS2812B chips require a delay after powering on, so please add after every digitalWrite(6, 0); delay(10);
With this file you will be able to print Clock in a bottle with your 3D printer. Click on the button and save the file on your computer to work, edit or customize your design. You can also find more 3D designs for printers on Clock in a bottle.