Clockwerk - A 3D Printed, Three-Axis Tourbillon
thingiverse
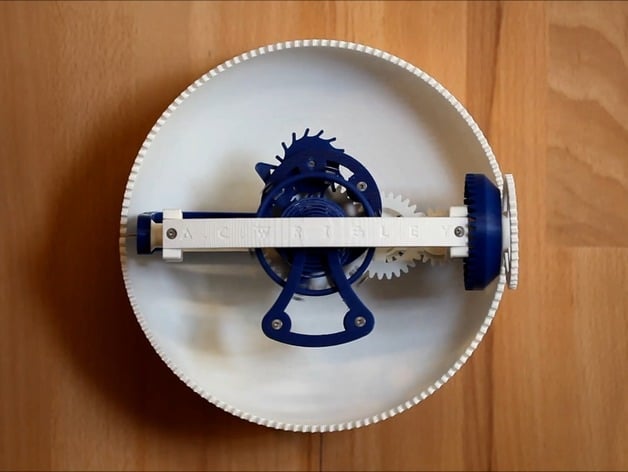
This text appears to be an instructional guide or tutorial on how to design and build a 3-axis tourbillon, a type of mechanical watch mechanism. The author provides detailed information on the required parts and tools, as well as the design process and inspiration behind the project. Here are some key points from the text: * The project was designed in Solidworks 2016, with input from various sources such as videos and images of 3-axis tourbillons online. * The author highlights the importance of having a strong knowledge of 3D printing, 3D modeling, and watchmaking to successfully complete the project. * The text also mentions that some parts may need to be adjusted if prints are too tight or loose, making it not suitable for beginners. * The author acknowledges inspiration from other projects such as Vianney Halter's "Deep Space Touribllon" watch, Nicholas Manousos' "Tourbillon 1000%," and Christoph Laimer's 3D printed tourbillon watch. Overall, this text provides a detailed guide for building a 3-axis tourbillon, but it also emphasizes the complexity and difficulty of the project.
With this file you will be able to print Clockwerk - A 3D Printed, Three-Axis Tourbillon with your 3D printer. Click on the button and save the file on your computer to work, edit or customize your design. You can also find more 3D designs for printers on Clockwerk - A 3D Printed, Three-Axis Tourbillon.