Clothespins
prusaprinters
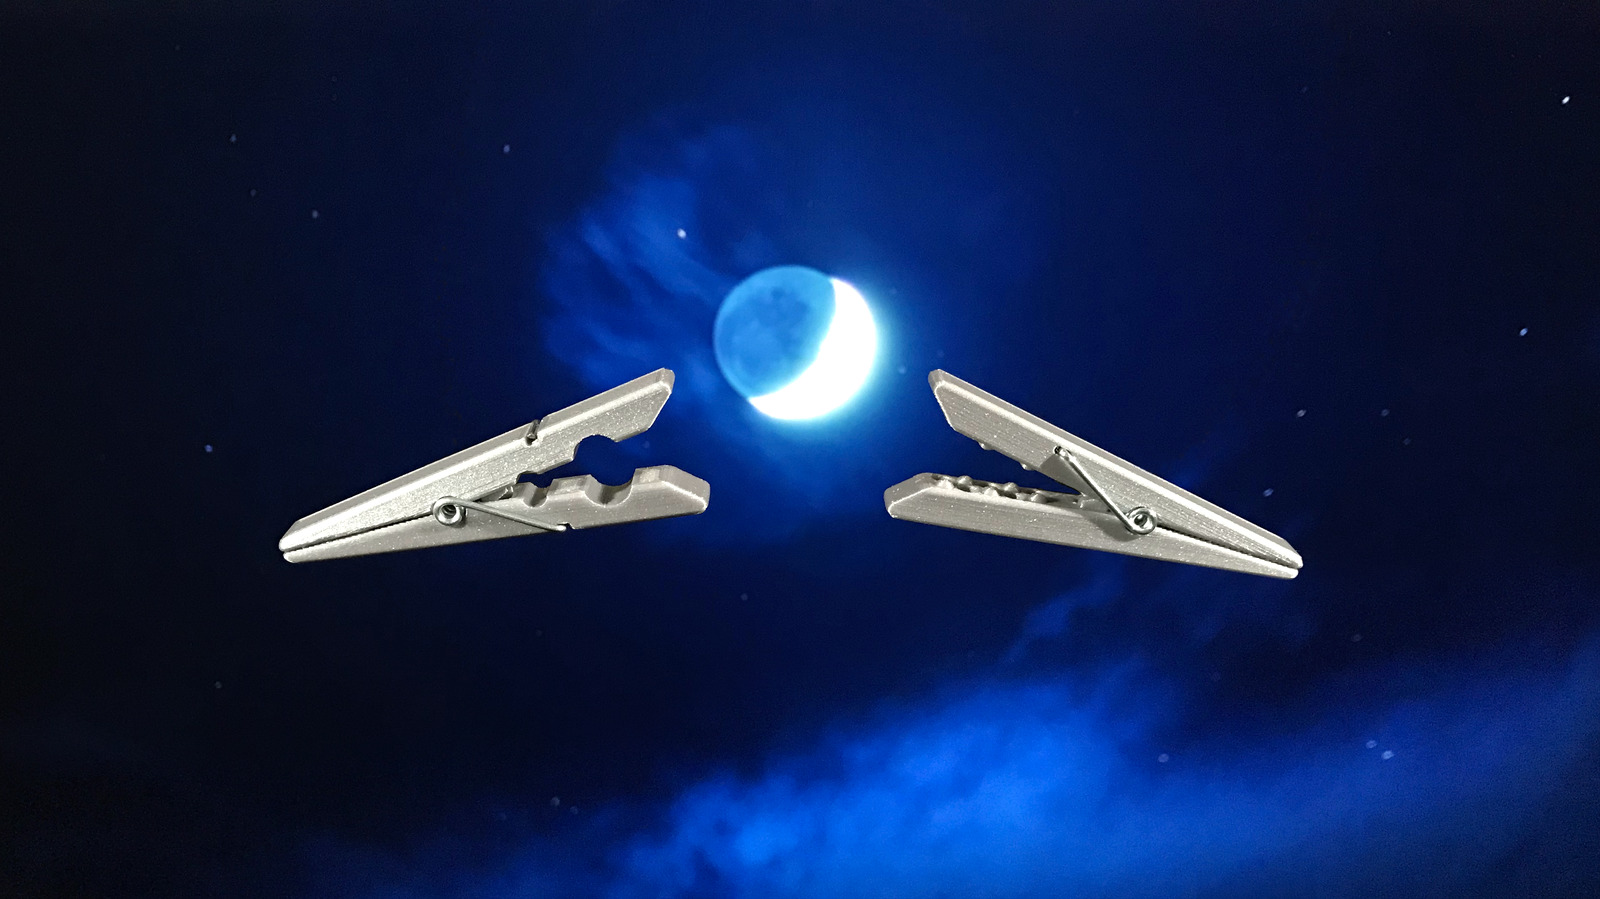
<p>Clothespins for use on clothing, fabric, or paper. Also works great for food storage bags like bread, cereal, chips, frozen foods, and more.</p> <p>Designed with stabilizing fins which are only visible when the clothespin is open. Each assembled clothespin resists skewing and compared to traditional designs, stays aligned in more situations.</p> <p>Designed with two variations, classic and modern. The classic design tends to do better with material that bunches up, clotheslines, and rounded surfaces. The modern design tends to do better with clothing, fabric, and paper, as long as those items are not too thick.</p> <p>Besides printing, each assembled clothespin will require a metal spring (<a href="https://www.amazon.com/gp/product/B074NXN719">these</a> for example). The coiled part of the spring is around 5mm tall by 12mm wide. Each arm of the spring is around 22mm long, including the coil.</p> <h3>Print instructions</h3><p>These print instructions are ordered from easiest to hardest.</p> <p><strong>Printing with the supplied G-code</strong></p> <p>If you have a Prusa MK3/S with a 0.4mm nozzle and are going to print in PLA, feel free to use the provided G-code.</p> <p><strong>Printing the 3MF files</strong></p> <p>Change any print or filament settings you like, slice, and print.</p> <p><strong>Printing the STL files</strong></p> <p>The flattest side of the model should be towards the bed, with the gripping surface facing up. Each piece is a perfect mirror of itself so for every two pieces you print, you get one clothespin.</p> <p><strong>Tips and Tricks</strong></p> <p>You may want to do a little cleanup of any stringing, blobs, or anything else leftover from the printing process. This will ensure pieces will sit nice and flat against each other and operate more smoothly.</p> <p>Assembly is best done one piece at a time, first by joining a metal spring to one side and then joining two sides. When joining, you may need to lift the rear of the clothespin, where you would normally squeeze it, in order to have the stabilizing fins clear each other and settle into the empty space of their opposite side. This sounds tricky but once you figure out how to get a few of these assembled, the rest should be easier.</p> <p>If you feel like there is a bump or grind when operating the clothespin, try opening and closing it repeatedly. If there are any remaining bits of plastic interfering with the operation, they will quickly smooth themselves out.</p> <p><strong>Model Source File</strong></p> <p>This model was created with <a href="https://www.blender.org/download/">Blender</a> and was designed with modifiers to be as easy to edit as possible.</p> <p>If you would like access to the source file for your own personal use, please consider joining one of my <a href="https://www.patreon.com/nightmode">Patreon</a> tiers for that benefit. You can sign up for a month and download everything I have published up to and including that month. For ongoing Patrons, you will also get access to future creations, updates, software, and more.</p>
With this file you will be able to print Clothespins with your 3D printer. Click on the button and save the file on your computer to work, edit or customize your design. You can also find more 3D designs for printers on Clothespins.