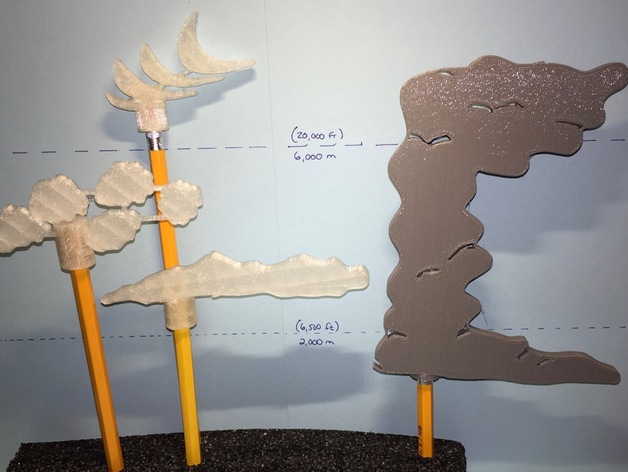
Cloud Types and Display Stands
thingiverse
It seems you've provided a text that appears to be a step-by-step guide on how to create and 3D print a pencil with a cloud-shaped topper using Autodesk Inventor. Here's a summarized version of the instructions, organized in a more readable format: **Step 1: Remove unwanted objects** * Use the "Geometric" menu to grab a rectangle. * Drag the rectangles over unwanted objects. * Select the "Hole" box to make the rectangle invisible and remove everything it encompasses. **Step 2: Add connectors to the clouds** * Resize the rectangle blocks into narrow rectangles. * Make enough connectors to keep all the clouds joined together. **Step 3: Create the pencil topper** * Drag a cylinder from the "Geometric" menu. * Use the ruler to resize the cylinder to a diameter of 14 mm. * Duplicate the cylinder and change its size to 8 mm. * Select the "Hole" box on the Inspector window to make it cut into the collar. **Step 4: Group the parts together** * Select both cylinders and click on the "Group" icon to lock them together. * Lay the group on its side and place the collar over the clouds. * Select all parts and click on the "Group" icon again to join them together. **Step 5: Export the model** * Find the "Design" menu and select "Download for 3D Printing." * Select the format that your printer uses (e.g., STL). * The download will start once you click on the desired file format.
With this file you will be able to print Cloud Types and Display Stands with your 3D printer. Click on the button and save the file on your computer to work, edit or customize your design. You can also find more 3D designs for printers on Cloud Types and Display Stands.