CNC 1610 Endstop and Chain Fix
thingiverse
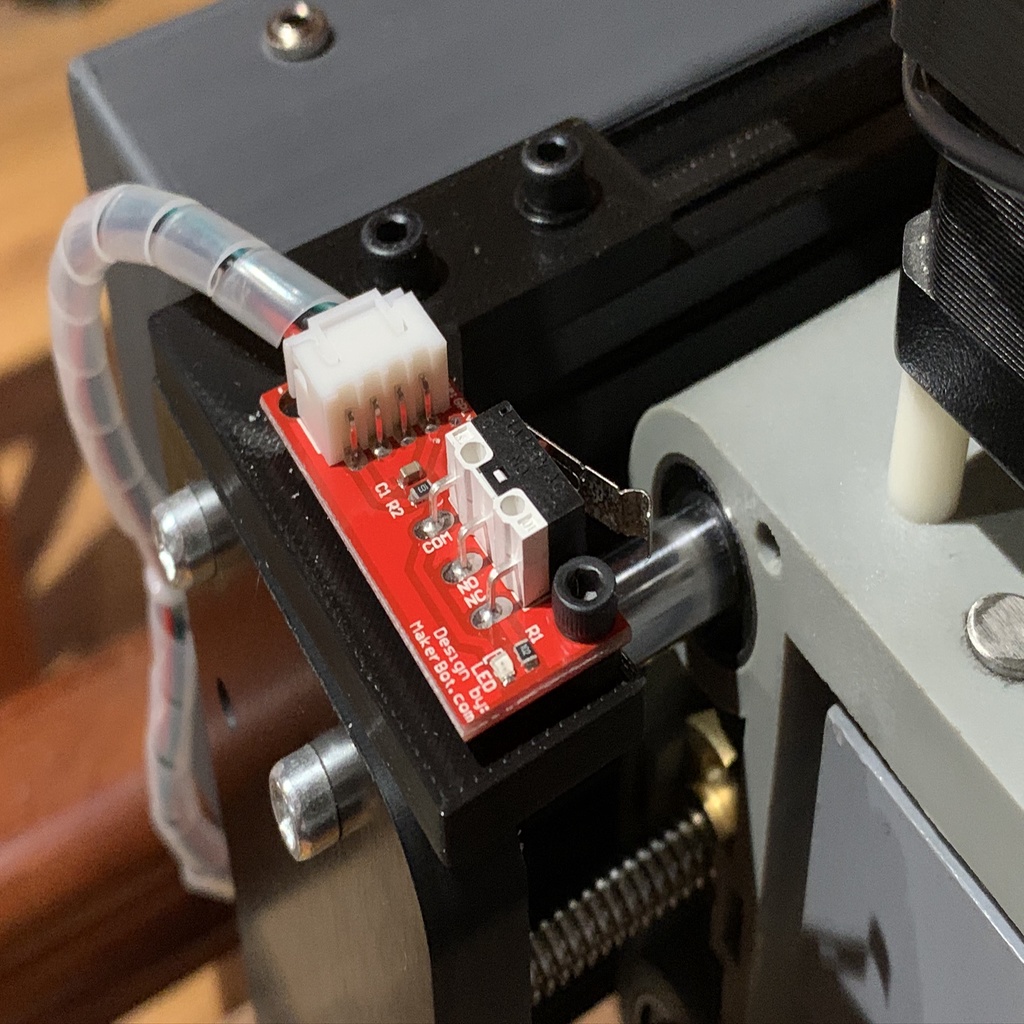
Human: I wanted to find an easy solution for setting home points on a 1610 CNC. This size of CNC is small, so these elements can be installed on a larger model like the 3018 without issues. I was searching for parts that are simple and solid to print, with no supports needed. I took inspiration from Sky Takes' solution and modified some parts to fit my equipment perfectly. I use mechanical stop switches (https://amzn.to/35YwCRw) on all axes. For the X and Y axes, the assembly allows for adjustment, and a LED light indicates when the switch is activated. The Z-axis uses only the switch itself, detached from its original mounting point. The cable guide chain (https://amzn.to/2ZyqJYP) has links that measure 22x20 mm outside, even though it's labeled as 10x15. It's a bit wide but of good quality and can be easily assembled with the provided instructions. Lid XY.stl is a common box for both X and Y axes. I printed it with transparent filament to make the internal LED visible. The X-axis lid was painted black, with a rounded part protected during painting so the LED light remains visible. The chain support has been reinforced, and the cable connection passage has been adjusted for better fitment. An M2 screw allows cables to be secured in place. The 22mm chain fits snugly into the support and is fixed to the 20x20 aluminum profile of the 1610 CNC. Cable guides were printed in multiple copies and at various lengths, allowing them to pass through profiles or protect against dust and etching waste. A video showcasing the complete assembly process can be found here: https://youtu.be/NNrqx62lyBI This project was created with Tinkercad. You can edit it online at https://www.tinkercad.com/things/4wcPYKpXgO1
With this file you will be able to print CNC 1610 Endstop and Chain Fix with your 3D printer. Click on the button and save the file on your computer to work, edit or customize your design. You can also find more 3D designs for printers on CNC 1610 Endstop and Chain Fix.