CNC 1610 Improvements
prusaprinters
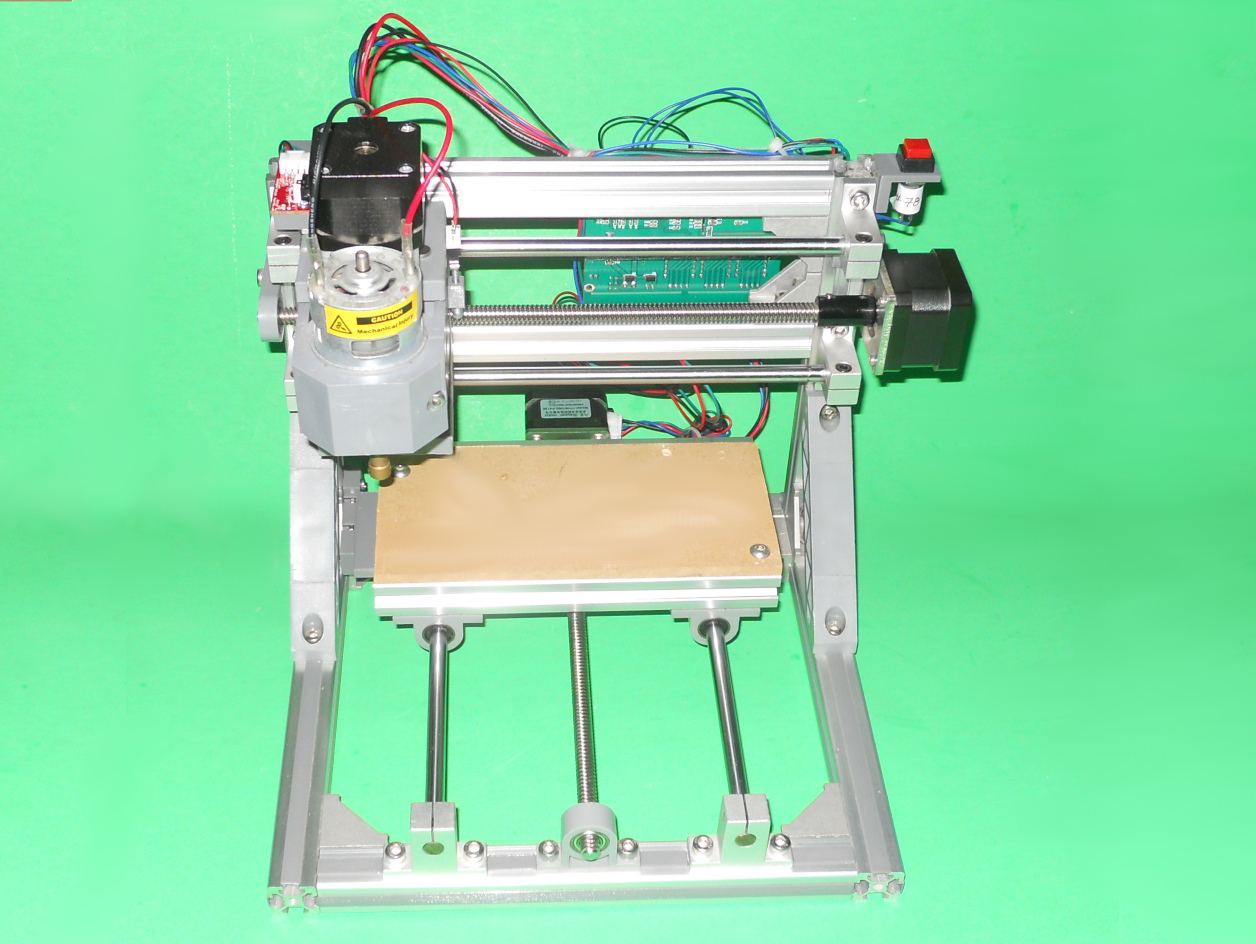
<p>This project contains 5 improvements for a 1610 CNC. These improvements were<br>inspired by the following YouTube videos of JJ Hontebeyrie:</p><ul><li><a href="https://www.youtube.com/watch?v=NNrqx62lyBI&t;=602s">https://www.youtube.com/watch?v=NNrqx62lyBI&t;=602s</a></li><li><a href="https://www.youtube.com/watch?v=_gX_YCsN4wo">https://www.youtube.com/watch?v=_gX_YCsN4wo</a> </li></ul><p><strong>1. Extrusion slot covers</strong></p><p>I've used the following project to cover most of the extrusion slots:<br>https://www.thingiverse.com/thing:4641897 . Print the 100 mm long one and<br>scale it in the slicer to get the length you need.</p><p><strong>2. Z-axis endstop</strong></p><p>The sensor must be plugged on the Zen pins of a Woodpecker GRBL board. You<br>will need the following material:</p><p> * One EndStopZBumper.stl printed part<br> * One micro switch. You can remove the one on a Makerbot style end-stop.<br> * One M3 x 20 mm screw<br> * One M3 x 5 mm brass insert<br> * Some wire, terminated with Dupont female connectors at one end<br> * Some Super Glue</p><p><strong>3. X-axis endstop</strong></p><p>The sensor must be plugged on the Xen pins of a Woodpecker GRBL board. The red<br>wire should be left unplugged. You will need the following material:</p><p> * One EndStopXAxis.stl printed part<br> * One Makerbot style end-stop along with the connecting wires<br> * Two M4 x 12 mm screw<br> * Two M4 T-nuts<br> * Two M3 x 12 mm screw<br> * Two M3 nuts</p><p><strong>4. Y-axis endstop</strong></p><p>The sensor must be plugged on the Yen pins of a Woodpecker GRBL board. The red<br>wire should be left unplugged. You will need the following material:</p><p> * One EndStopYAxis.stl printed part<br> * One EndStopYBumper.stl printed part<br> * One Makerbot style end-stop along with the connecting wires<br> * Two M4 x 12 mm screw<br> * Two M4 T-nuts<br> * Two M3 x 12 mm screw<br> * Two M3 nuts</p><p><strong>5. Emergency stop switch</strong></p><p>The sensor must be plugged on the A0 pins of a Woodpecker GRBL board. You will<br>need the following material:</p><p> * One EmergencySwitchHolder.stl printed part<br> * One 12 mm in diameter normally open switch<br> * One M4 x 12 mm screw<br> * One M4 T-nuts<br> * Some wire, terminated with Dupont female connectors at one end</p><p>You will have to use the command **$21=1** to enable the limit switches. You<br>may need to use the command **$23** if an axis does not go in the proper<br>direction after doing a HOME command.</p><p>For the printed parts, support material is not required. An infill of 20% is<br>recommended.</p><p>This object main web page is: <br>http://www.ctheroux.com/cnc-1610-improvements/.</p><p>This object was designed using Solid Edge Community Edition.</p><p>You can request the source files on the page listed above.</p>
With this file you will be able to print CNC 1610 Improvements with your 3D printer. Click on the button and save the file on your computer to work, edit or customize your design. You can also find more 3D designs for printers on CNC 1610 Improvements.